Maker Crate is a subscription box for kids ages 14+ from the parent company KiwiCo. Each box includes high-quality materials and instructions to explore new art techniques and complete hands-on arts and crafts projects.
This review is of KiwiCo's Maker Crate (for ages 14+), which costs $29.95 per month.
This box was sent to us at no cost for review. (Check out our editorial guidelines to learn more about how we review boxes.)
First Impressions
I was excited to see that this was my next box because it is one of the projects that caught my eye with this subscription!
What's Inside This Box
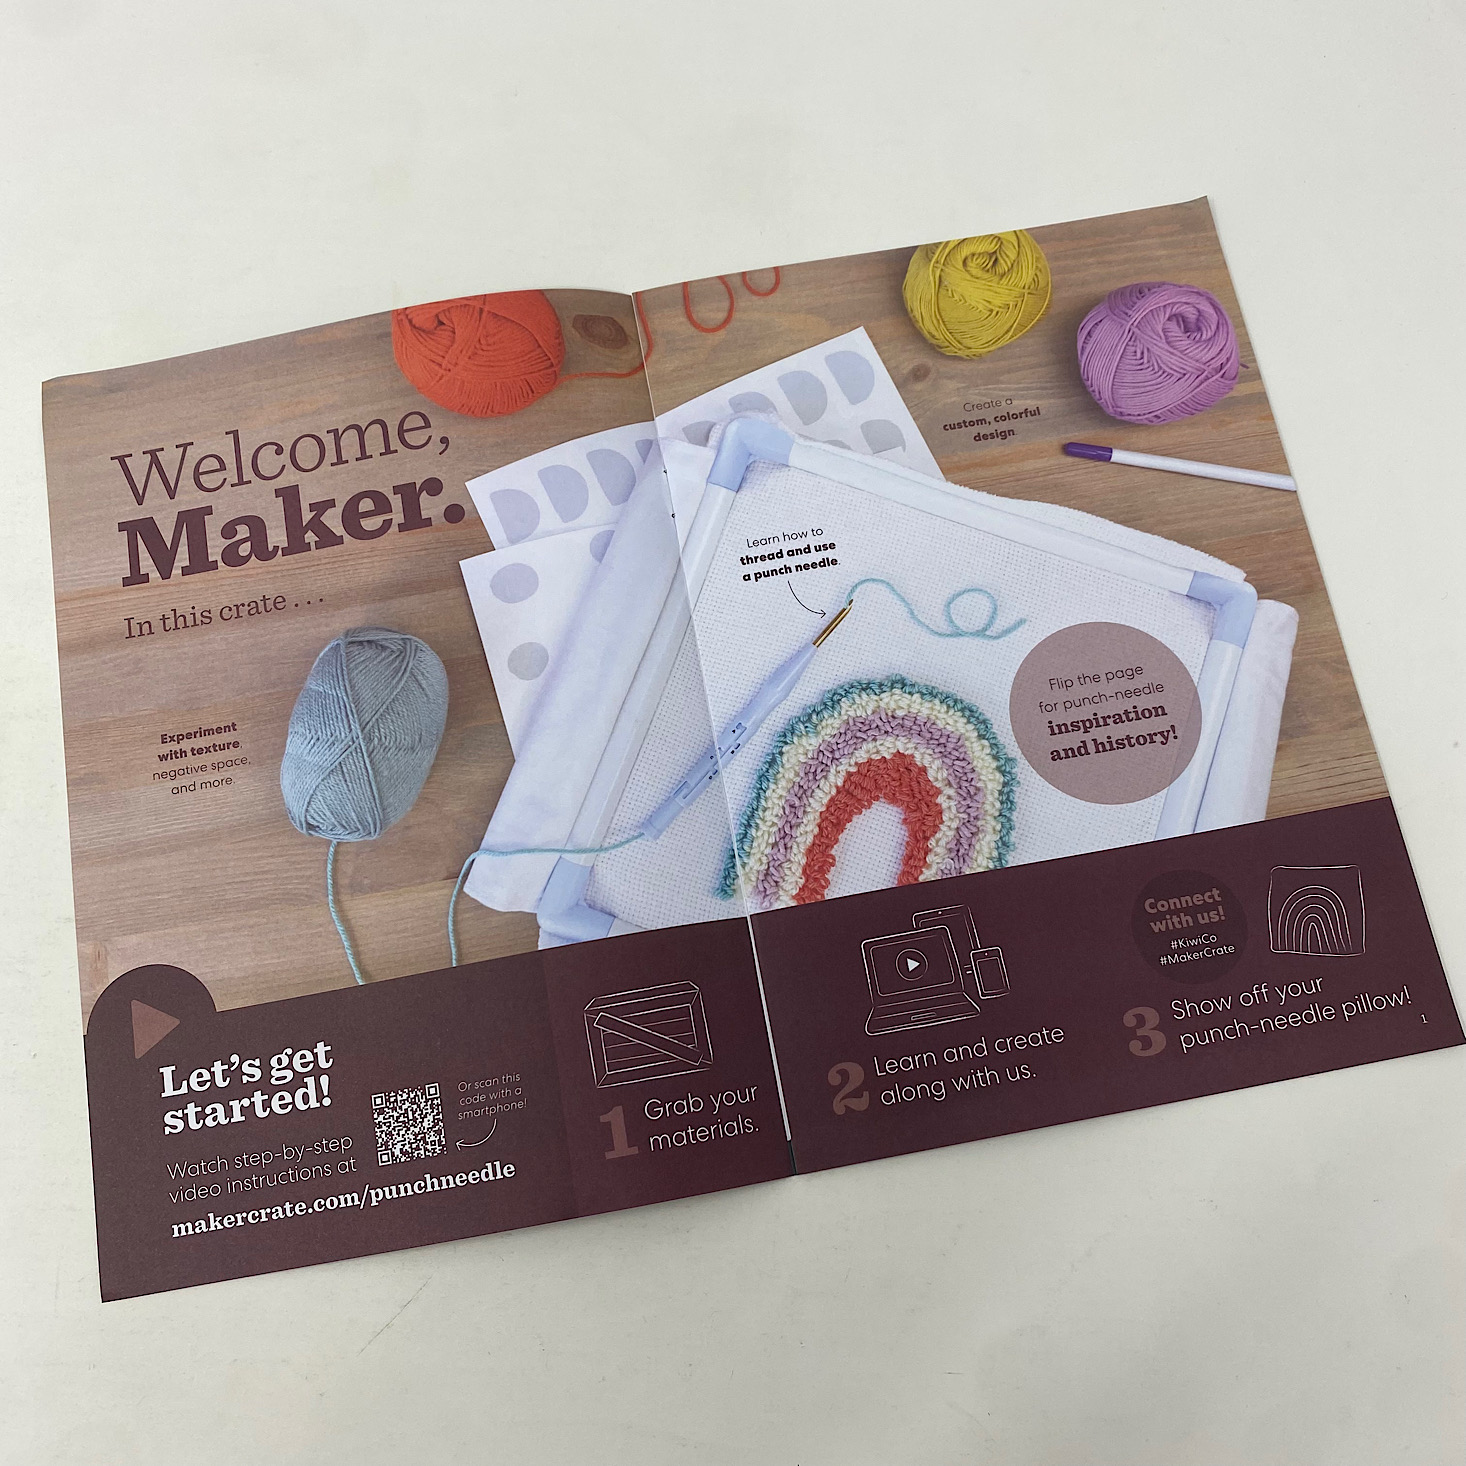
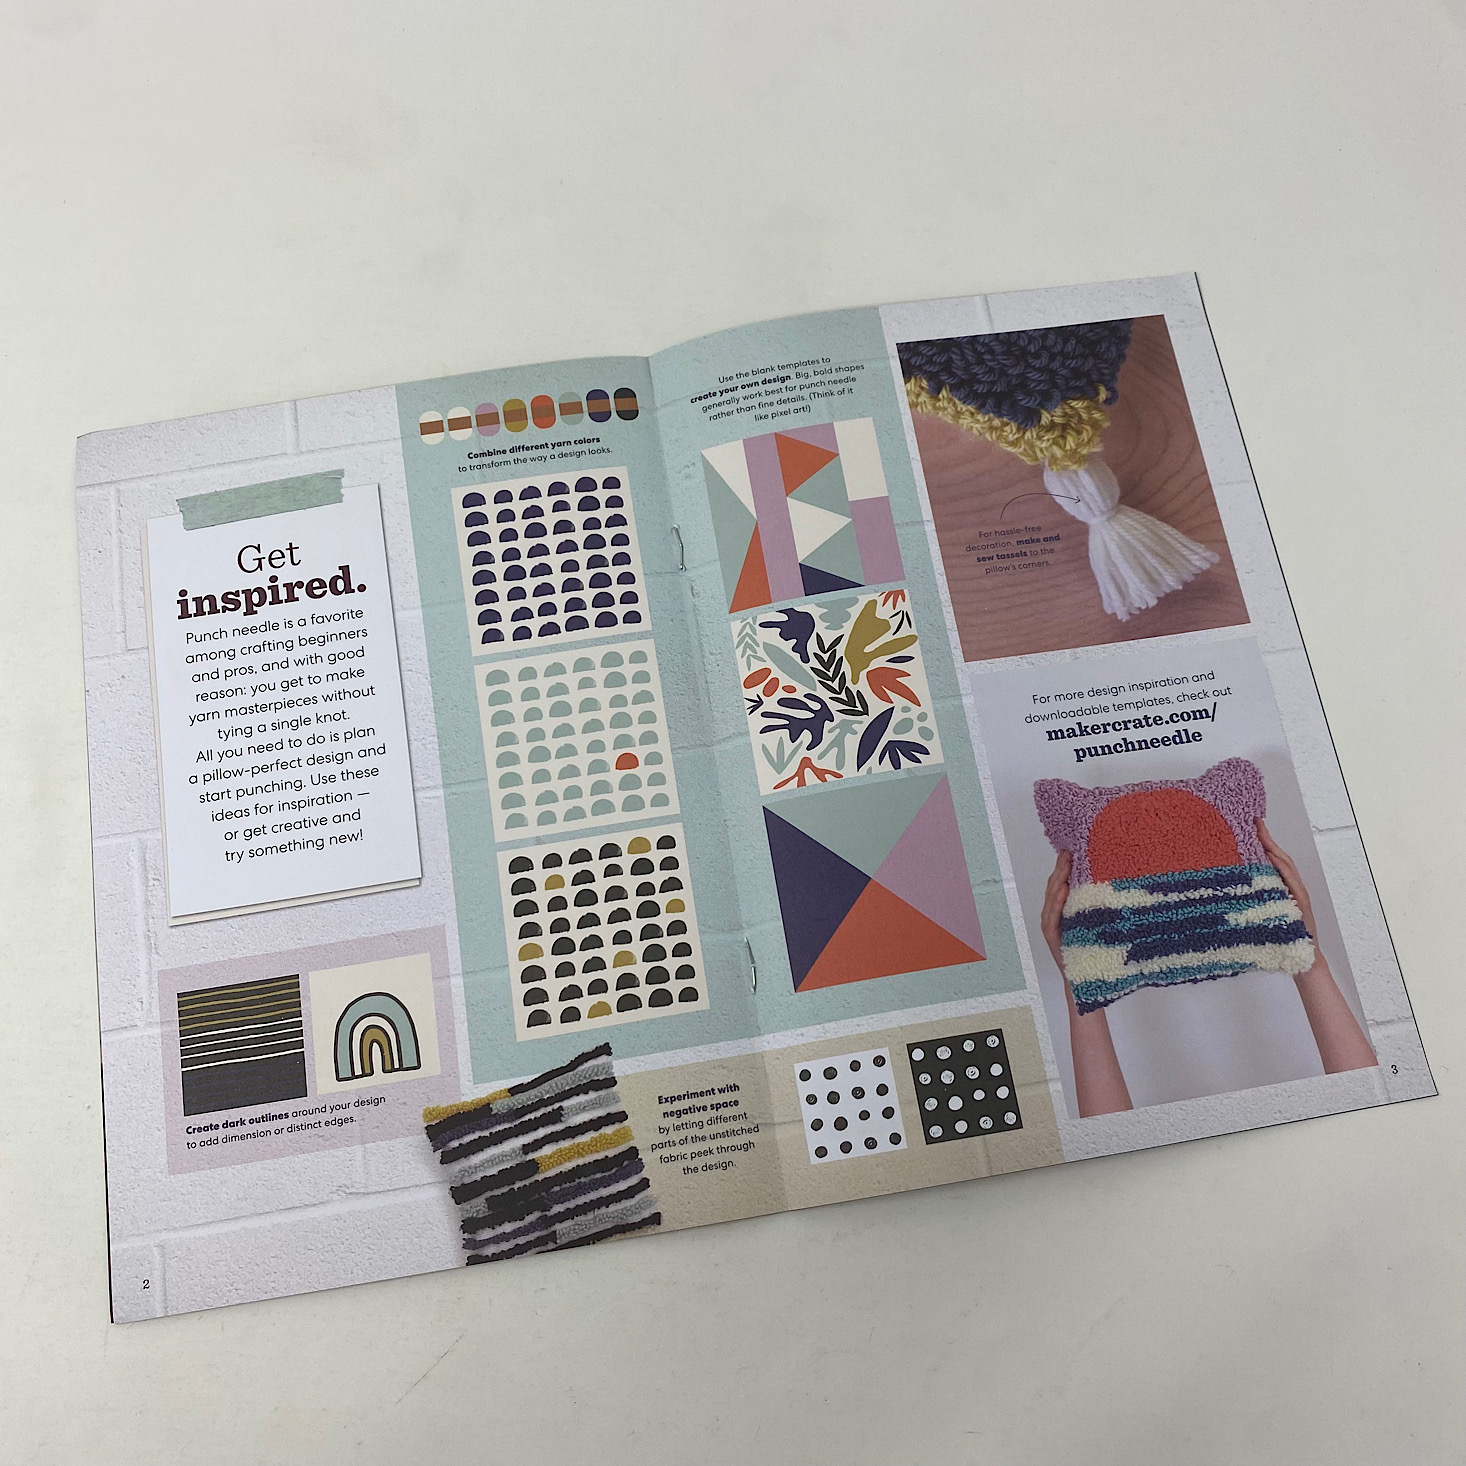
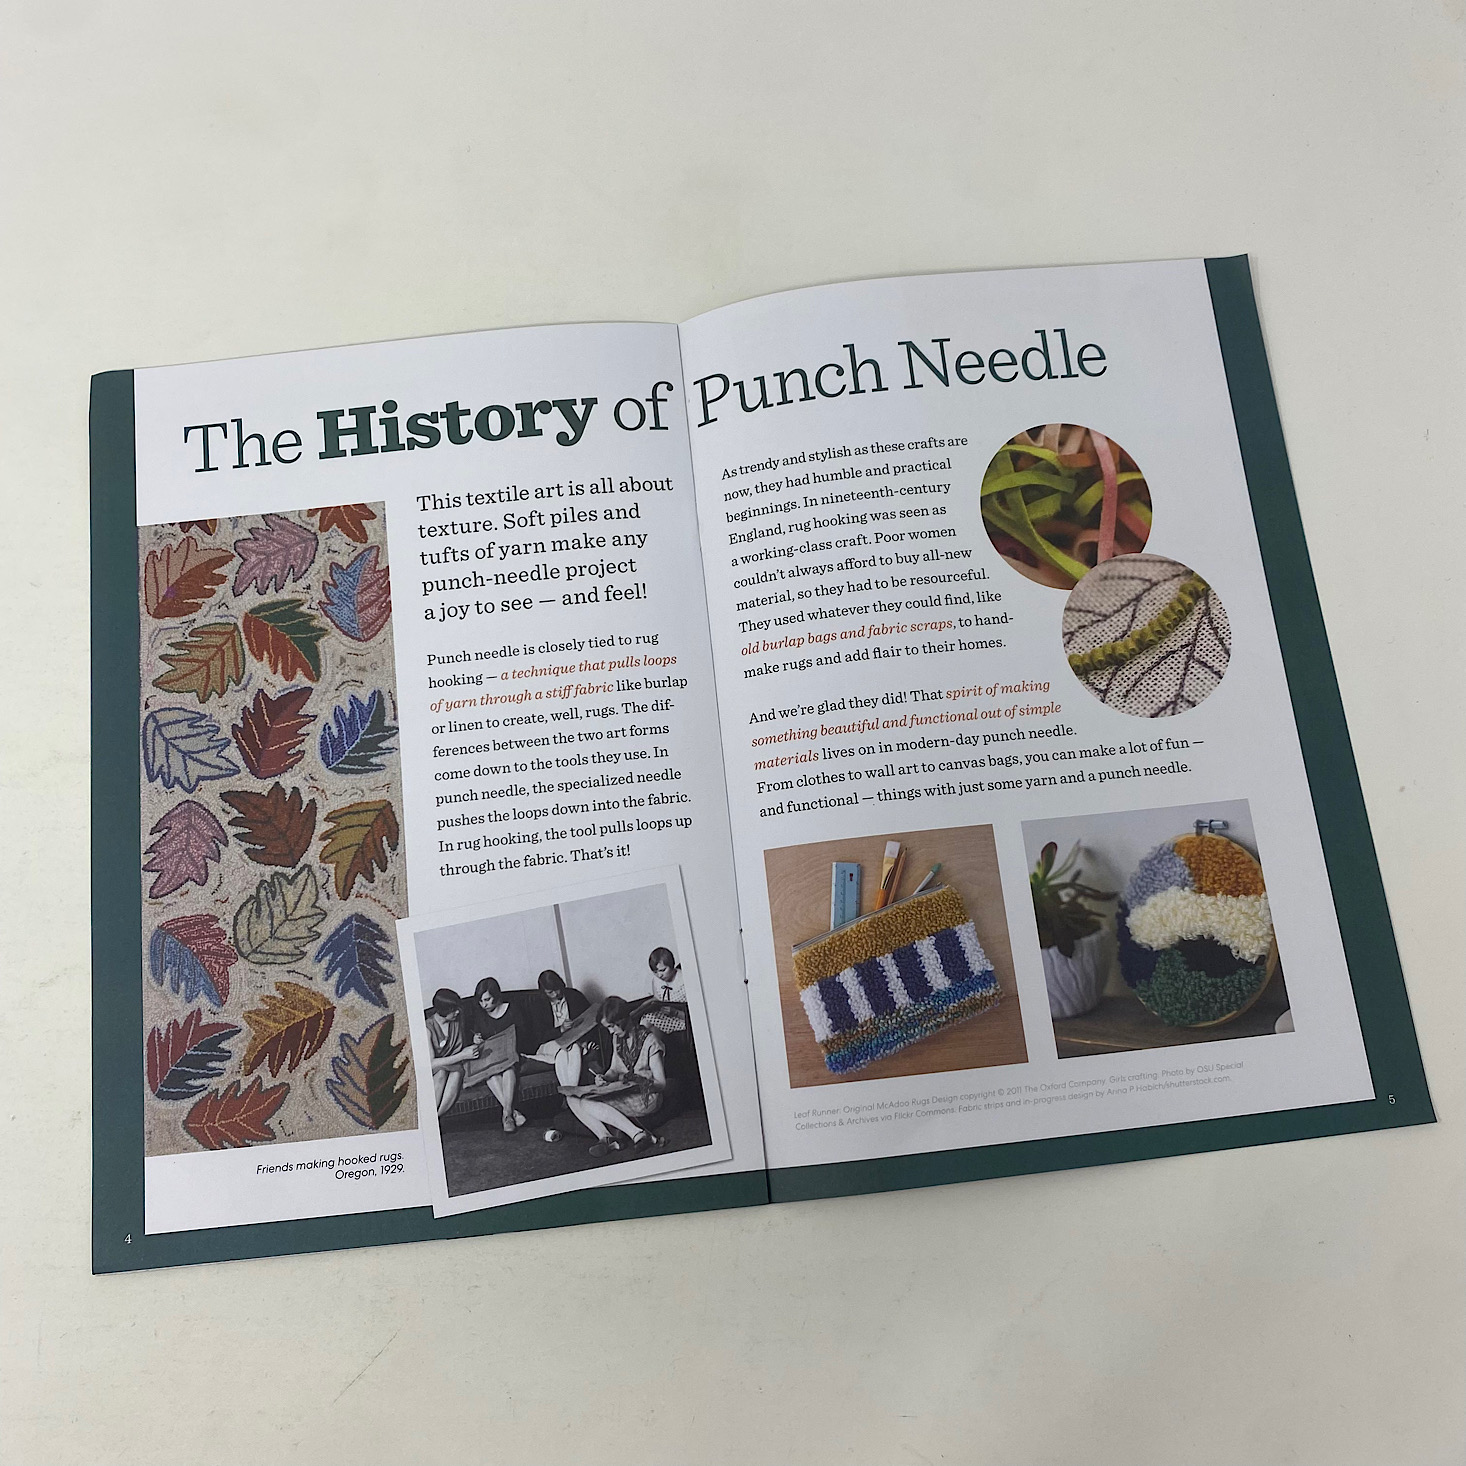
Inside your box, you will receive a Maker’s Guide which provides the QR code for accessing your instructions. The pages had some information about the history of engraving and some inspiring ideas to check out.
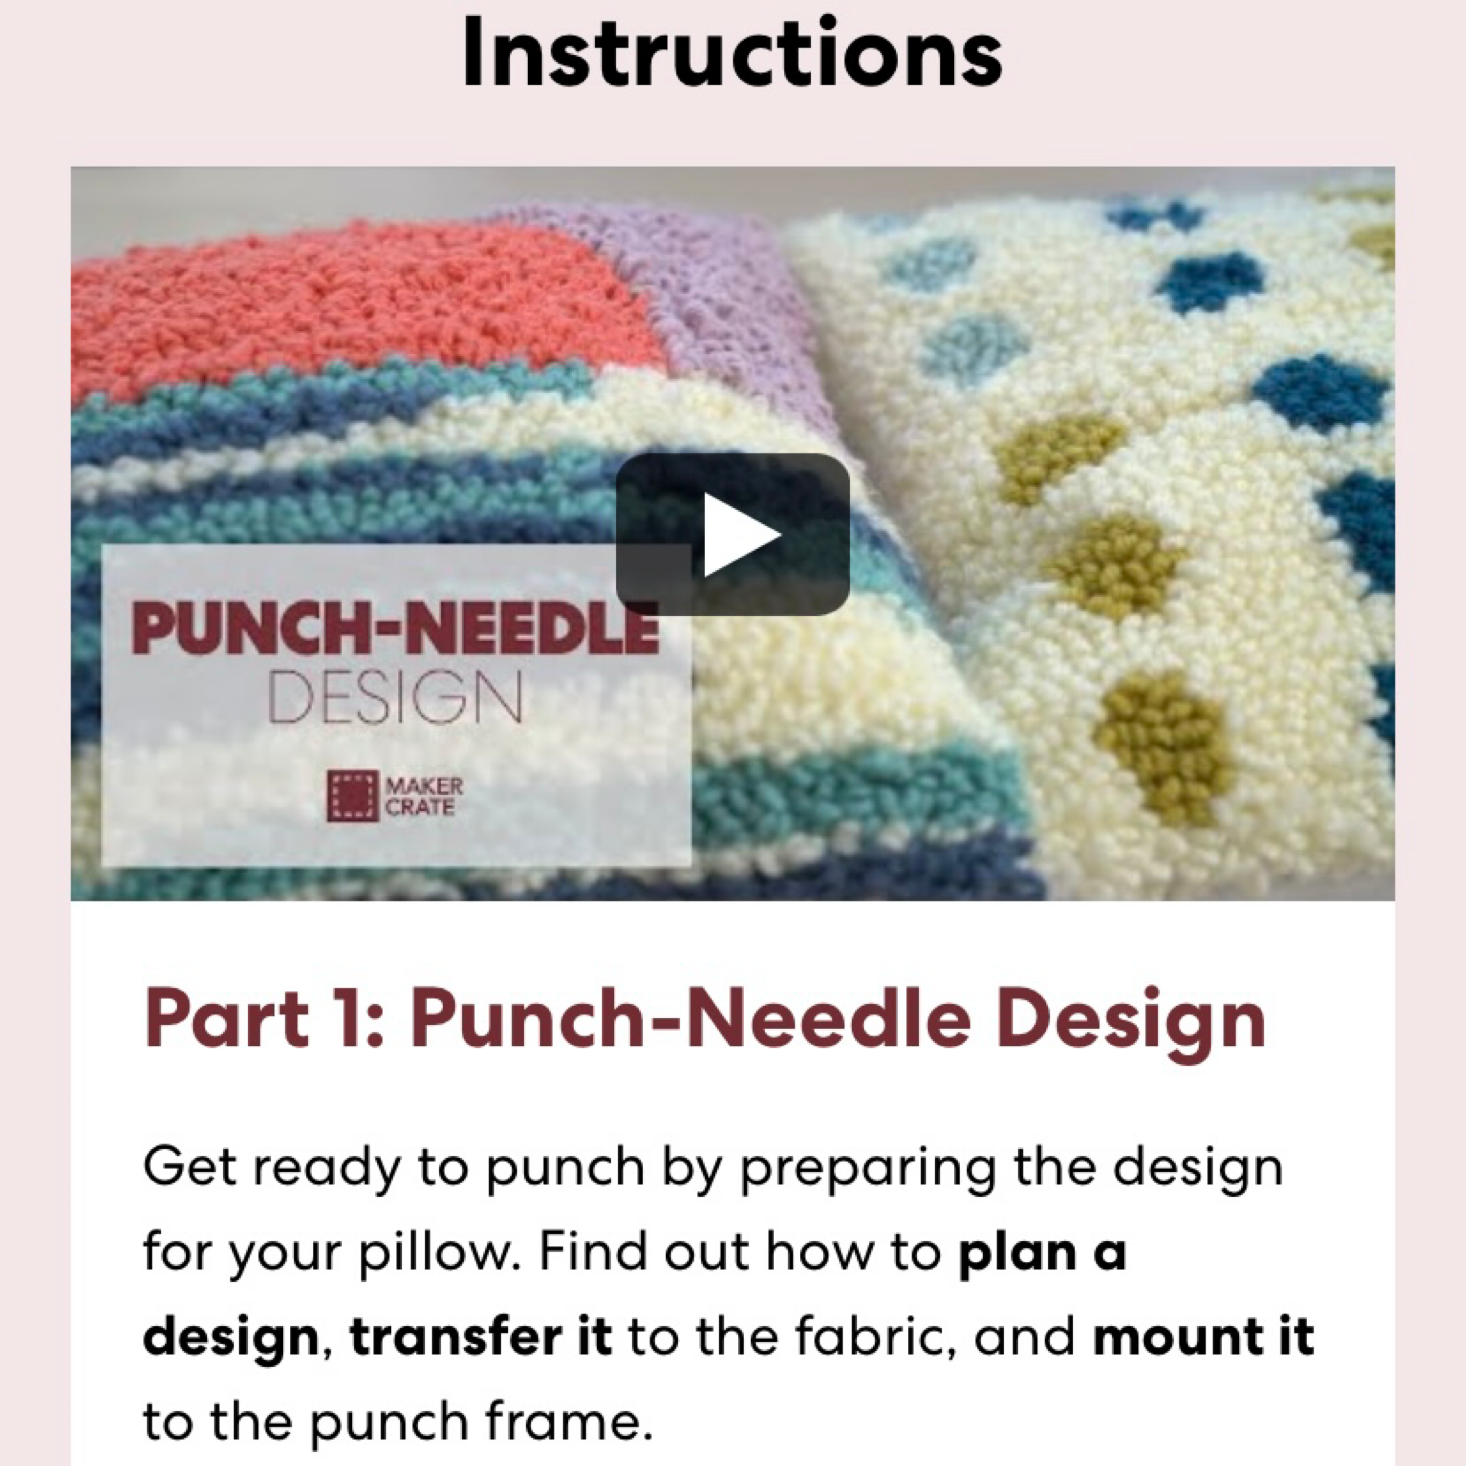
Since these projects are a bit more complicated than the boxes for their younger ages, they provide online video tutorials for you to watch. While I definitely appreciate this, I'm also a big fan of having the instructions laid out in front of me on paper so I do miss that aspect. However, the videos themselves are very helpful and include some great tips.
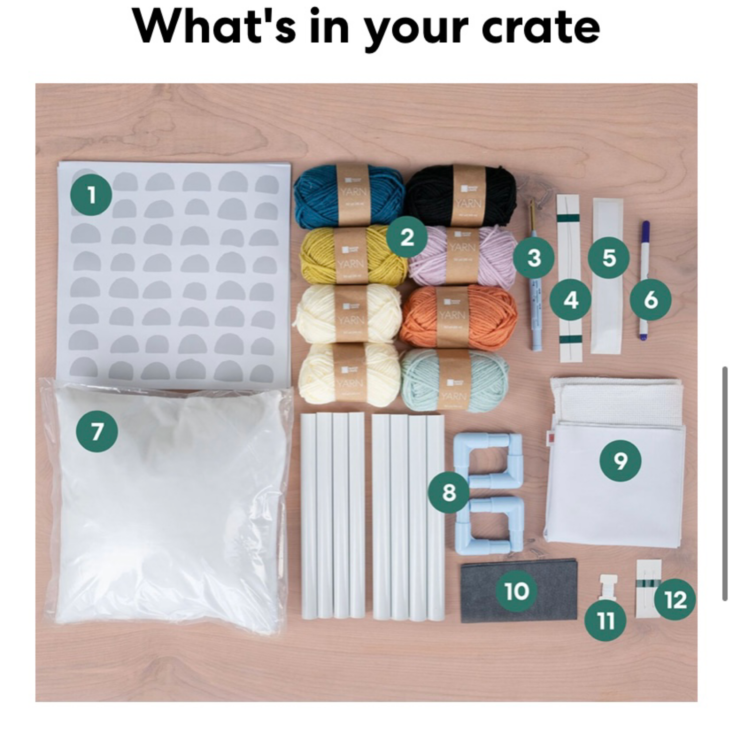
The website also includes this guide to what is in your crate, so you can locate everything and ensure you have all the pieces you need. Now let's check out the materials we received:
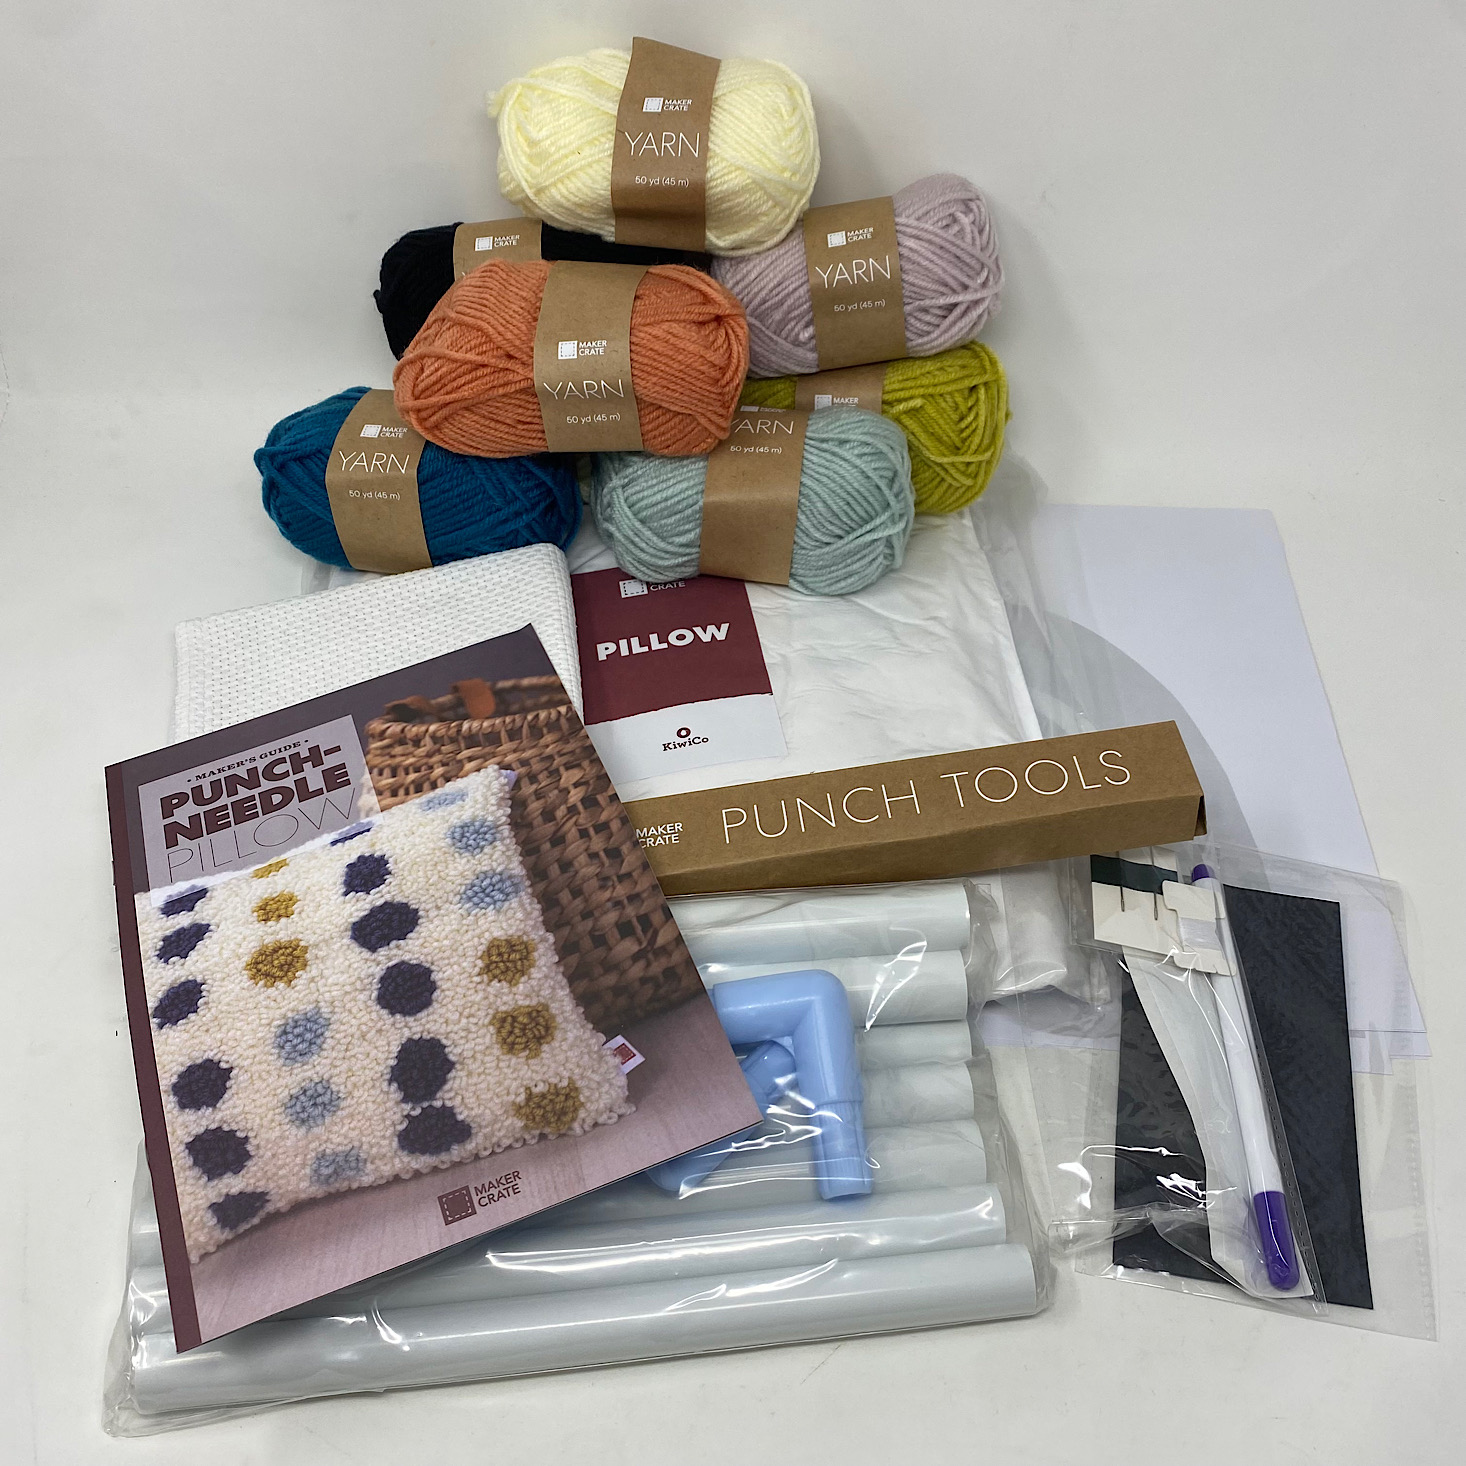
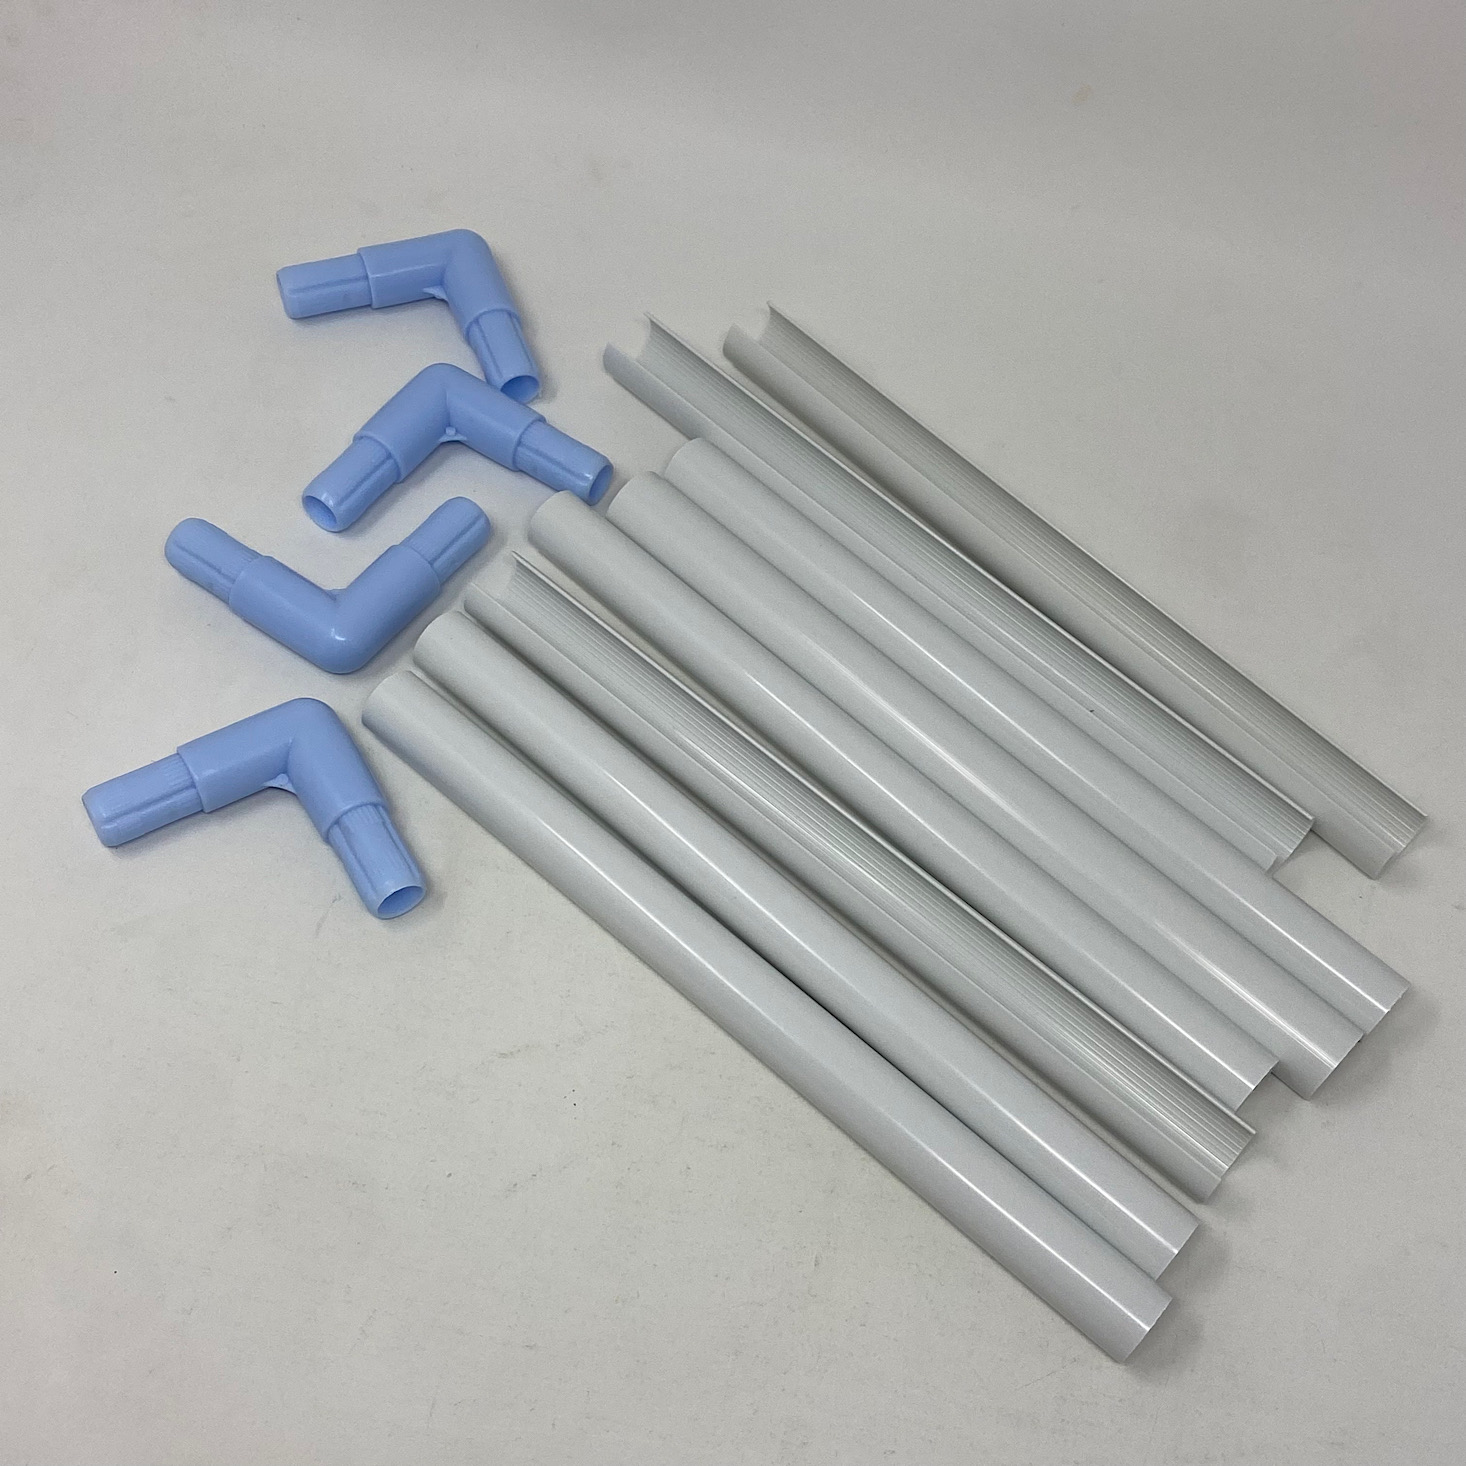
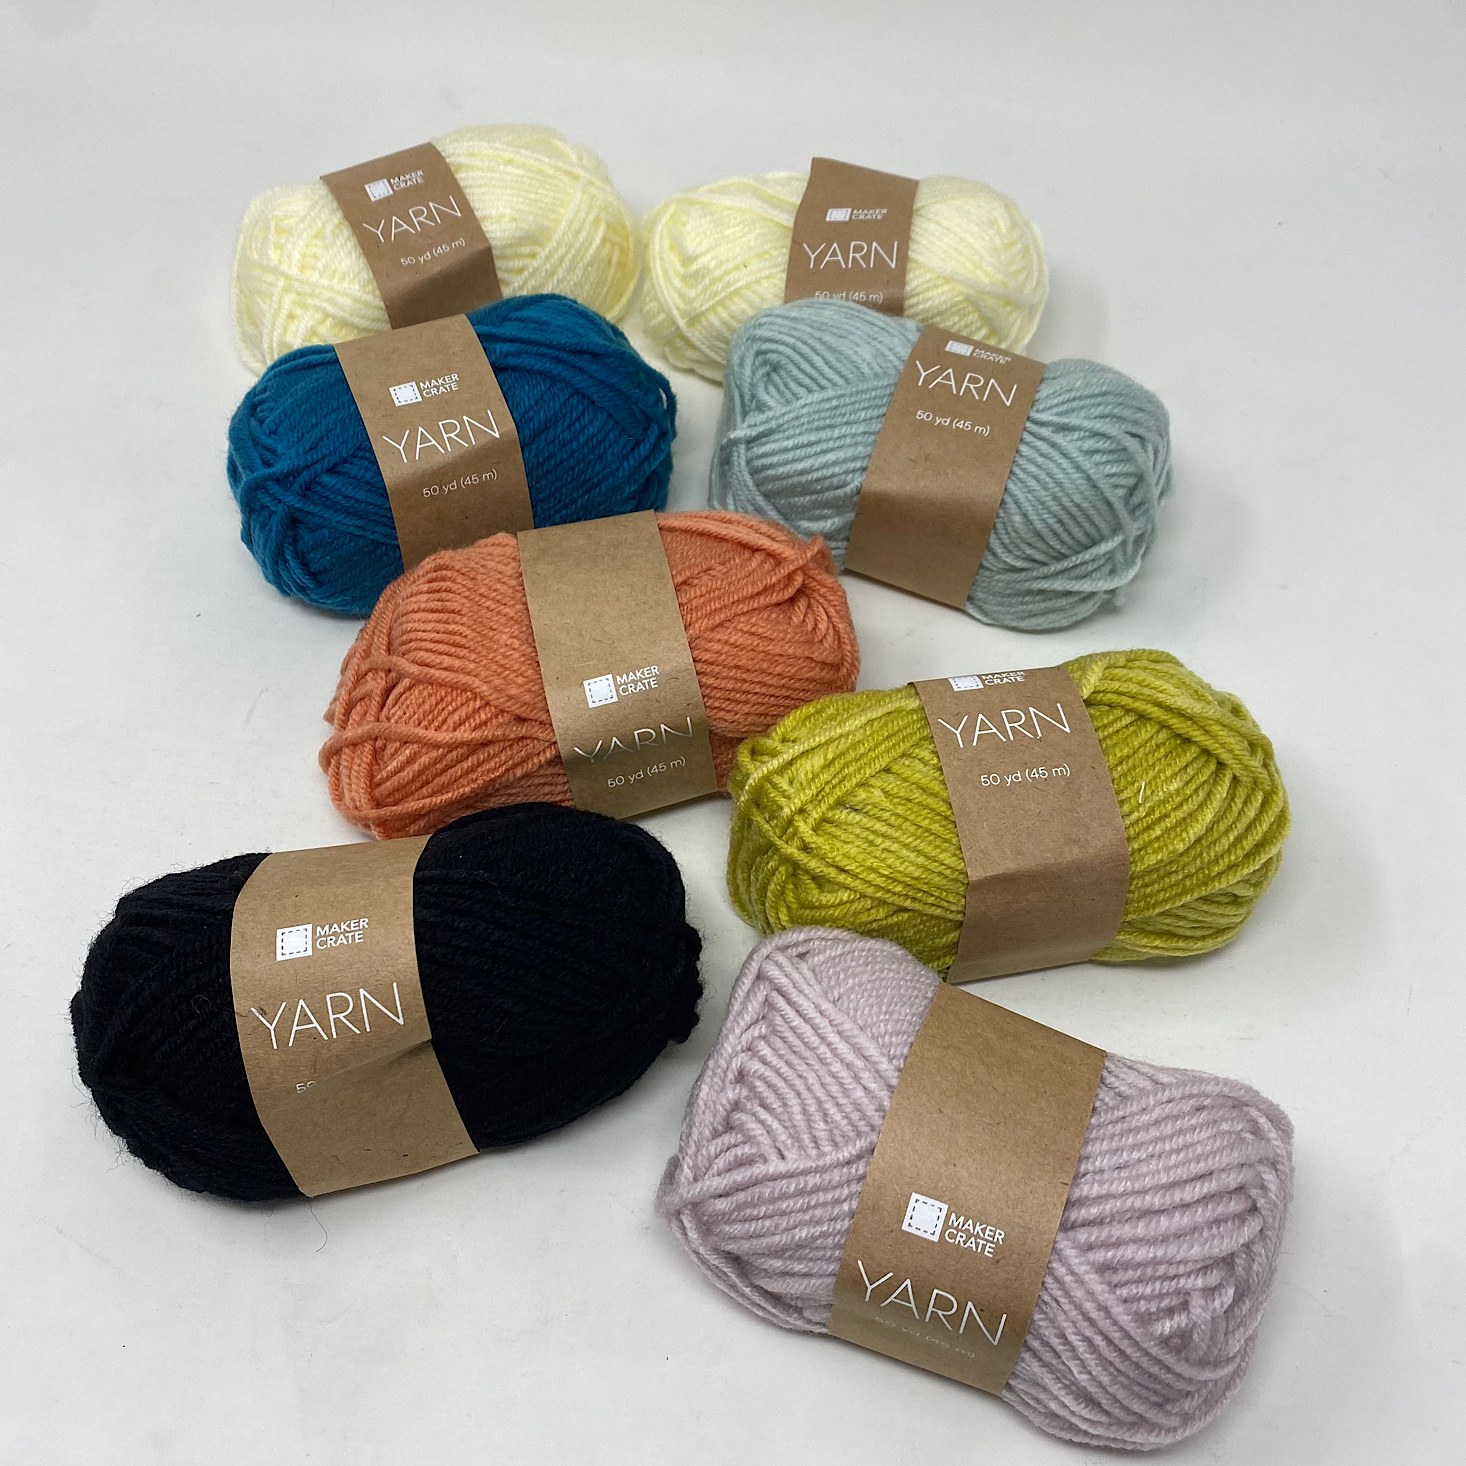
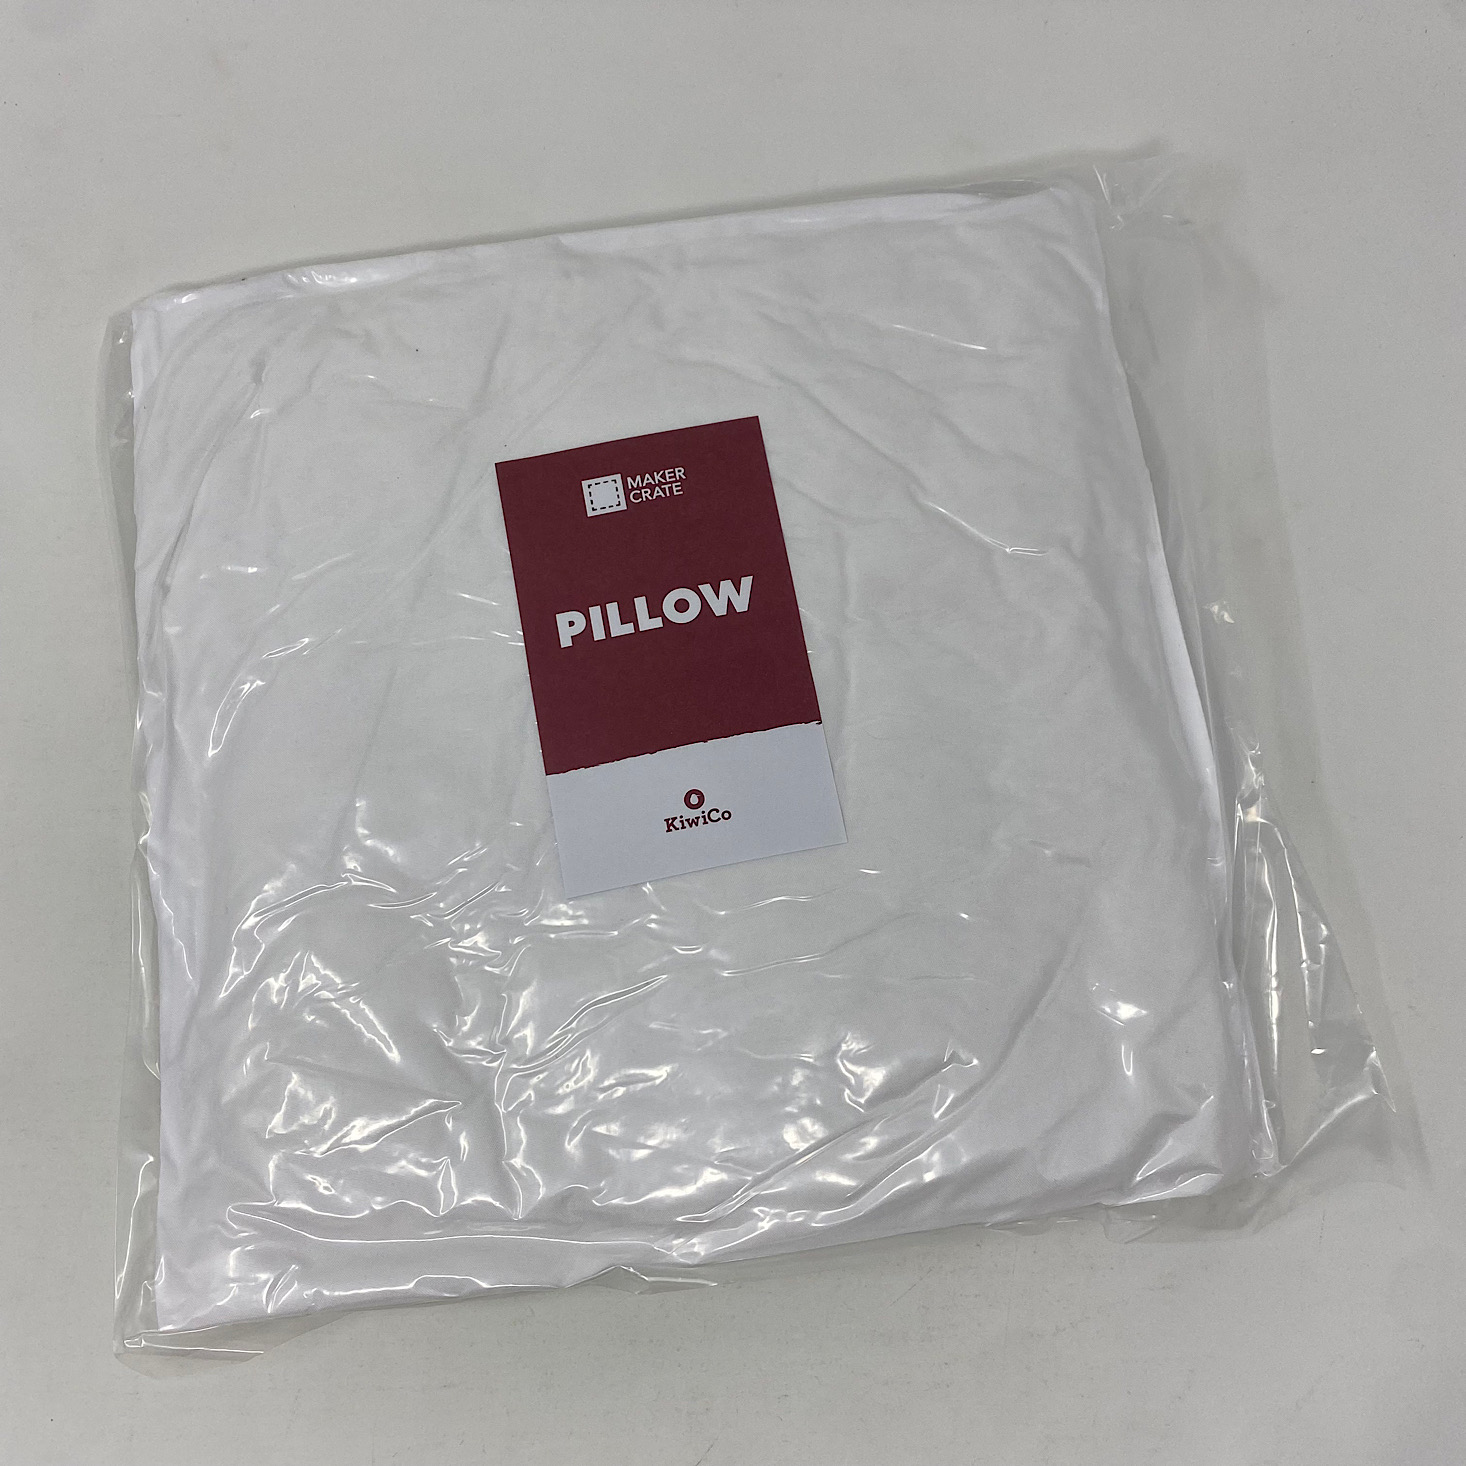
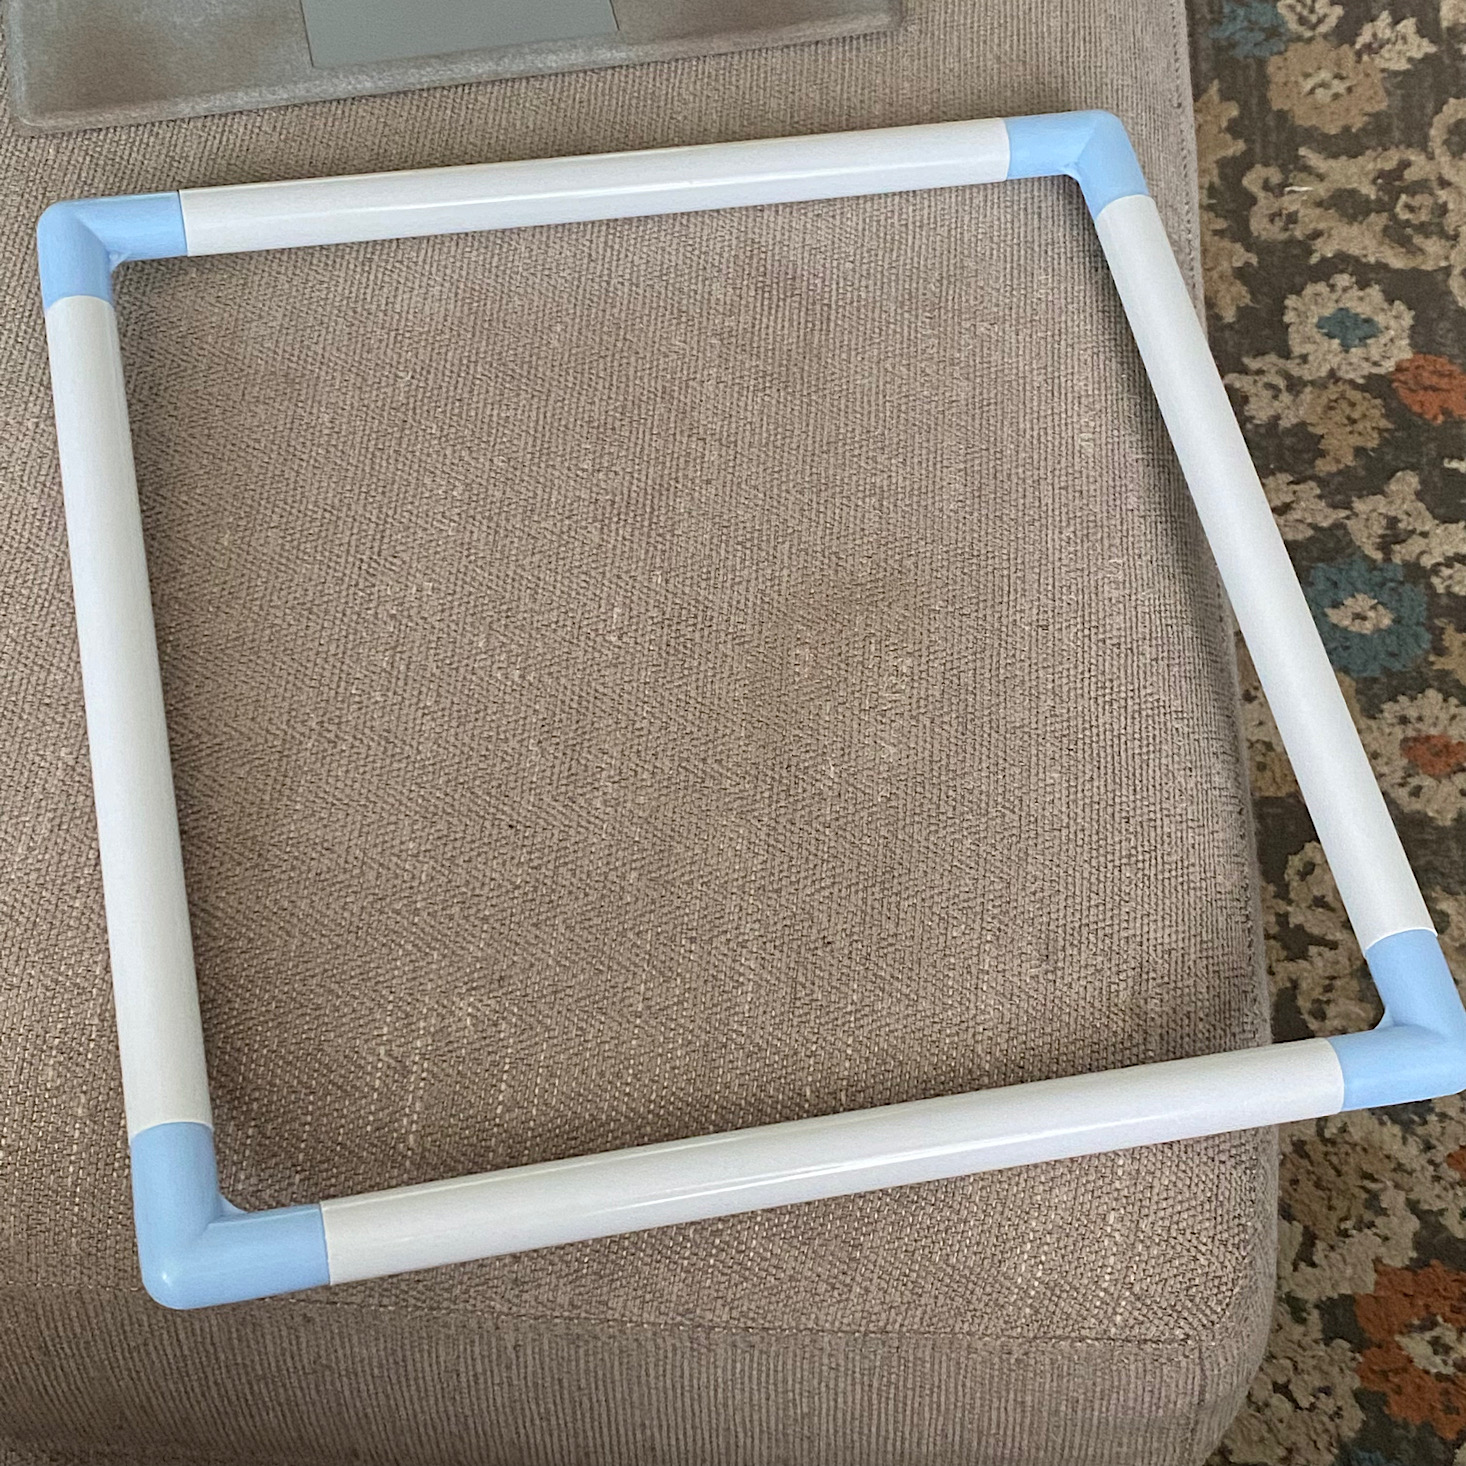
We received several different colors of yarn, punch-needle pillow fabric, a pillow, and some plastic pieces to form a frame for our design.
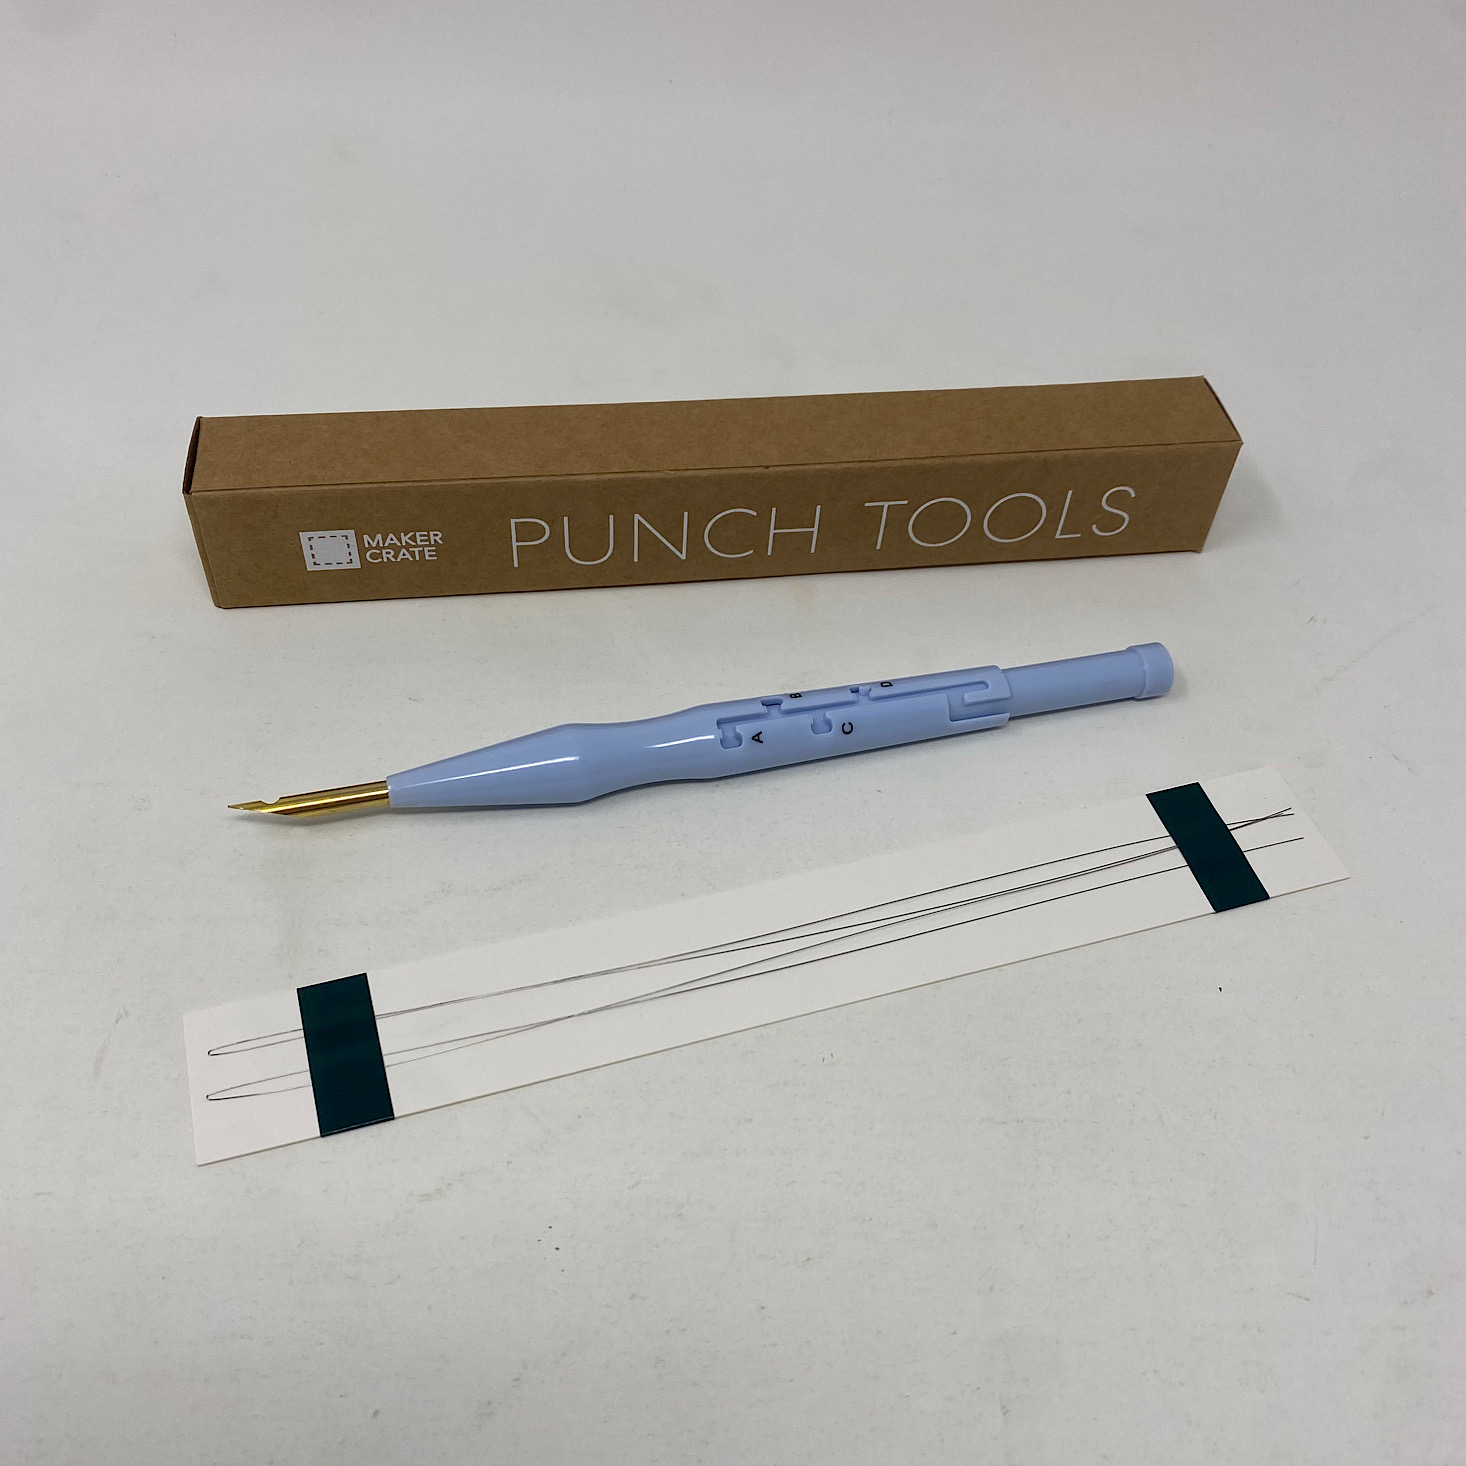
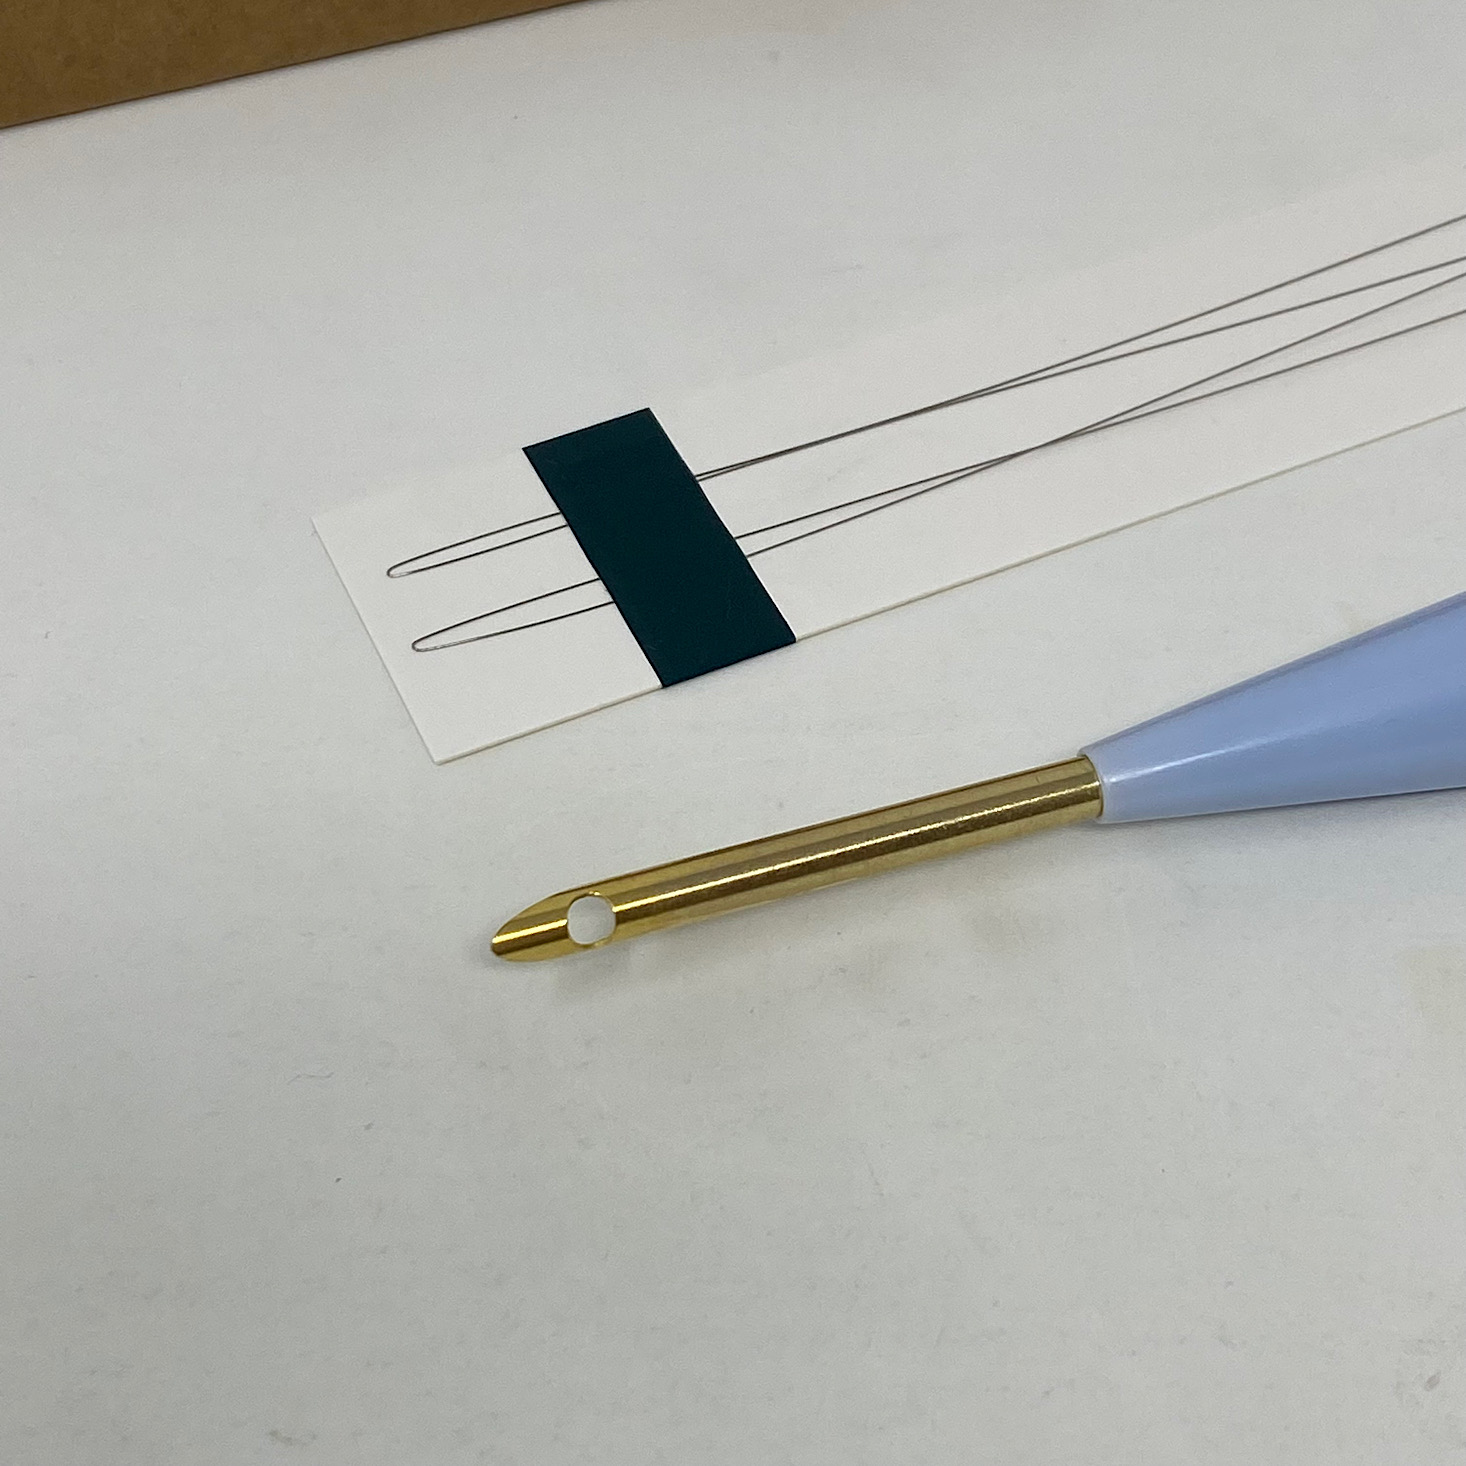
They also provided some tools like a punch needle and threader, sewing needles, thread, a fabric marker, fabric tape, and some carbon paper.
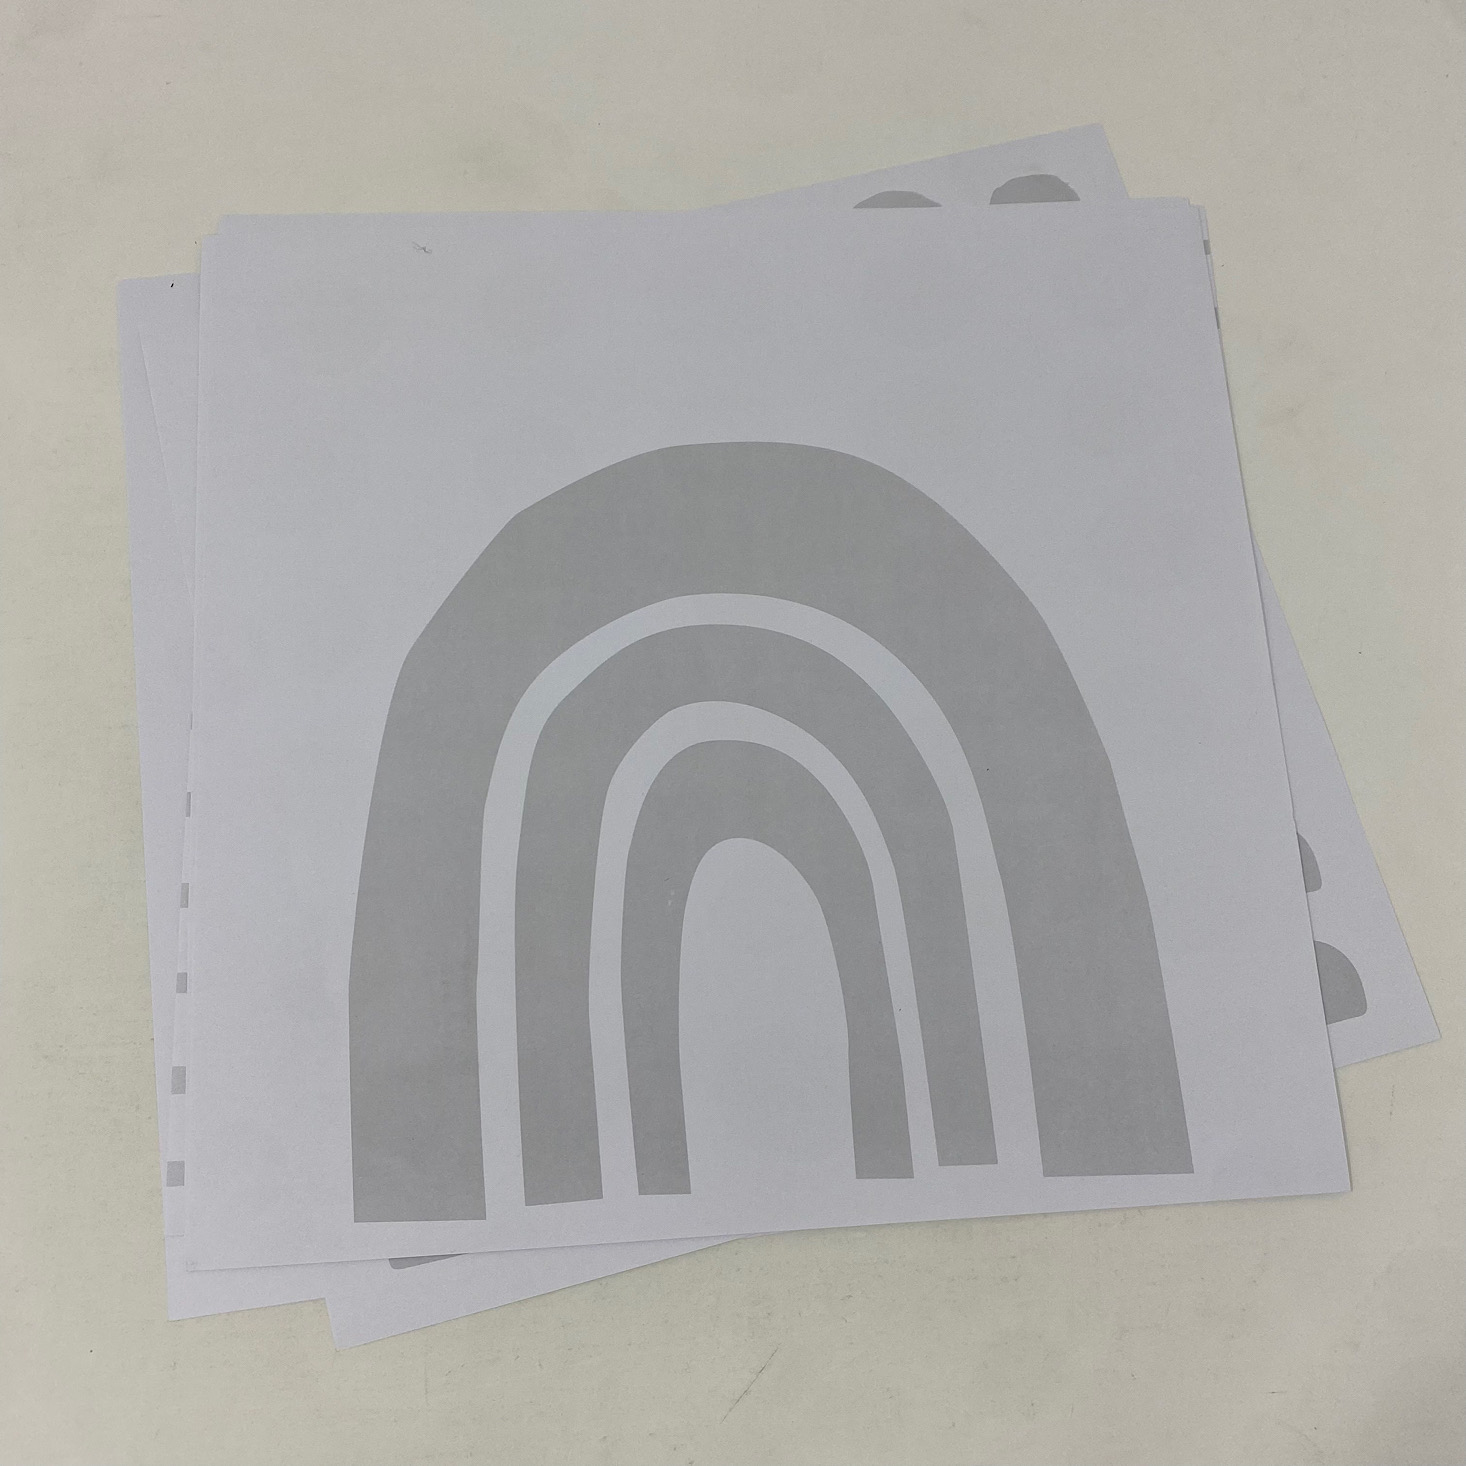
There were several templates to choose from, and even some more online that we could print out!
Now, let's get to our project!
Part 1: Punch-needle Design
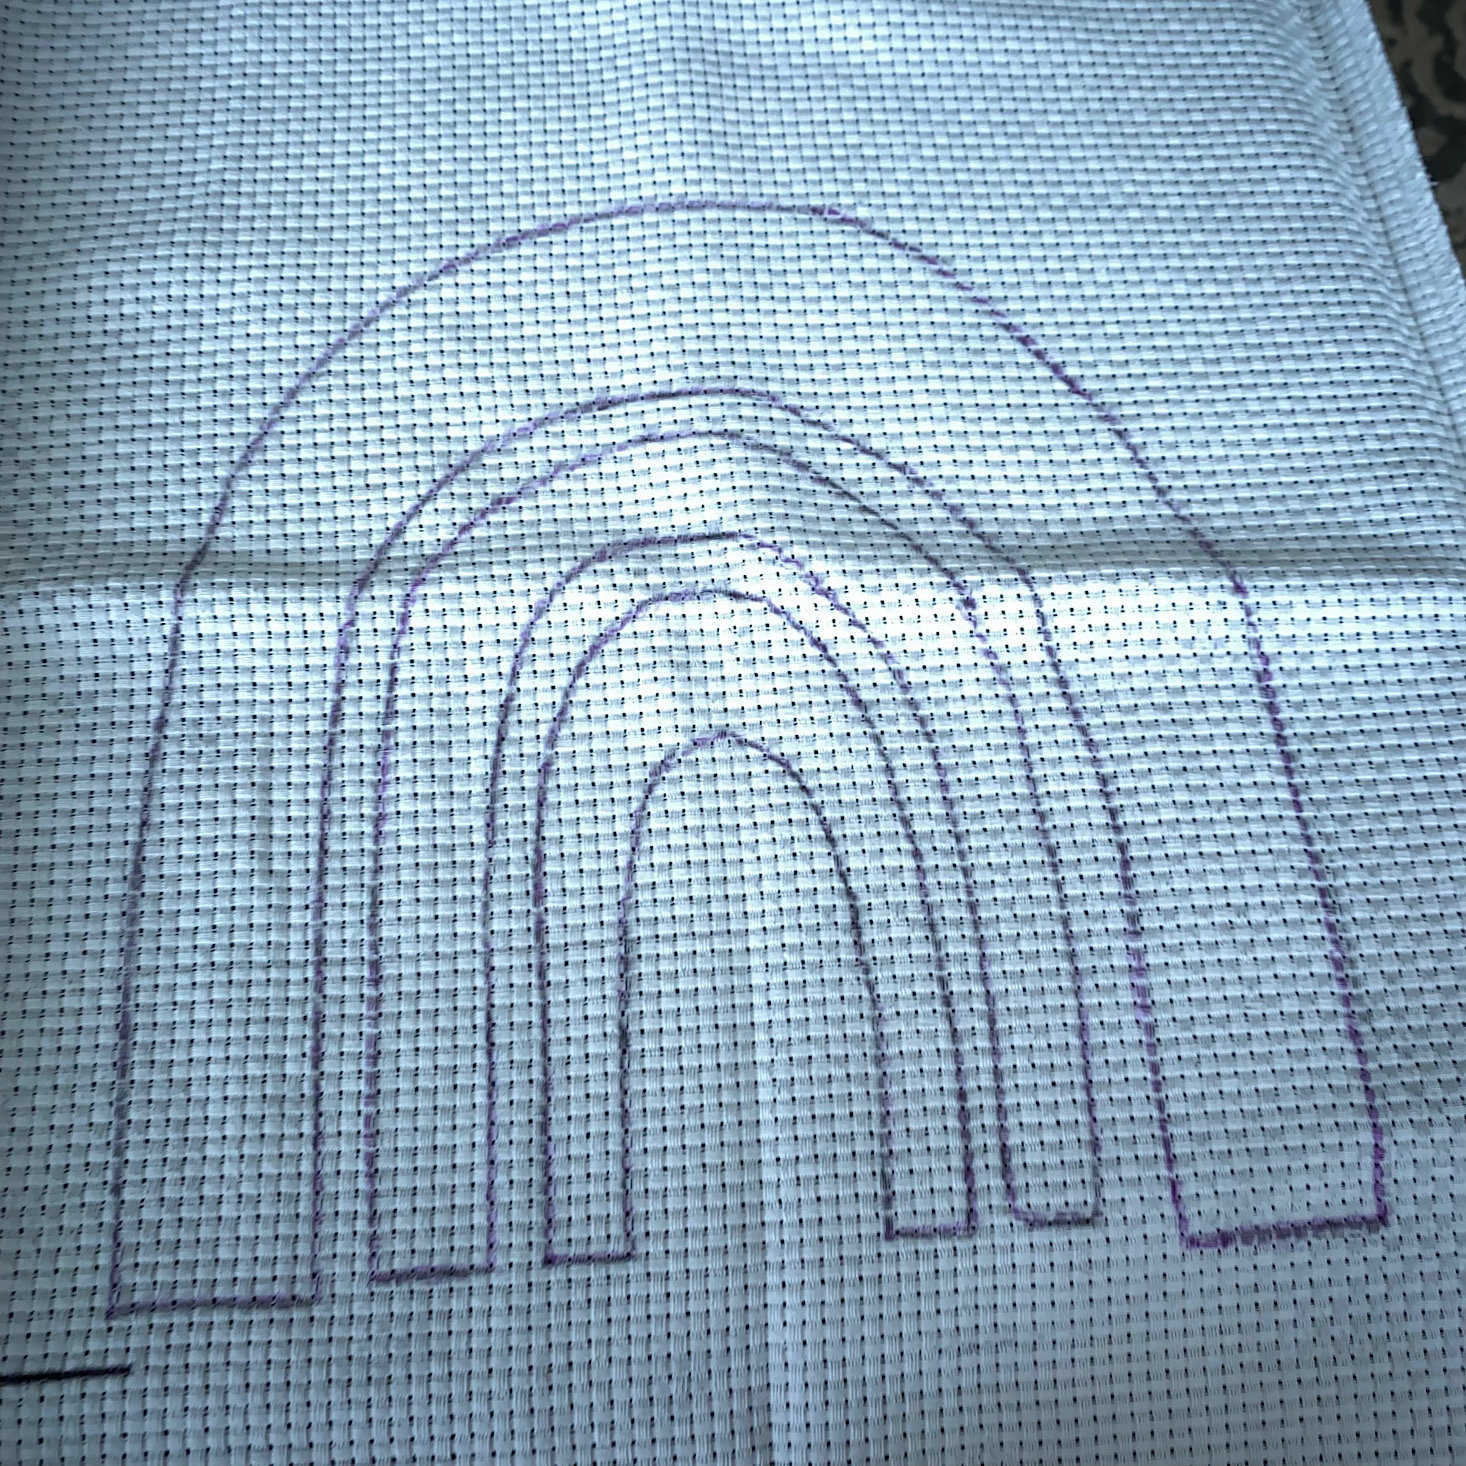
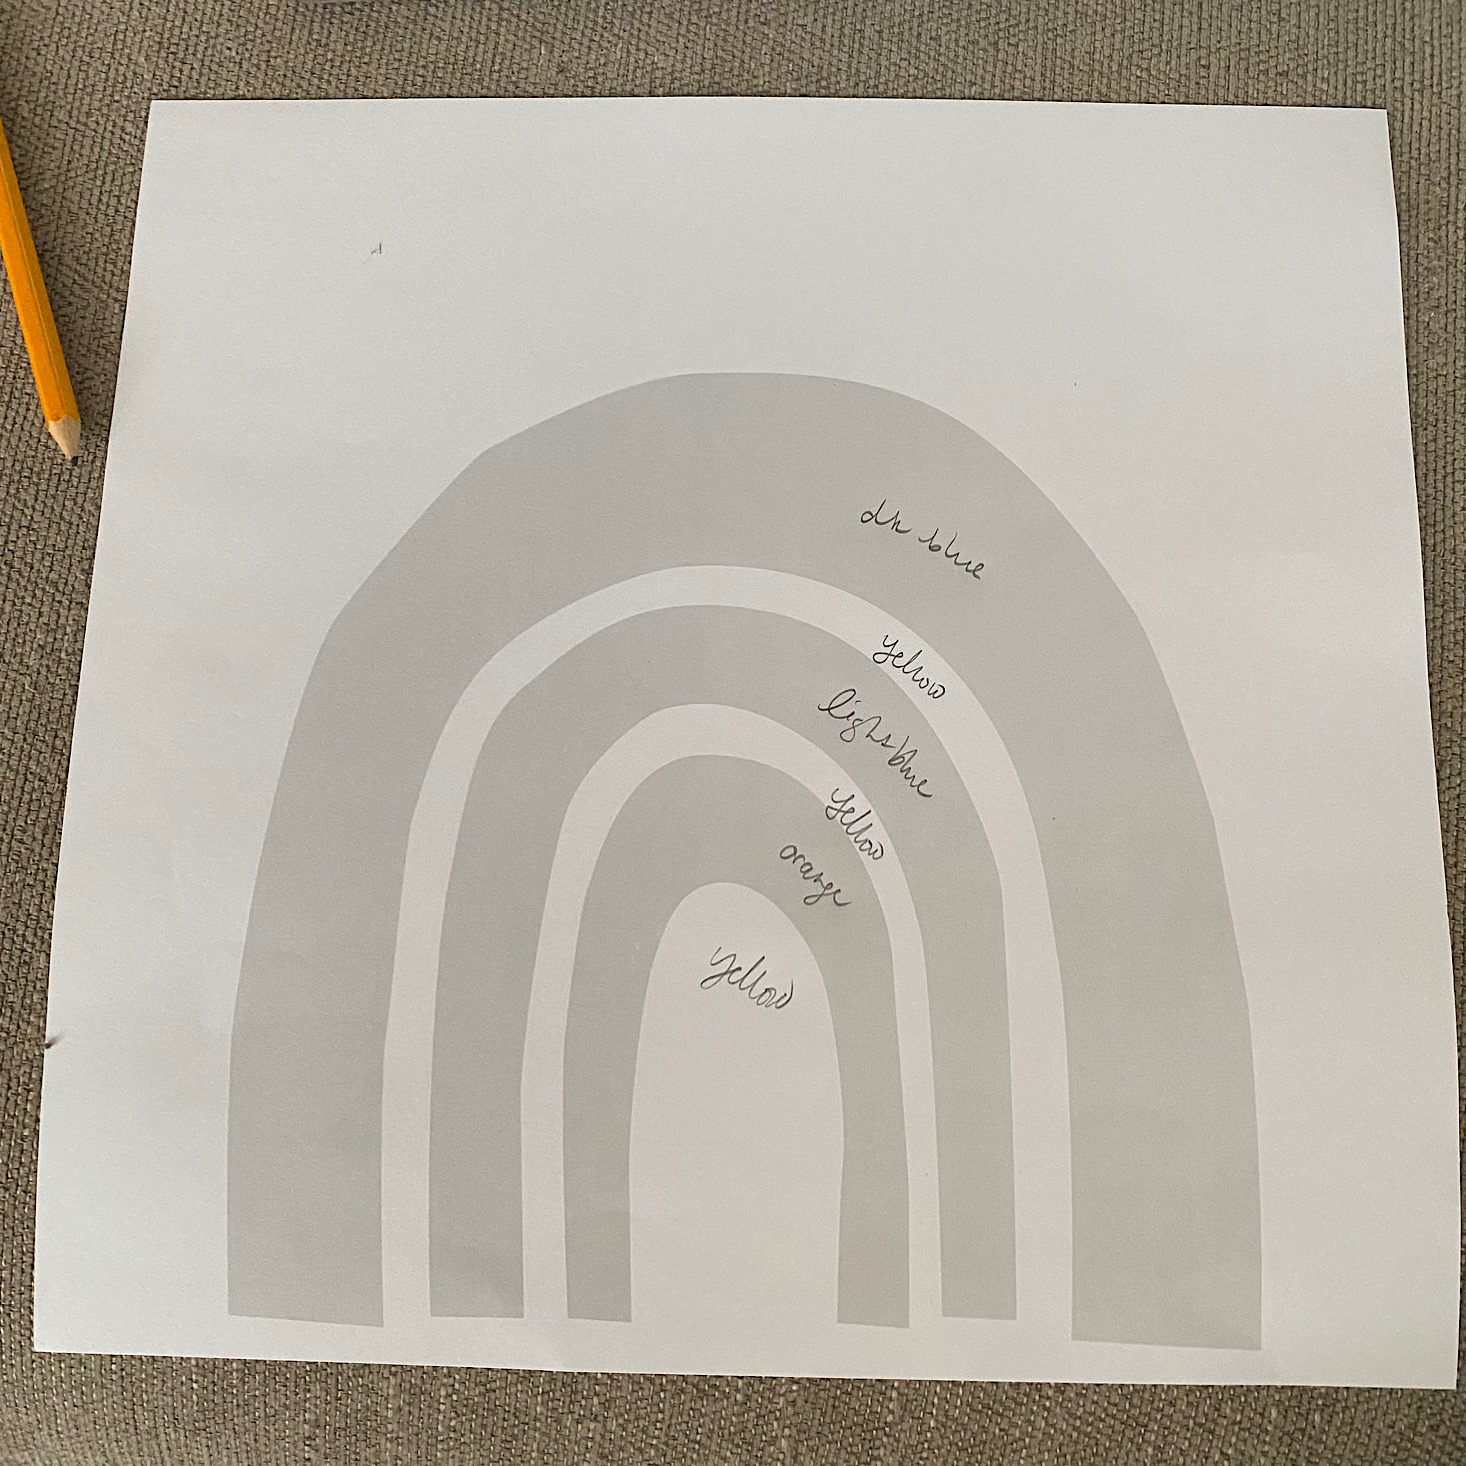
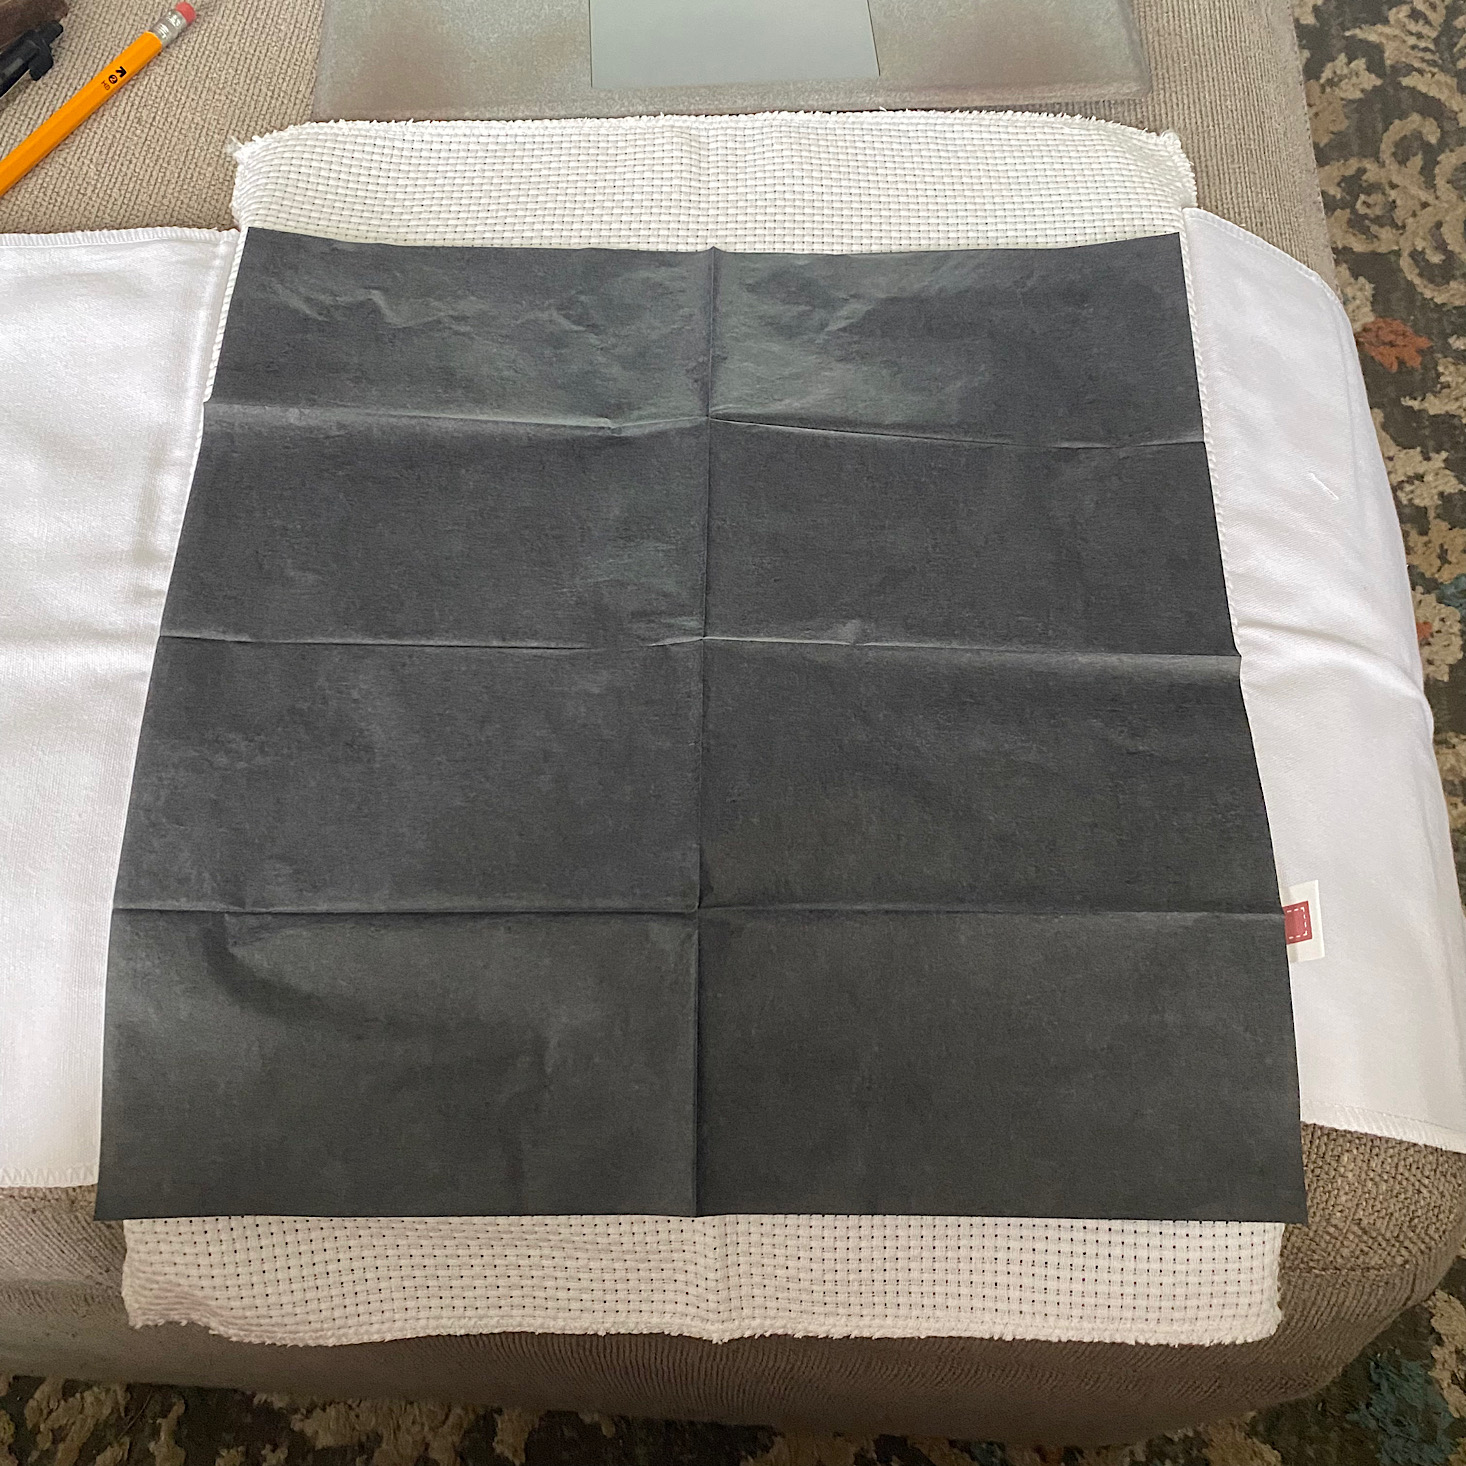
The first step was choosing a template and planning out my yarn colors. Then I used the carbon paper to transfer my design and finally traced over that with the fabric marker, which should fade in about a week.
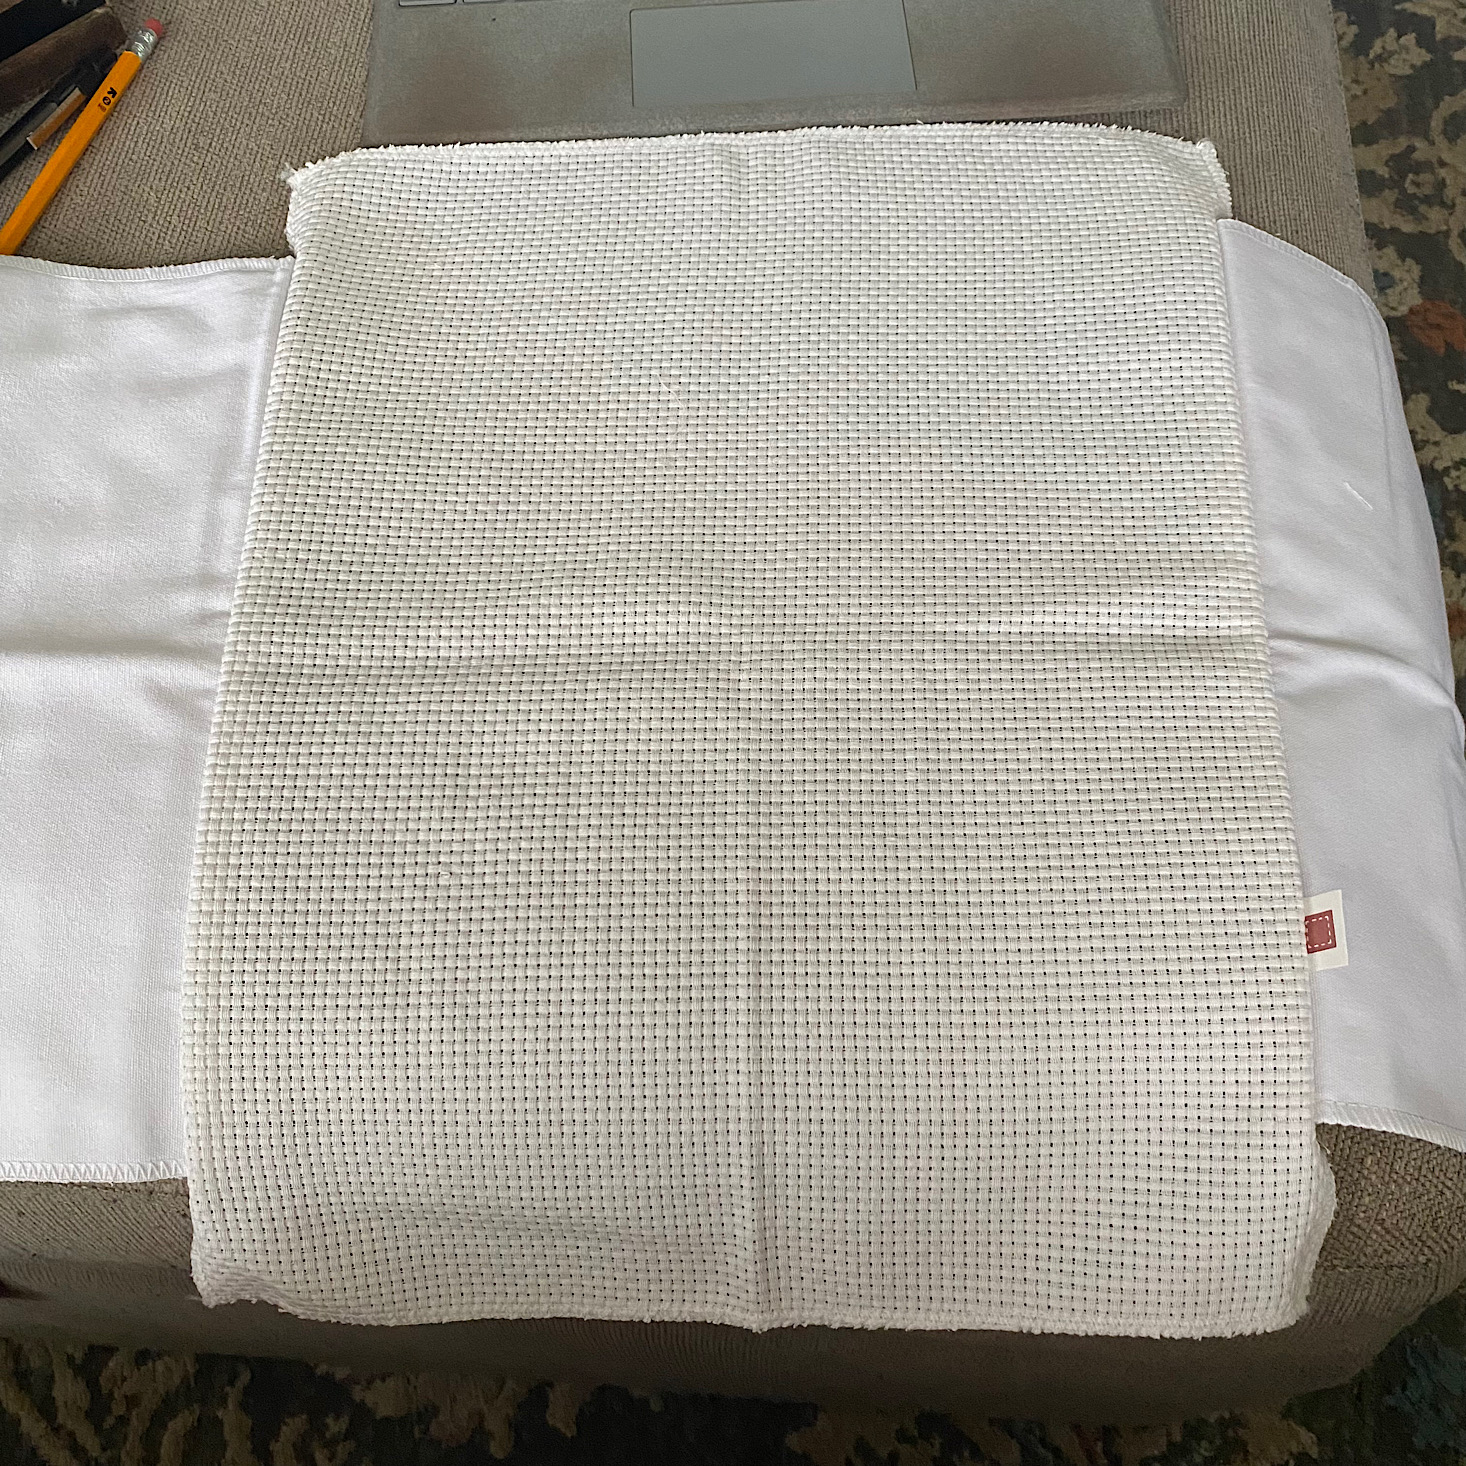
Next, I assembled the frame and attached my pillow fabric to it so I could get to work.
Part 2: Thread the Punch Needle
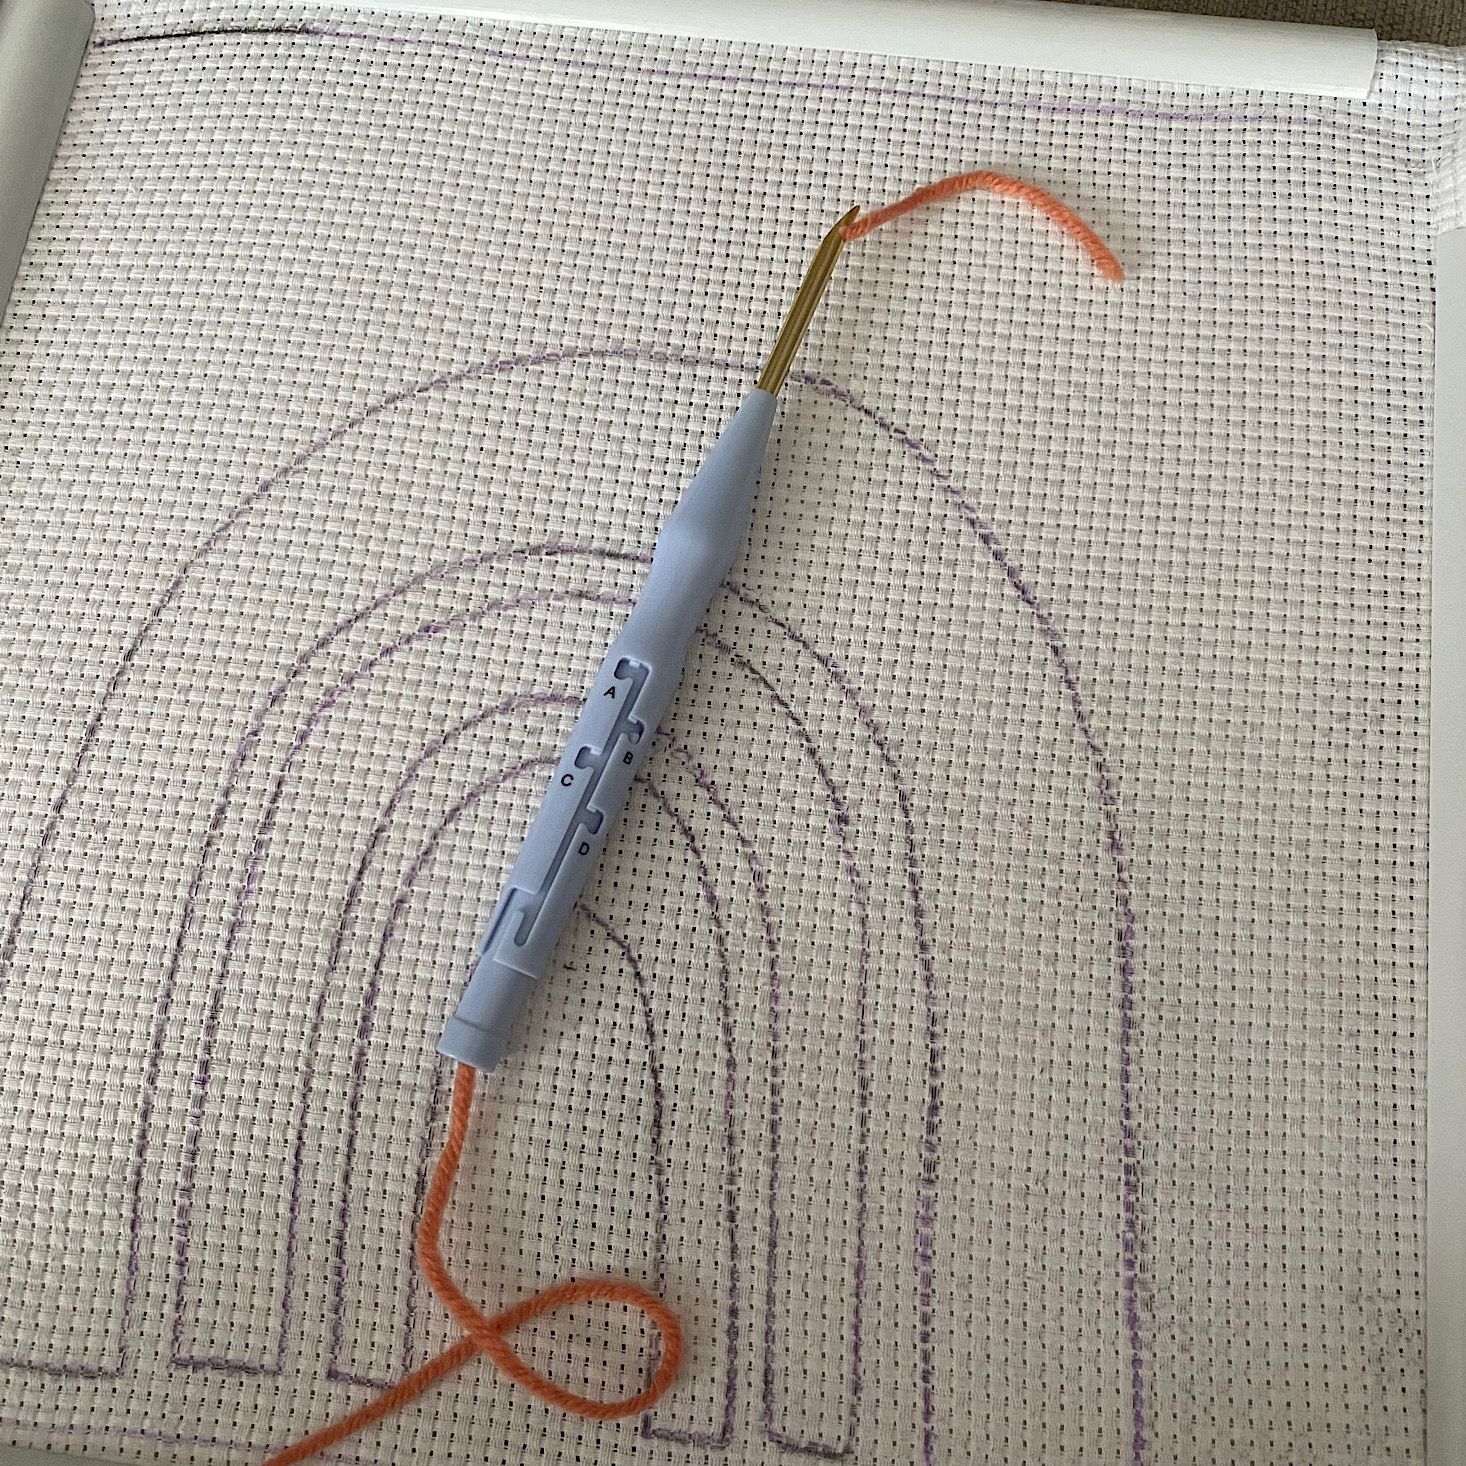
The last step before we could get started was to set up our punch needle and add the thread. I ended up using setting C and threading it was super simple thanks to the threader they included.
Part 3: Thread Your Design
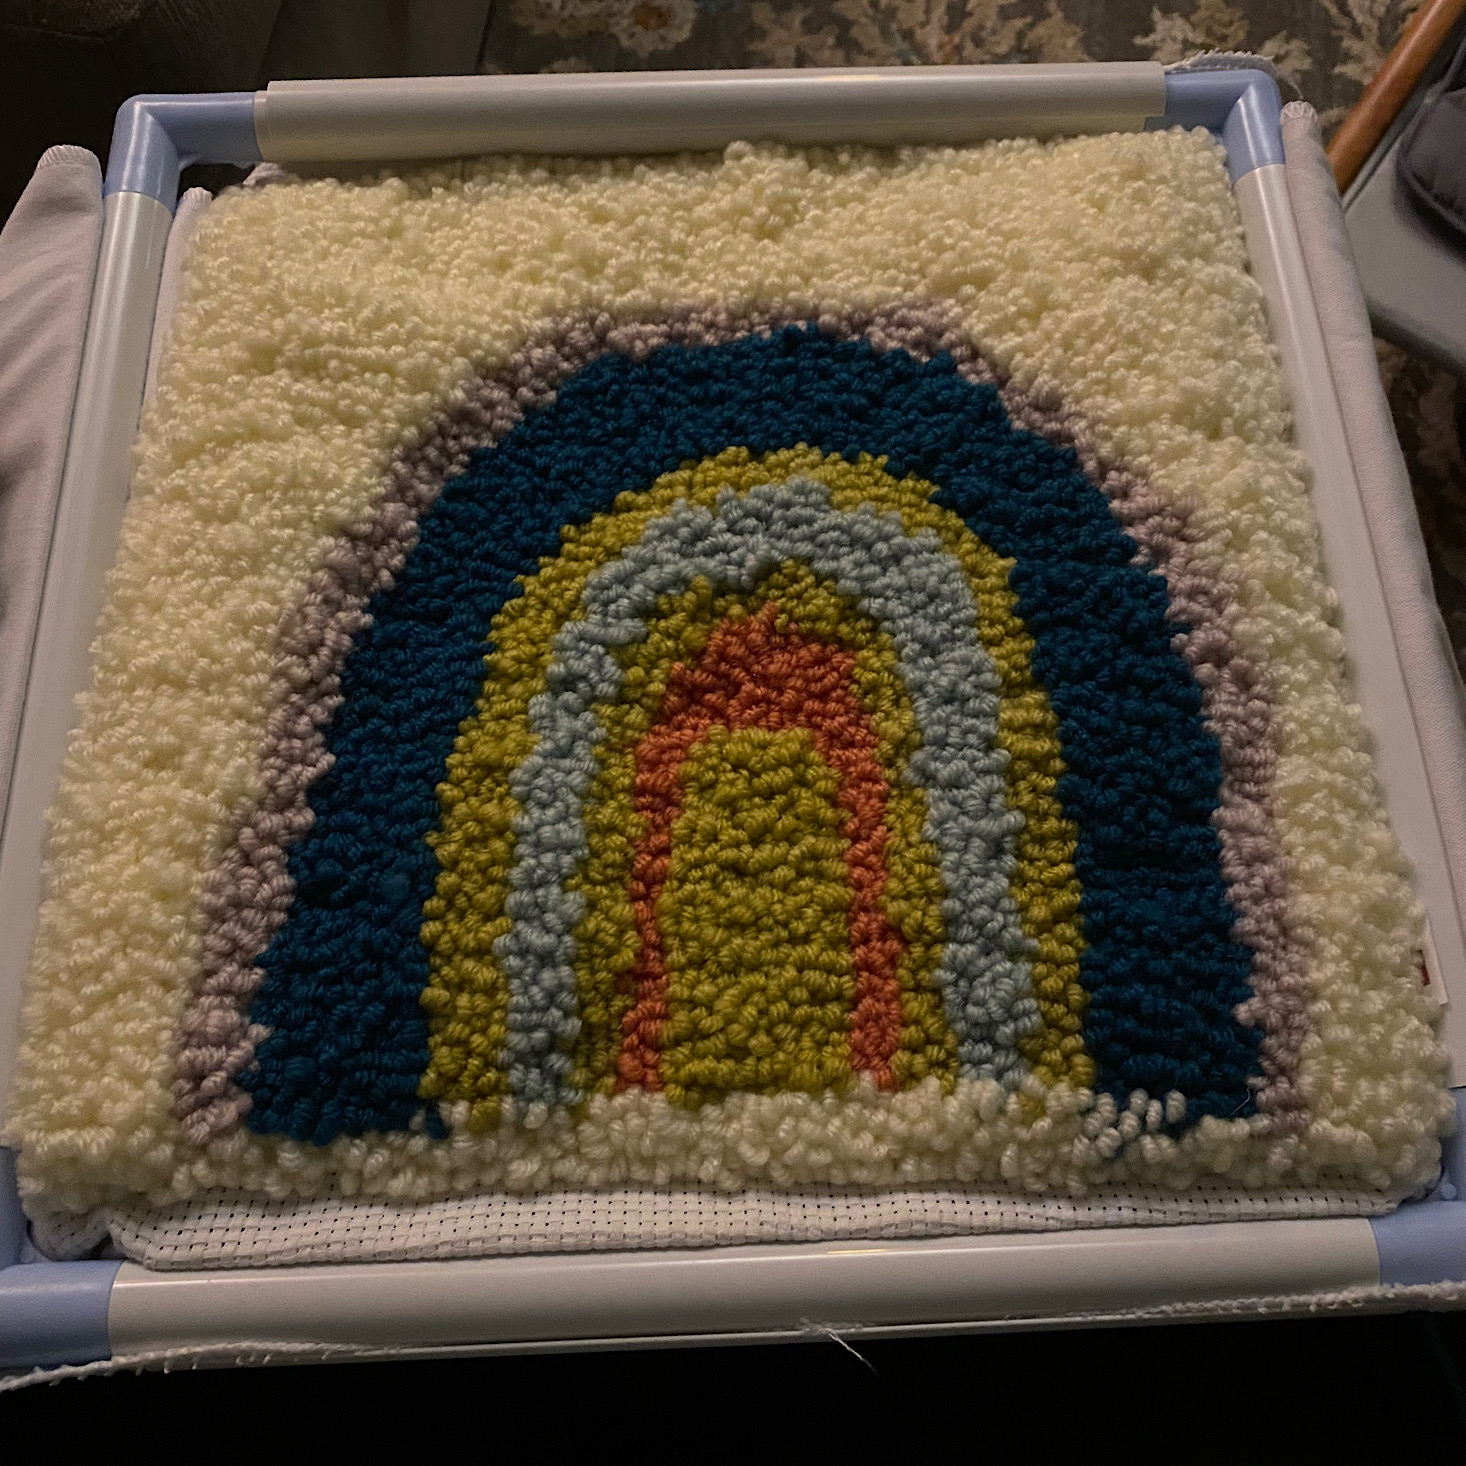
Punching the design was actually fairly easy, but wow, was it time-consuming! I decided to add one extra color to my original rainbow design after consulting with my daughter, and she took a turn punching it for us. The punch worked well and there really wasn't too much room for error, or if we did make a mistake, the fix was usually simple.
Let me tell you, this is not the project to be completed when you have a newborn at home. Even if I didn't have a new baby to care for, though, this still would have taken me a long time. My hands were aching a bit and it really did take me several nights of working on this to finally get it completed. I could definitely see this being a relaxing past-time, though, and a way to keep up your hand strength! Once I had punched everything, I trimmed any large loops and then I was able to remove it from the frame.
Part 4: Sew Your Pillow
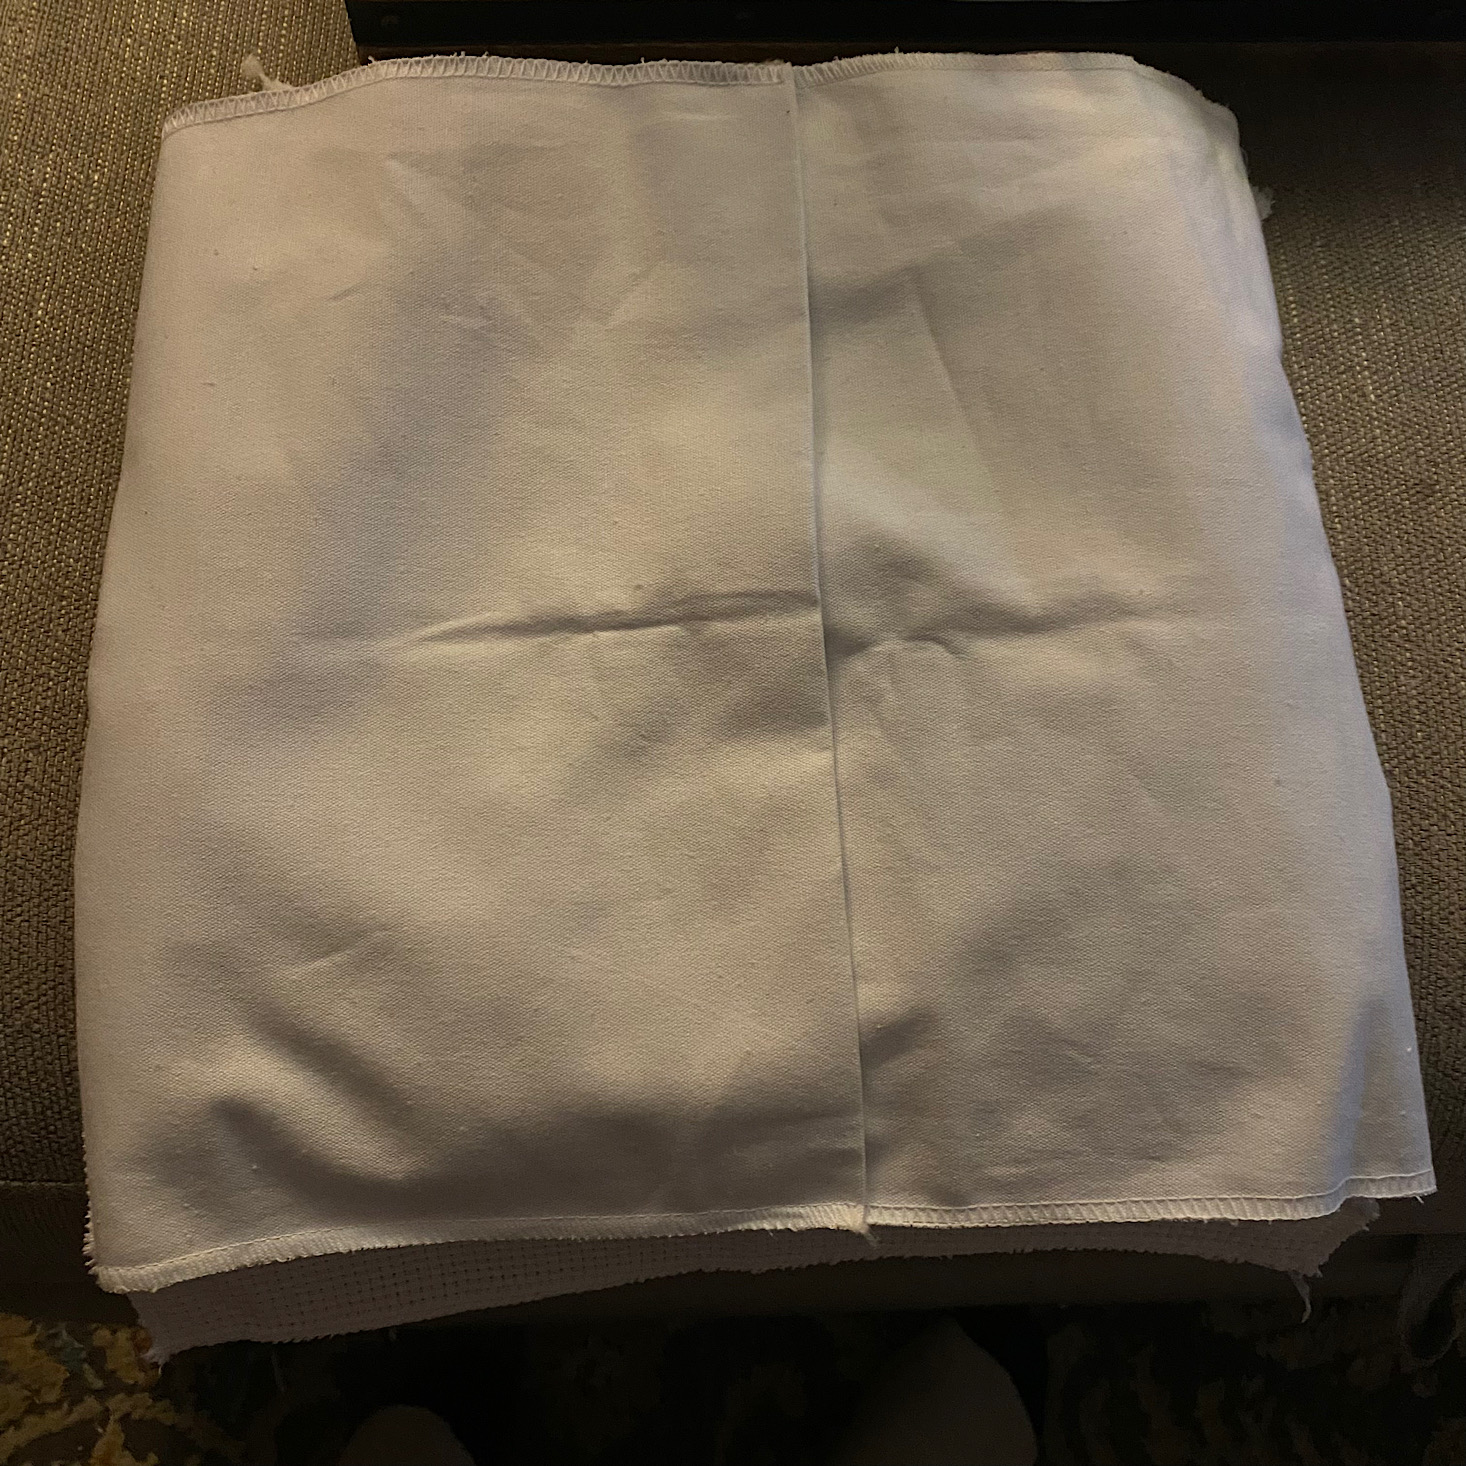
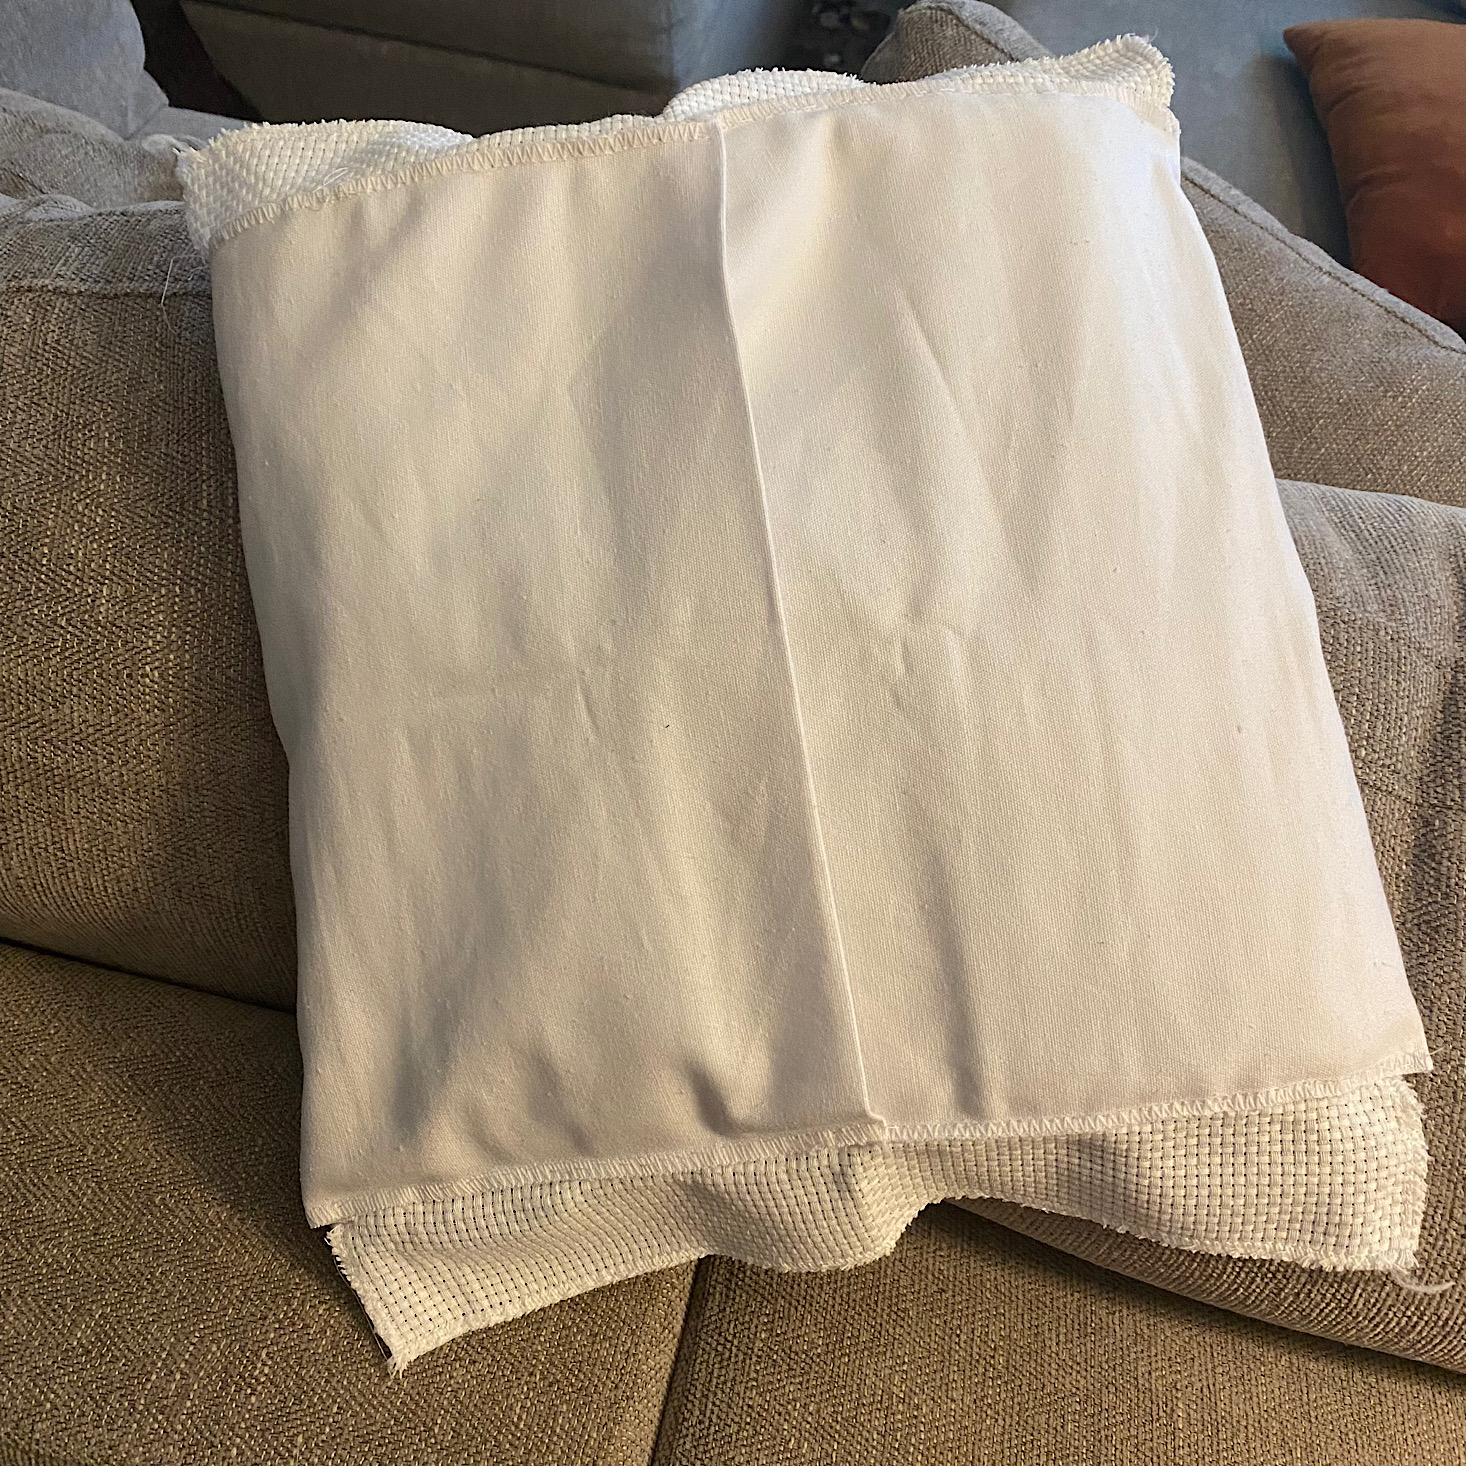
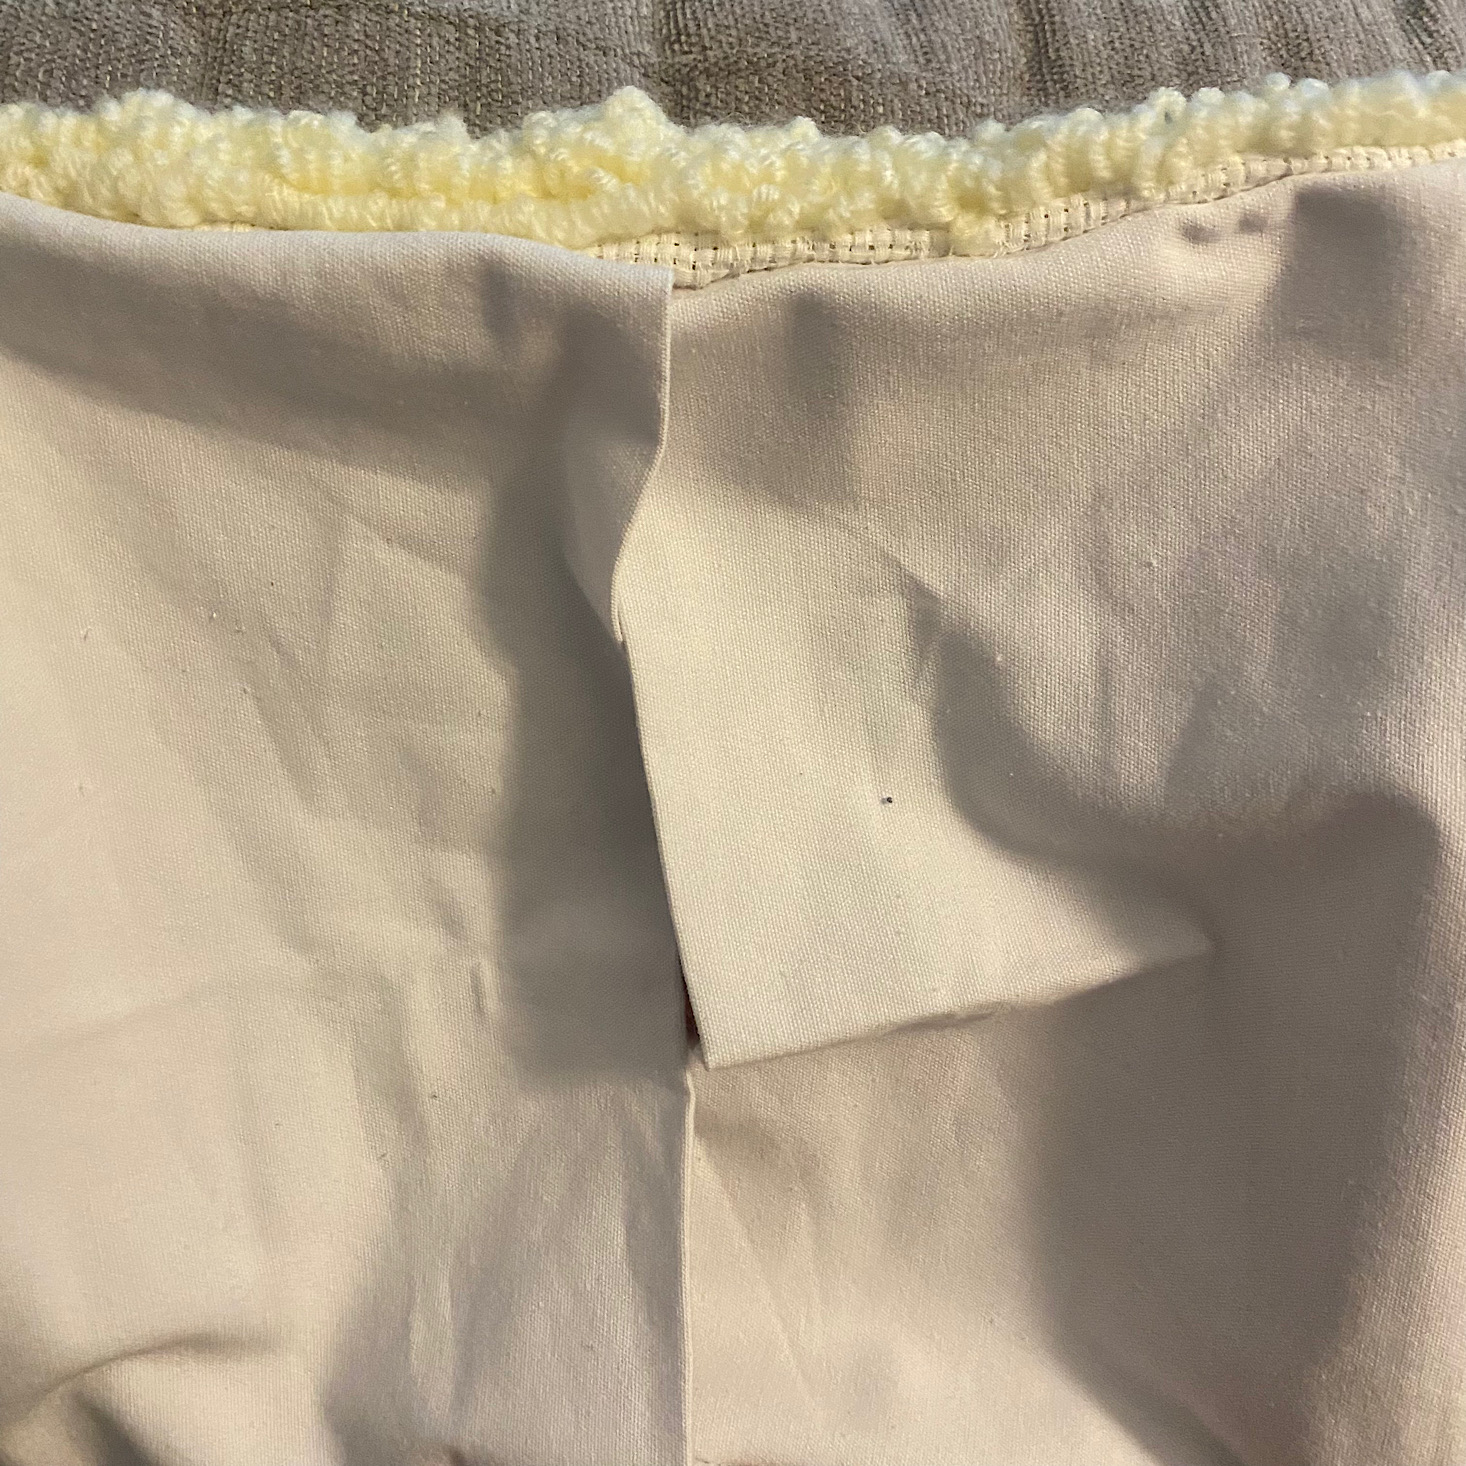
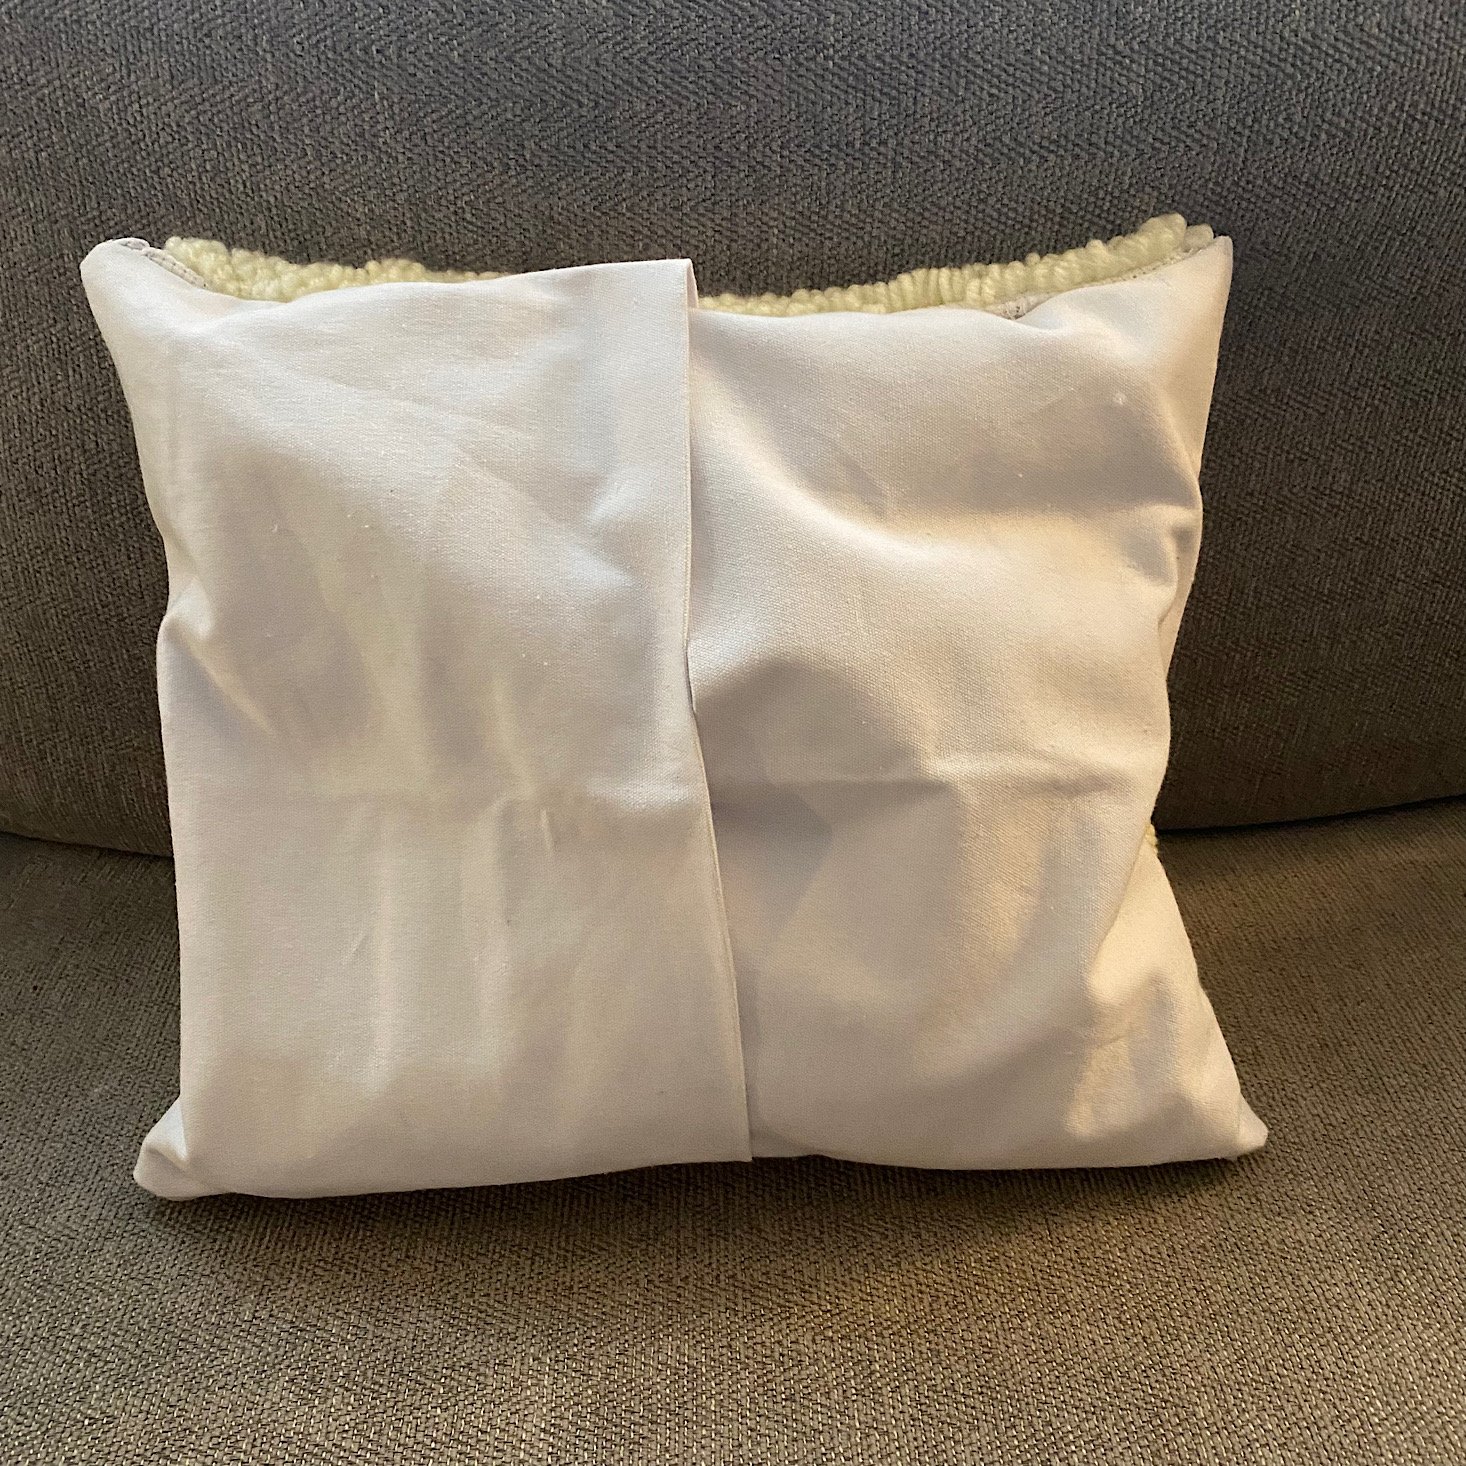
Sewing the pillow was the last step. I folded my edges over the center and then sewed the ends down. I was worried it would look a little wonky because one of my side flaps was sewn much higher than the other, and it definitely affected it a bit, but I was still able to get it sewn closed. Then I released my compressed pillow and stuffed it inside.
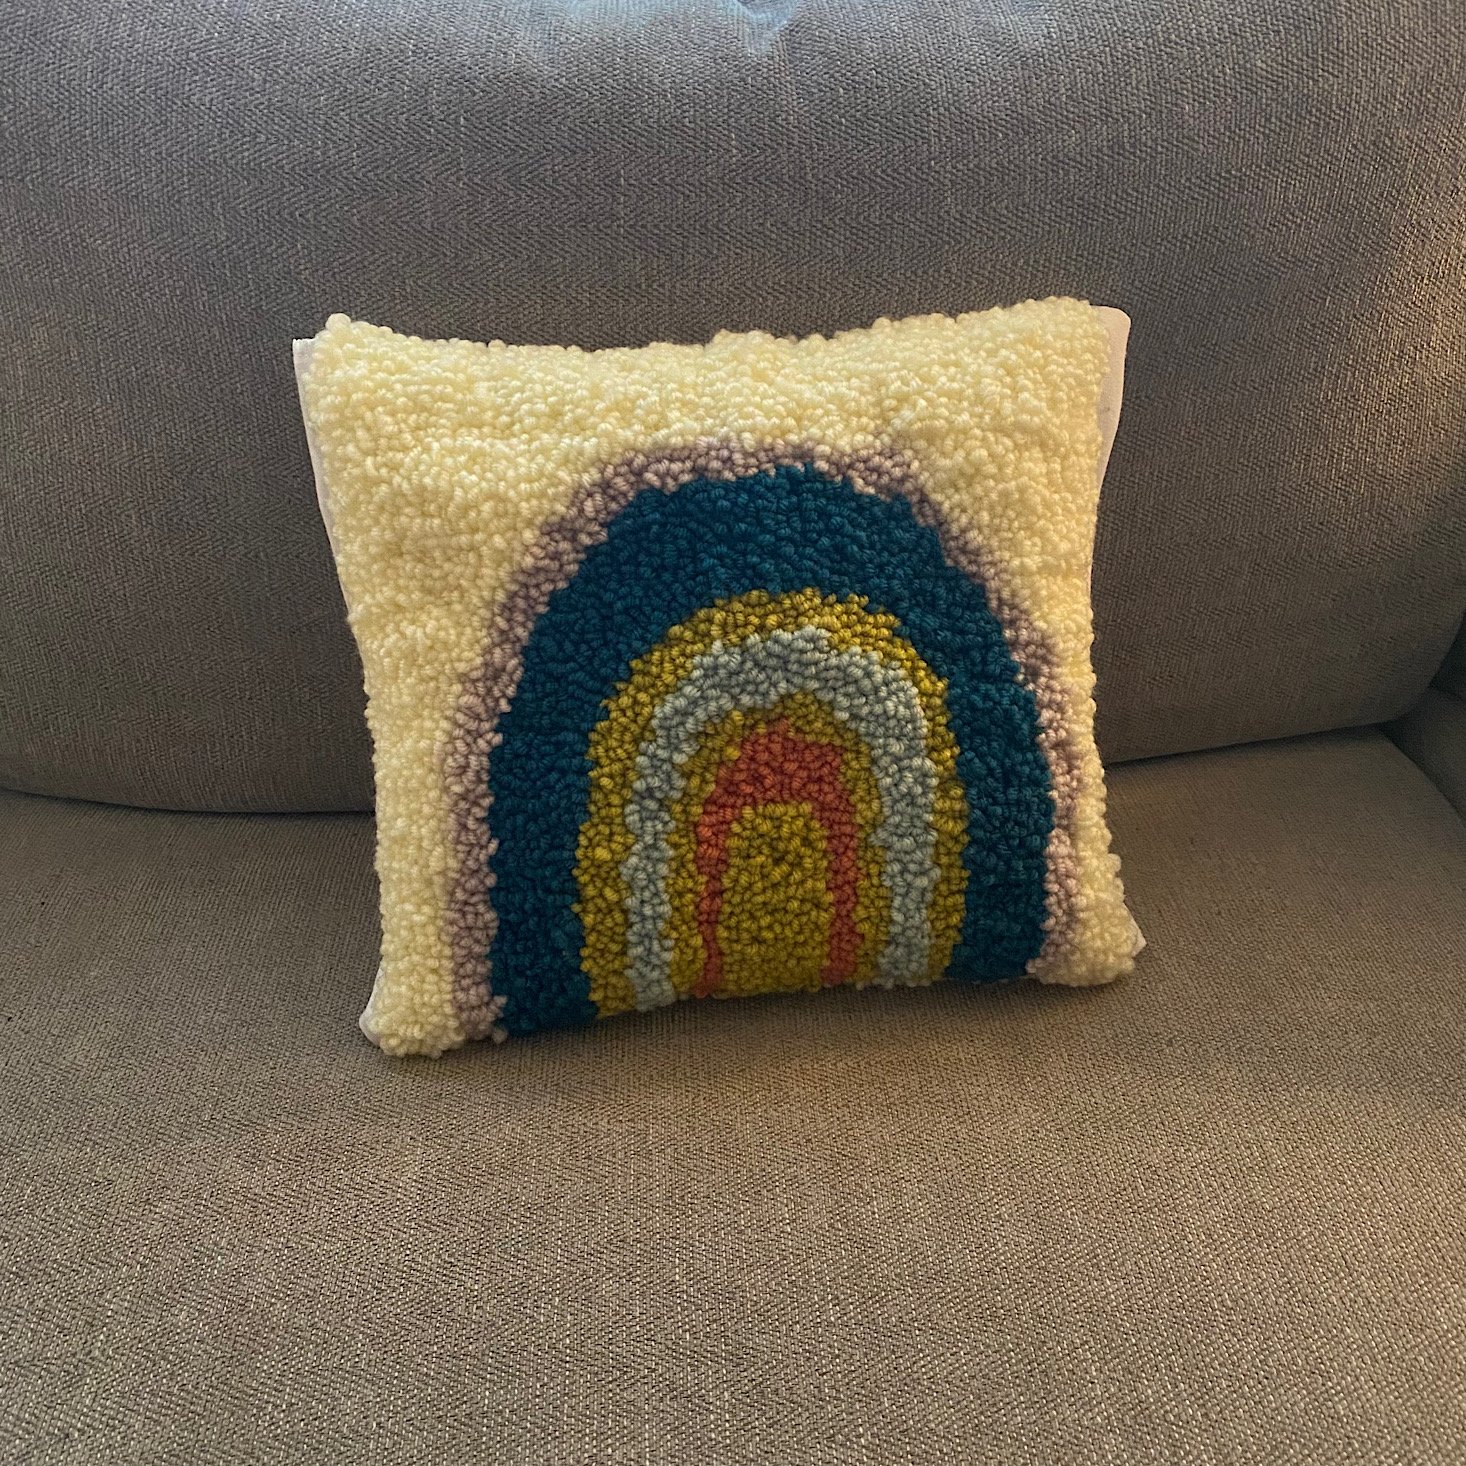
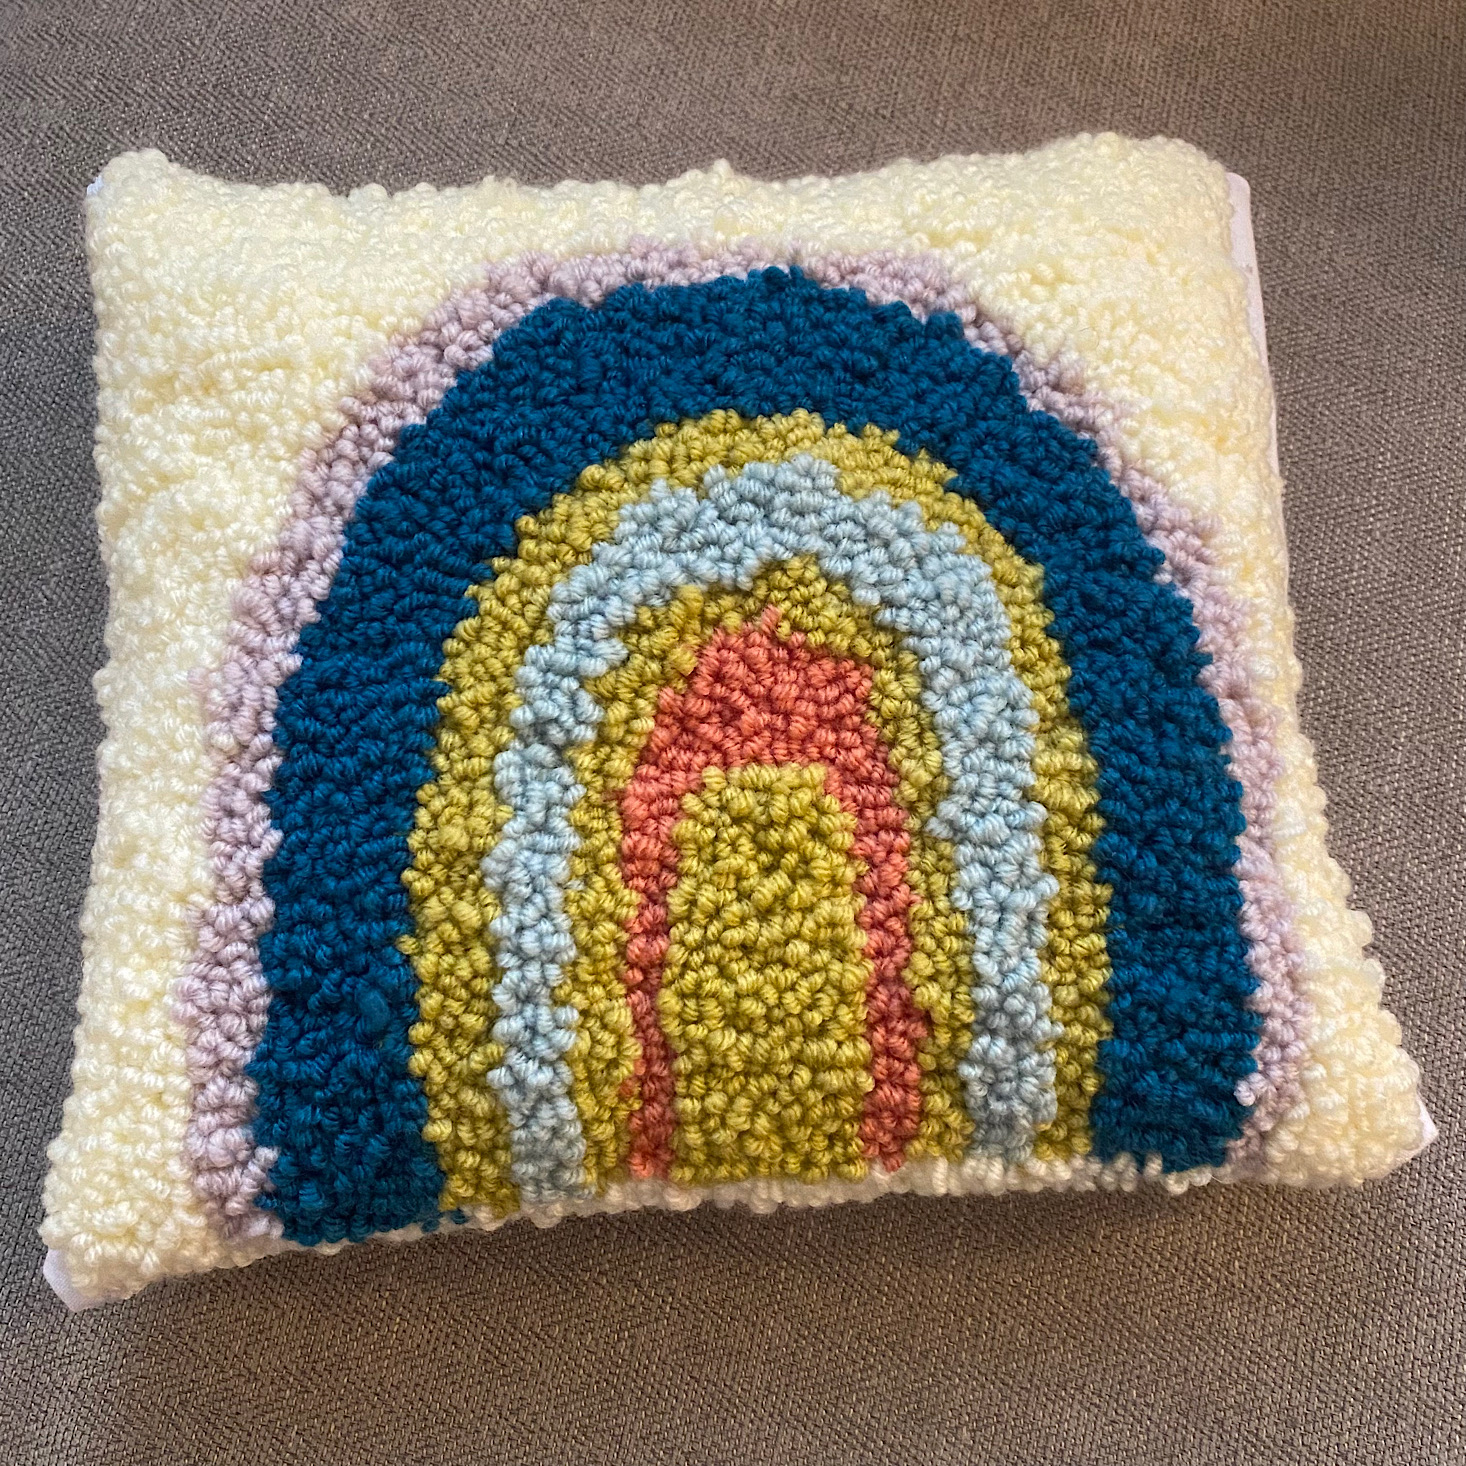
I thought it turned out pretty well! Although, I think I will definitely be re-sewing it closed because some of the areas are a little odd and look out of place. I have a machine, though, so this will be an easy fix to give this pillow a nicer finish. I could definitely have taken more care with my hand-sewing, but I admit, I was eager to be finished with this pillow by the end!
The finished project:

Here is my new pillow sitting pretty on my couch. What do you think?
Value - Was This Box Worth It?
The Cost: $29.95
I love that I got to create a pillow and learn the art of punch-needle design, but this was definitely a time-consuming project! I do think that all of the materials and guidance they provided were definitely worth it and while my finished product may not be perfect, I was happy that I had a new handmade accent pillow!
Key Takeaways
This box was well-organized, the instructions were very clear, and they made the process as simple as possible so that I could complete a successful project. This did take me a long time to complete so I would say this project definitely requires some patience and perseverance, but the end result can be so nice! I am actually eager to try this again one day in the distant future now that I know how simple the process is. There are so many beautiful skeins of yarn that I could see creating something with and now that I have this skill, it will be fun to design something on my own one day!
Keep Track of Your Subscriptions: Add this box to your subscription list or wishlist!
To Wrap Up:
Can you still get this box if you sign up today? It is possible you might get this crate, but it is not a guarantee. From KiwiCo:
Crates are assigned each month based on availability and your crate history - not all subscribers receive the same theme each month.
What do you think of Maker Crate? Click below to write a review!




















Please do not enter your email address in the Name field or in the comment content. Your email address will not be published. Required fields are marked *. Remember to post with kindness and respect. Comments with offensive language, cruelness to others, etc will not be approved. See our full comment policy here.