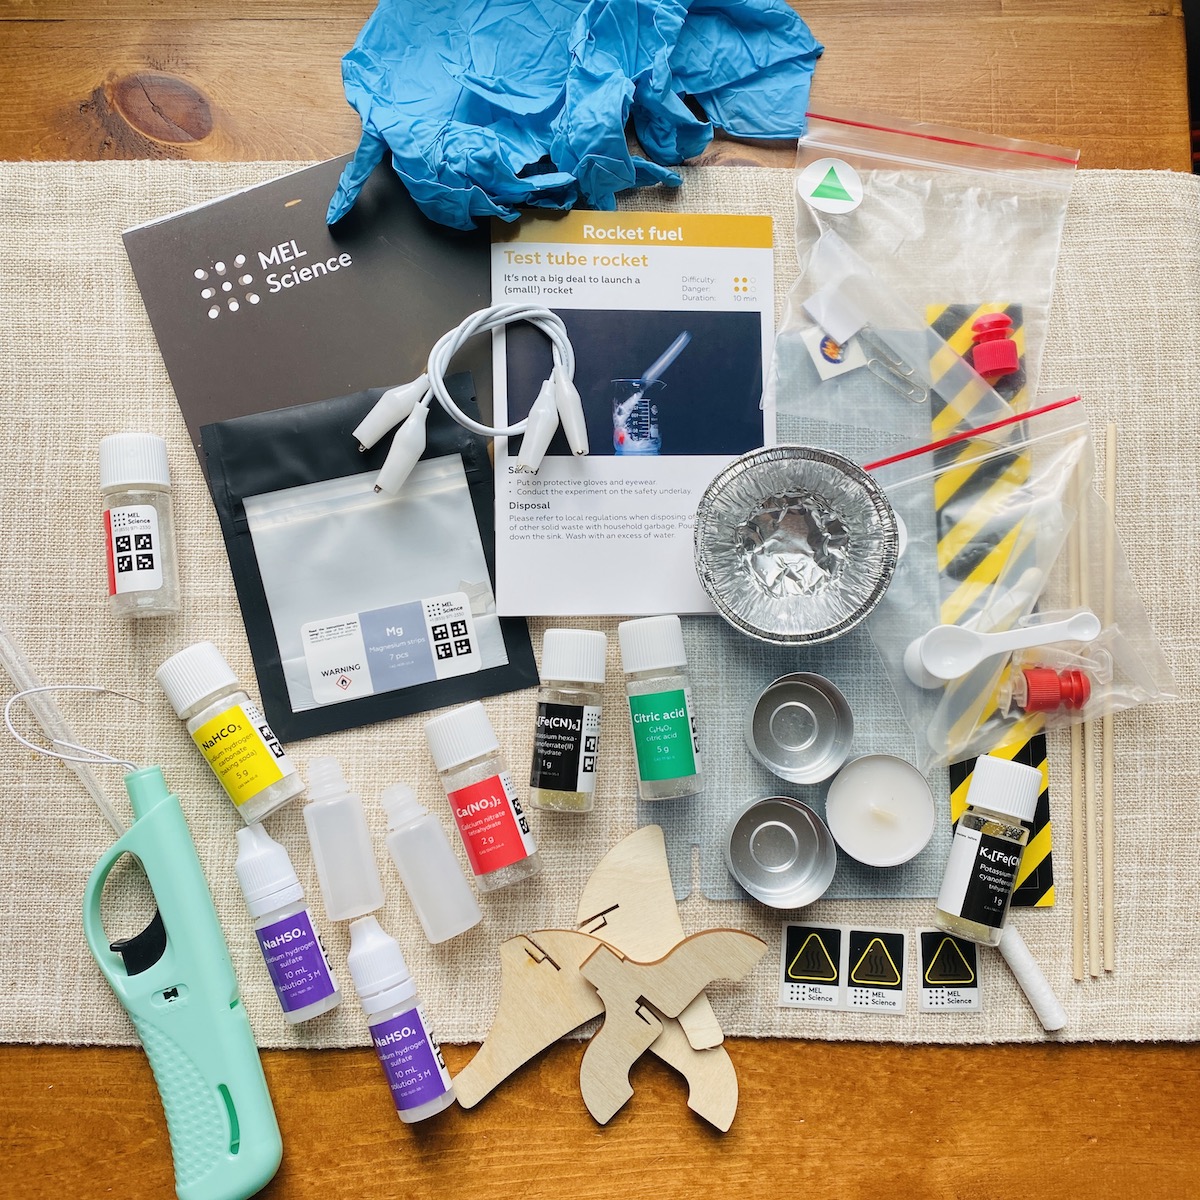
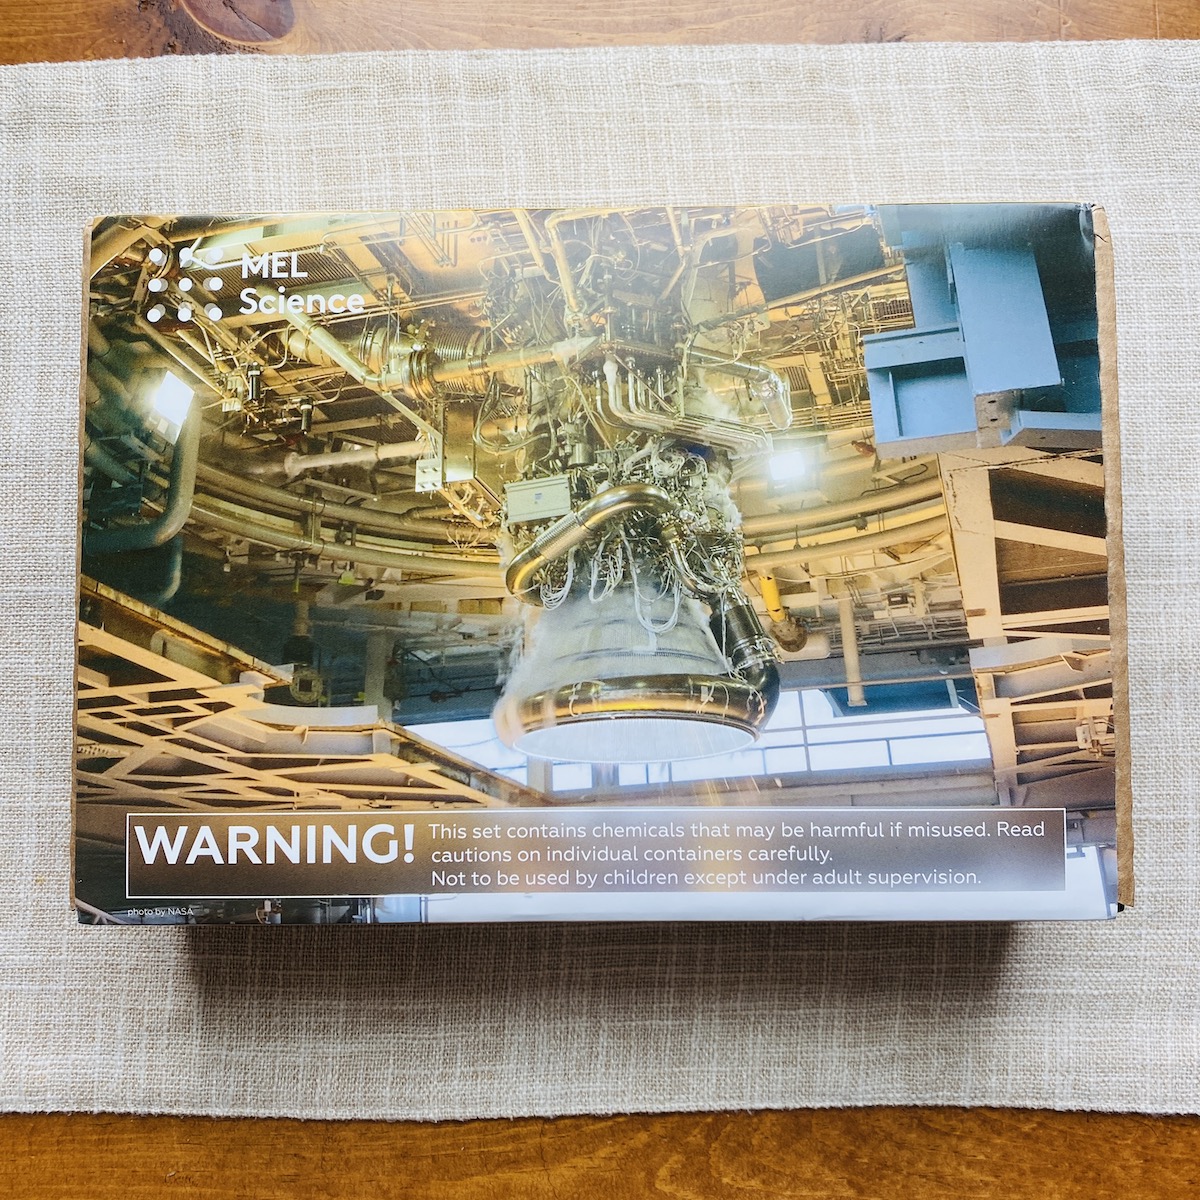
MEL Space is a monthly subscription box for kids 8-14+ who would like to learn more about space in an exciting way. Through hands-on space kits, kids can learn about topics such as gas giants, energy in space, and space rockets, while experiencing real-life applications. Each month contains a new experiment and space lesson for kids to dive into, and will contain everything they need to safely and easily complete at home.
This month we reviewed the "Rocket Fuel" from MEL Space.
ACTIVE DEAL: FREE one-month trial. No coupon needed - just use this link.
This box was sent to us at no cost for review. (Check out our editorial guidelines to learn more about how we review boxes.)
MEL Space: Rocket Fuel
The countdown to summer vacation is on, and while I am excited for rest and relaxation, also worry about the dreaded summer slide. To keep my kids engaged in learning, all while having fun, I have discovered the MEL: Space subscription box, and it has become a favorite in our household. Paired with the app, we have learned so many new things, and are thrilled to go a little more in depth over our break. Read below to find out what we learned this month!
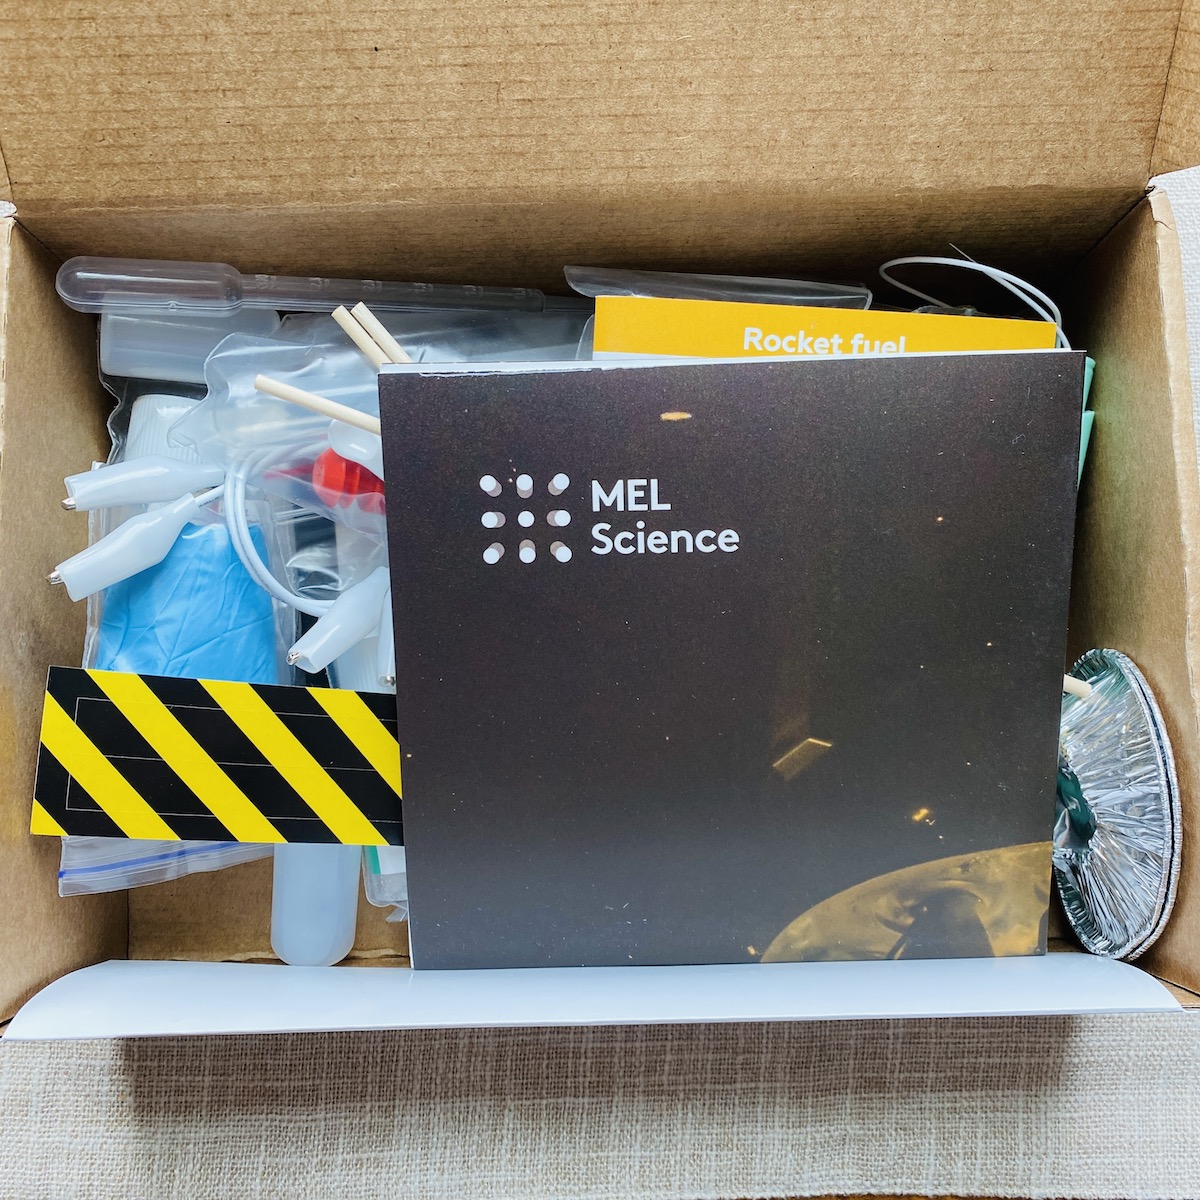
Organized neatly by project, all components are packaged in separate baggies and laid out in a really nice way. Charlie was impressed with the amount of supplies, and couldn't wait to dive in!
MEL Space "Rocket Fuel" Experiments:
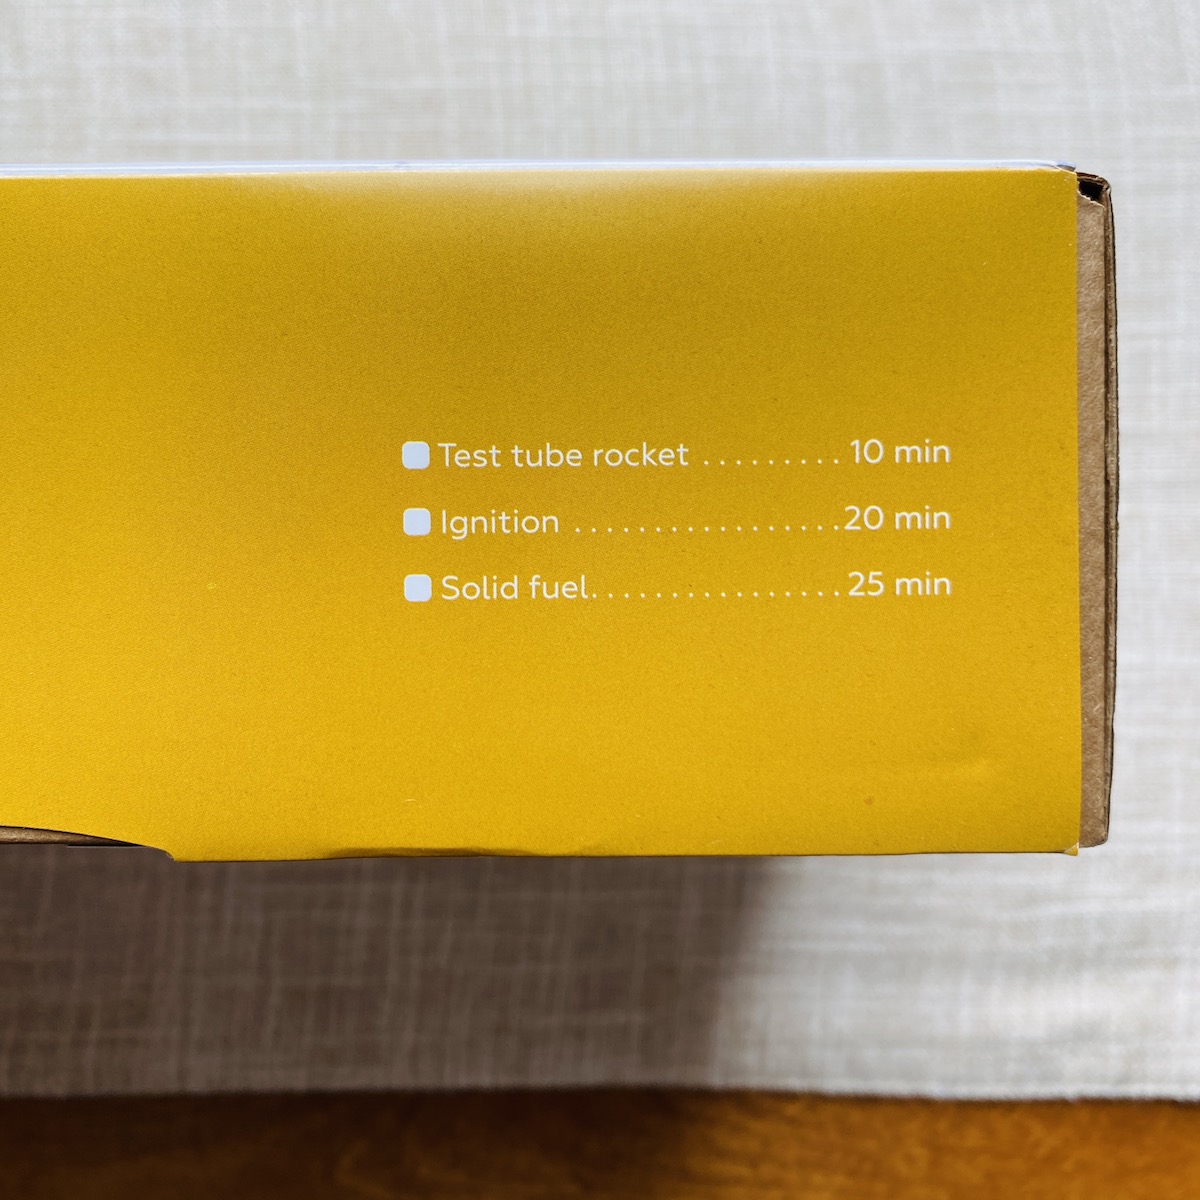
Test Tube Rocket
The first experiment came with well laid out instructions, though they also can be accessed on the app. Charlie appreciated the pictures, but because he is only 8, needed adult assistance. One thing this box doesn't tell you is if the experiments are safe for indoors, so we headed outside just to be safe.
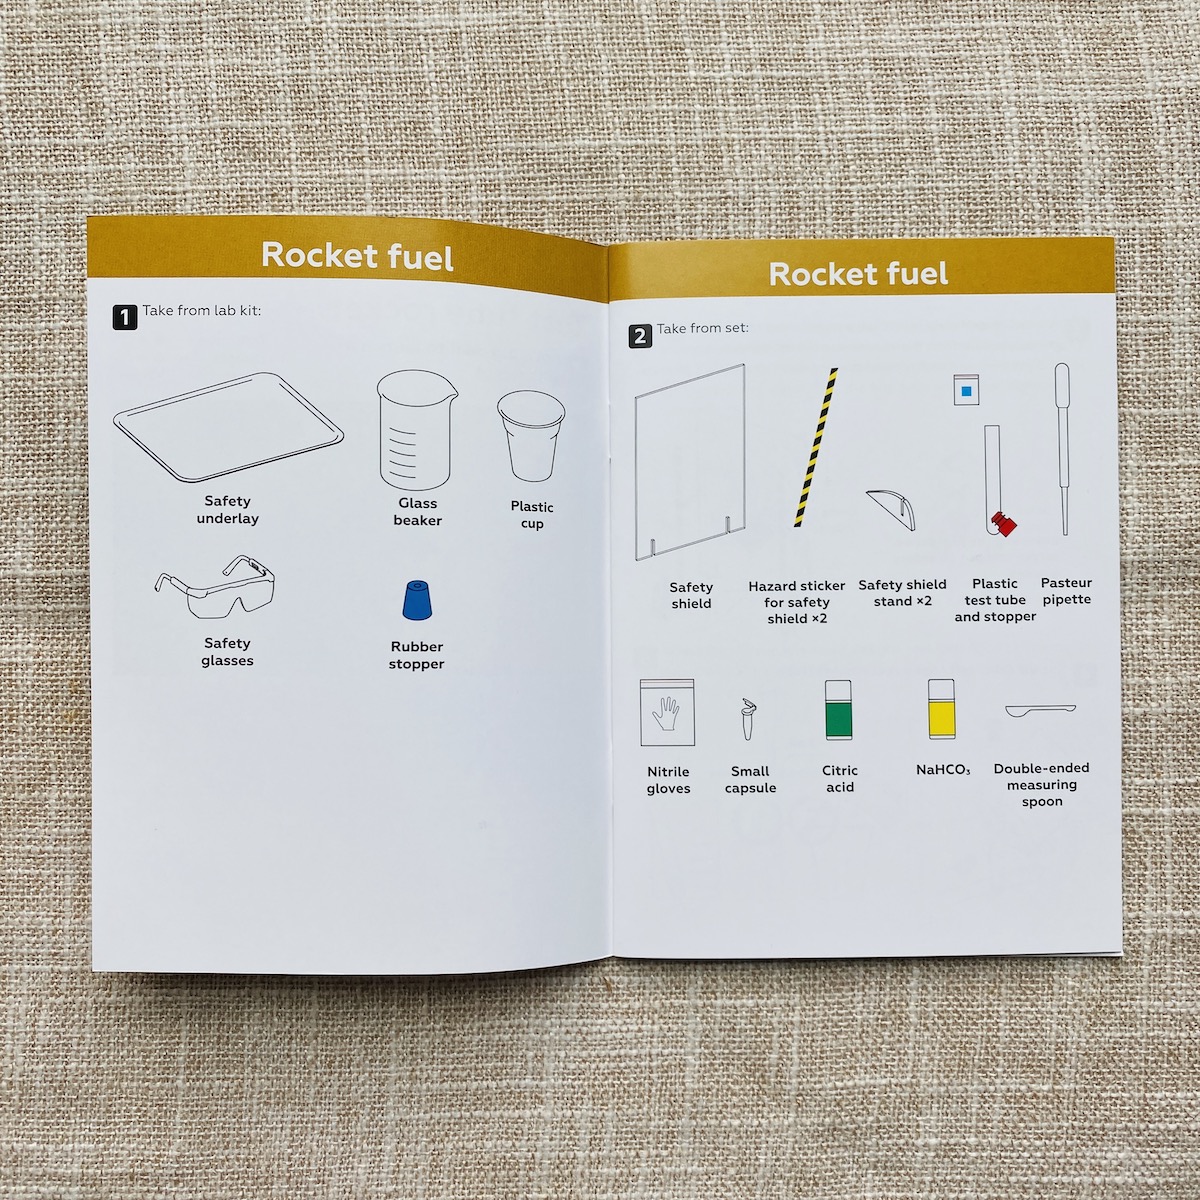
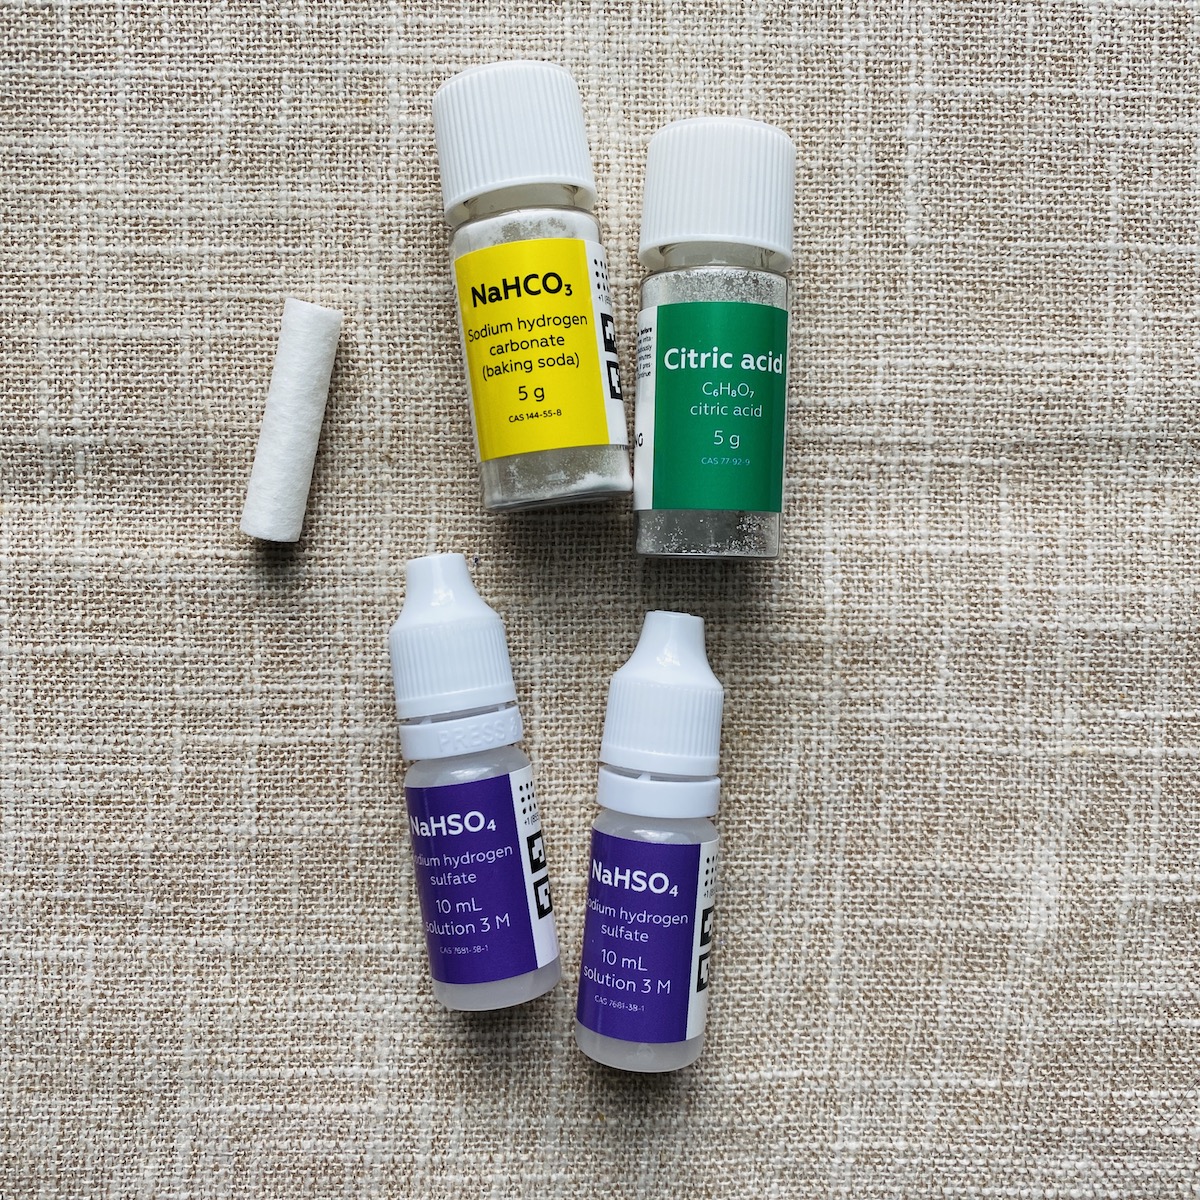
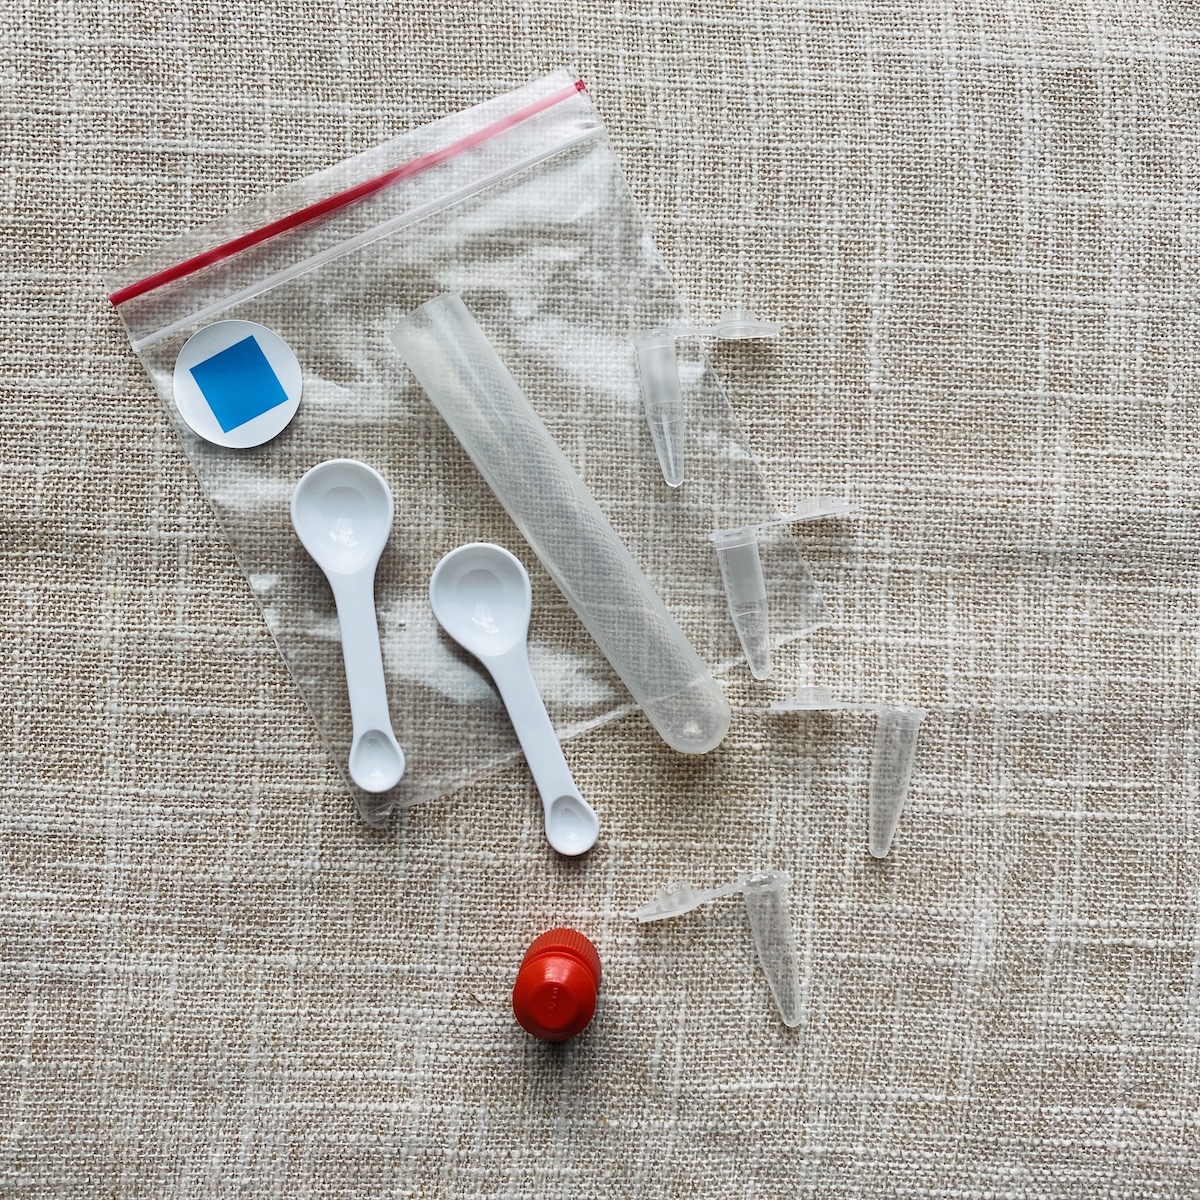
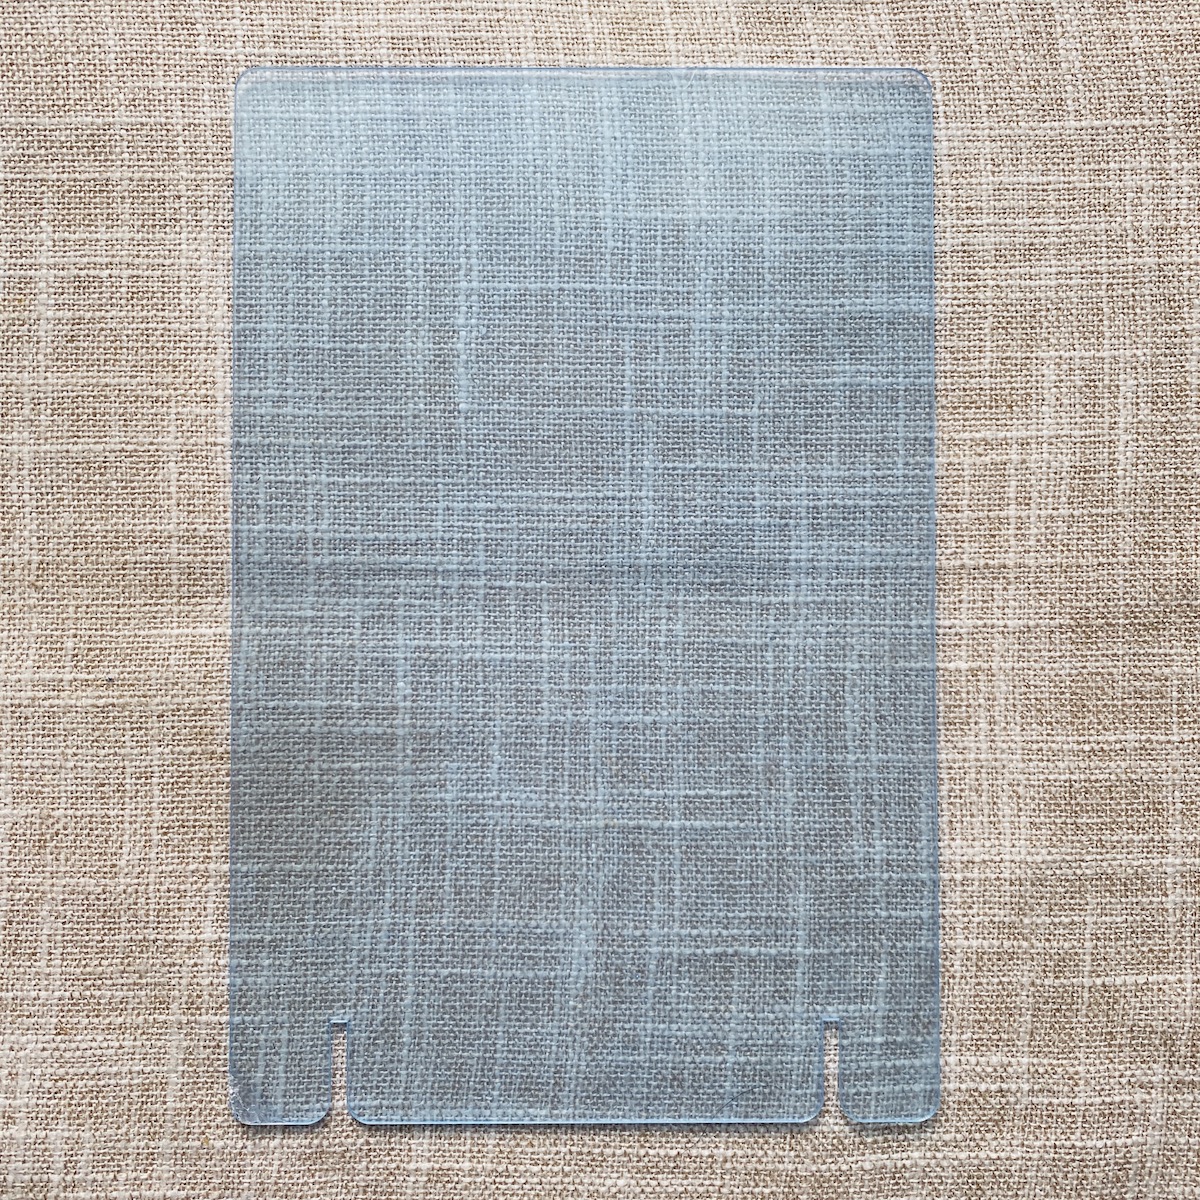
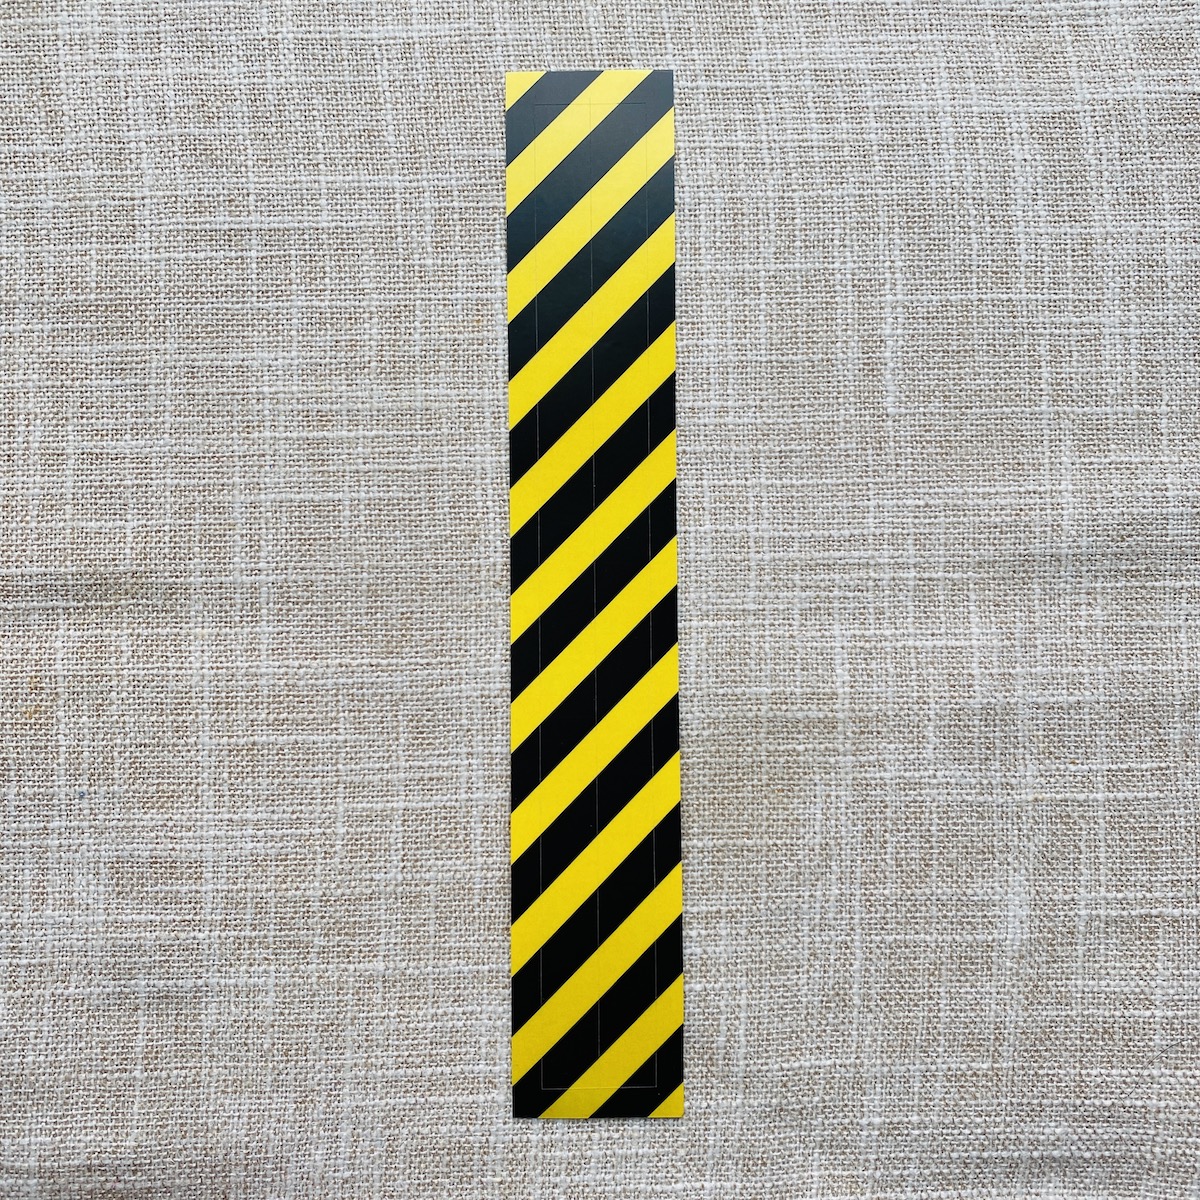
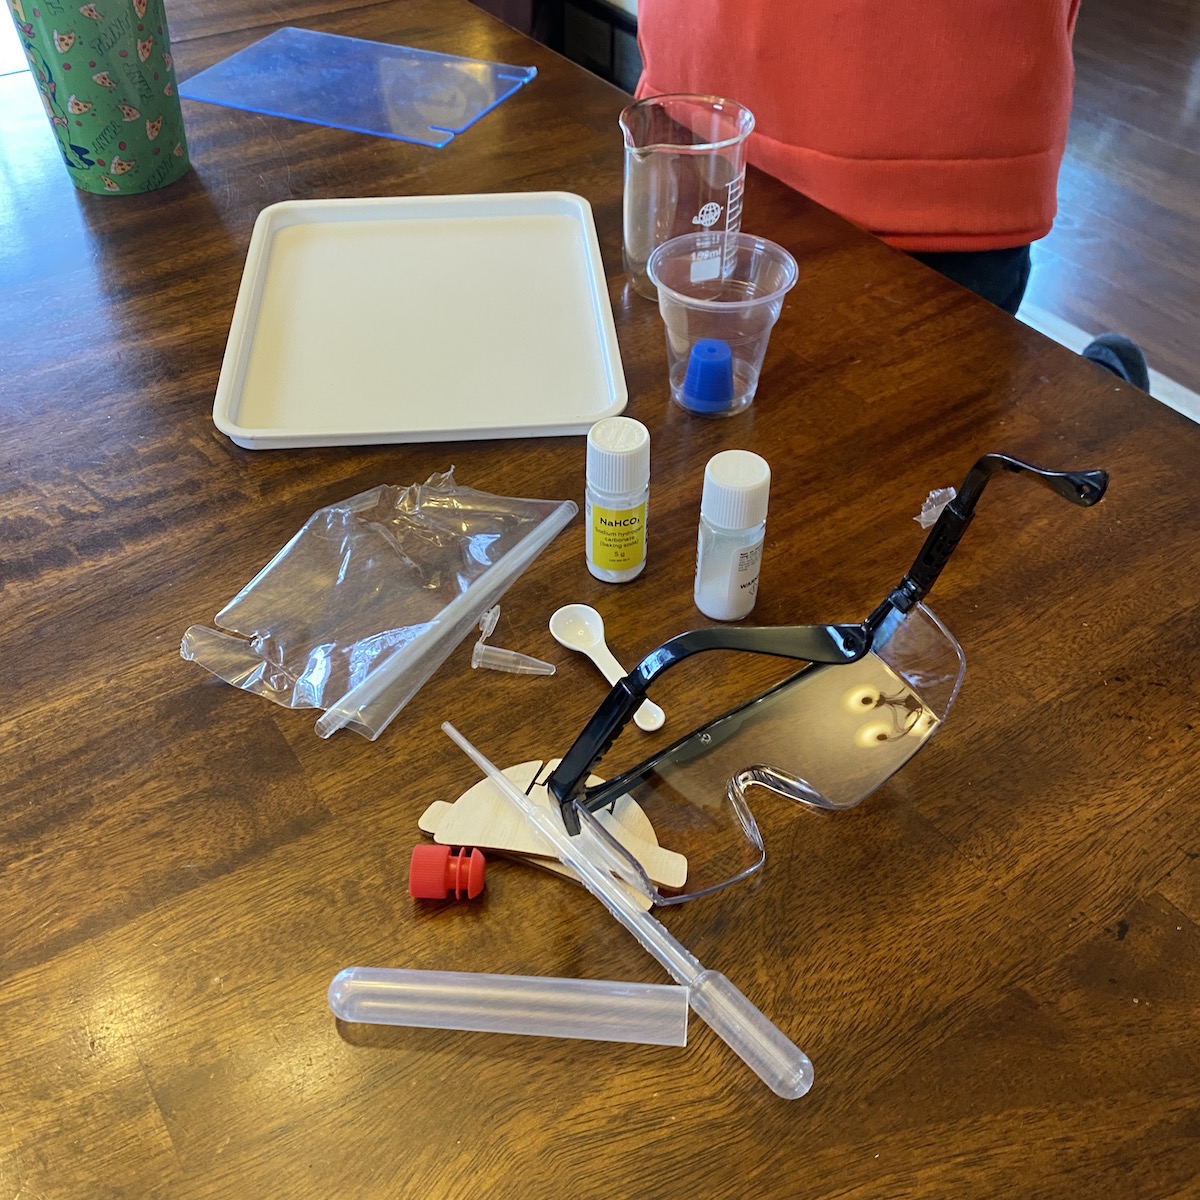
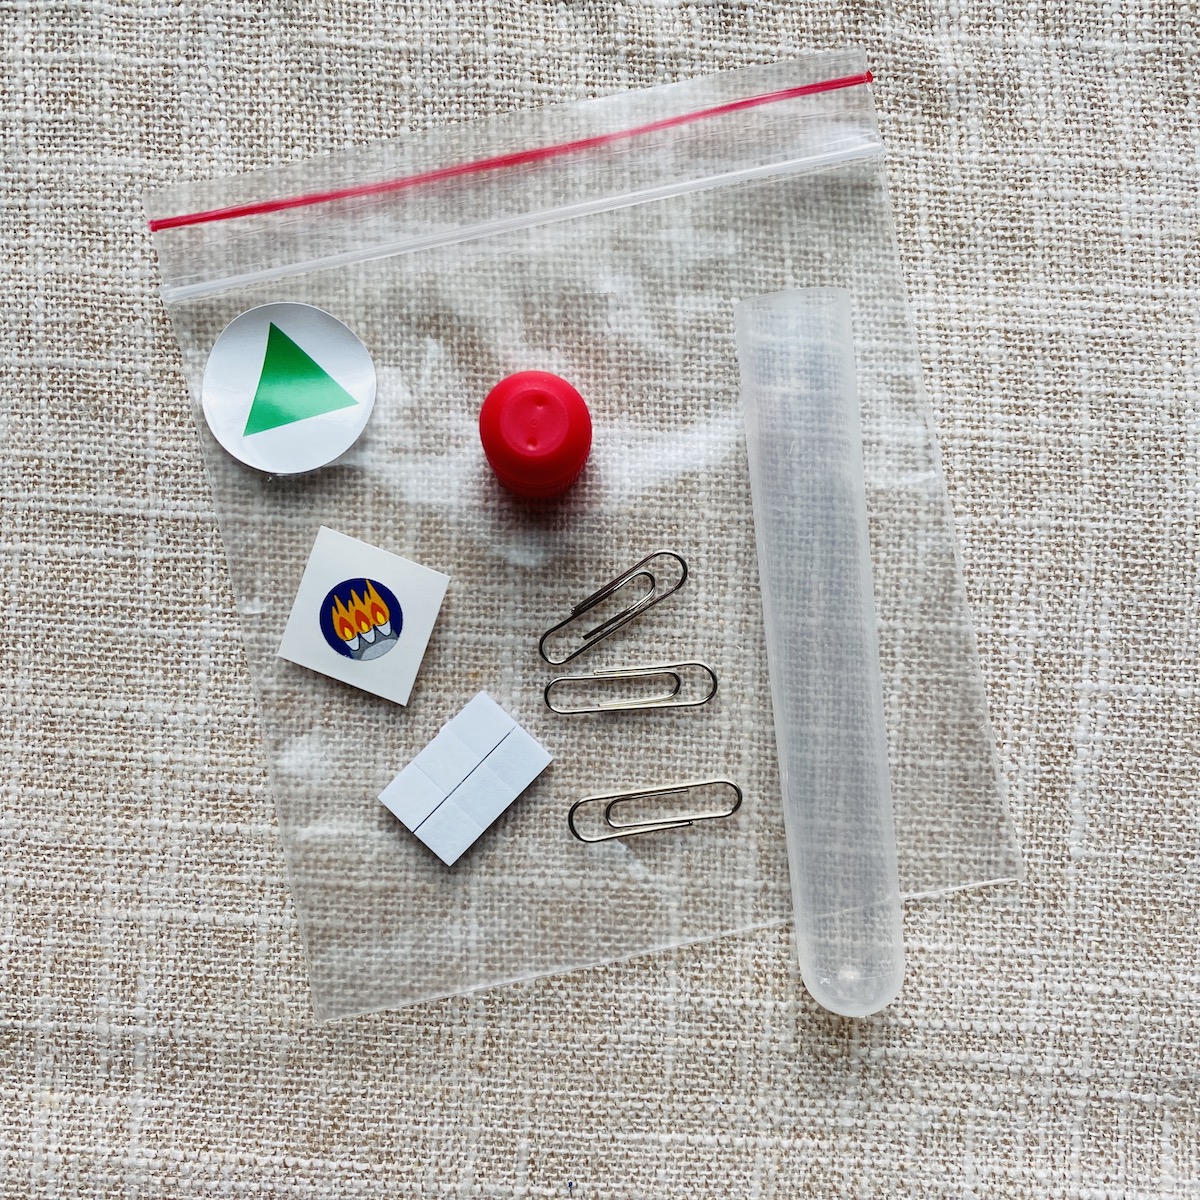
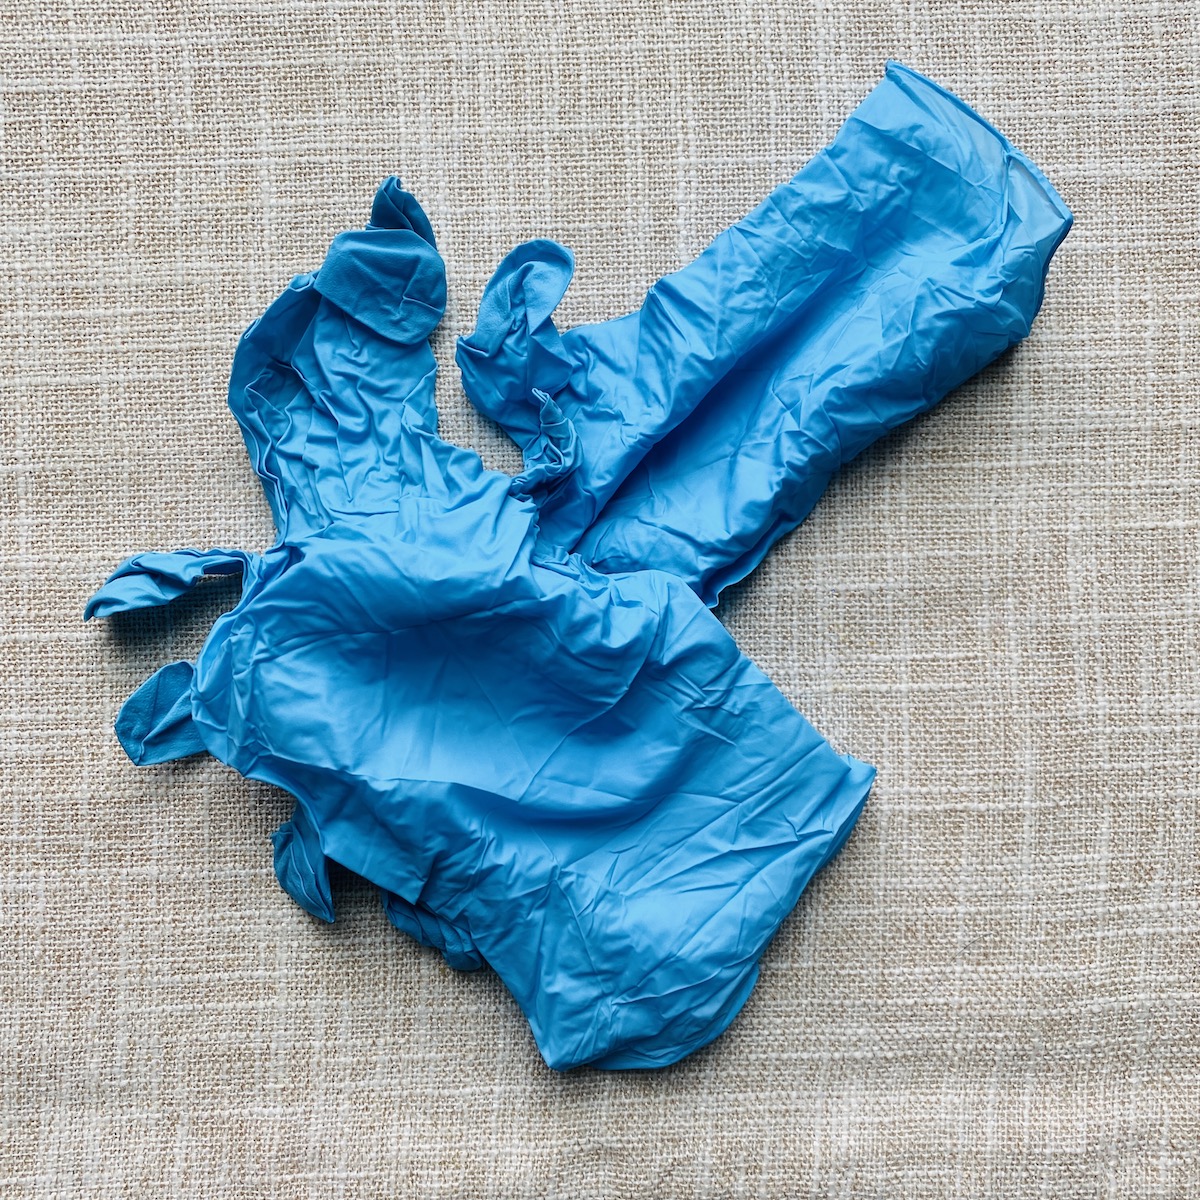
For this particular experiment, we needed 5 items from the "Chemistry Starter" box that we received first. Included in this month's box was a safety shield, hazard stickers, safety shield stand, plastic test tube and stopper, pipette, gloves, small capsule, citric acid, NaHCO3, and a double-ended measuring spoon. All items were high quality and in great condition.
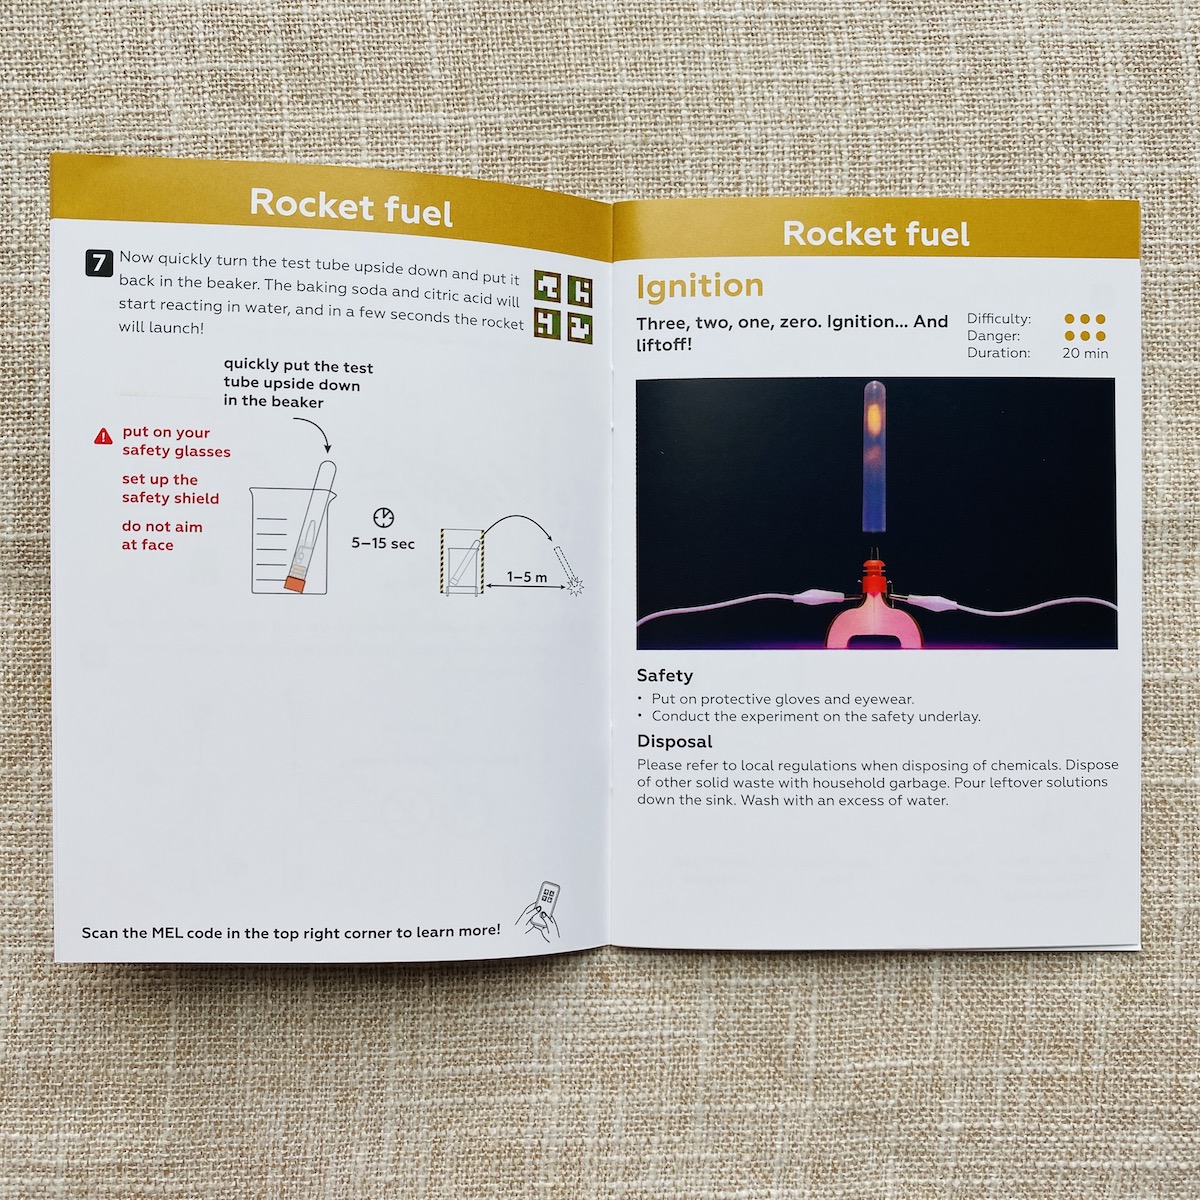
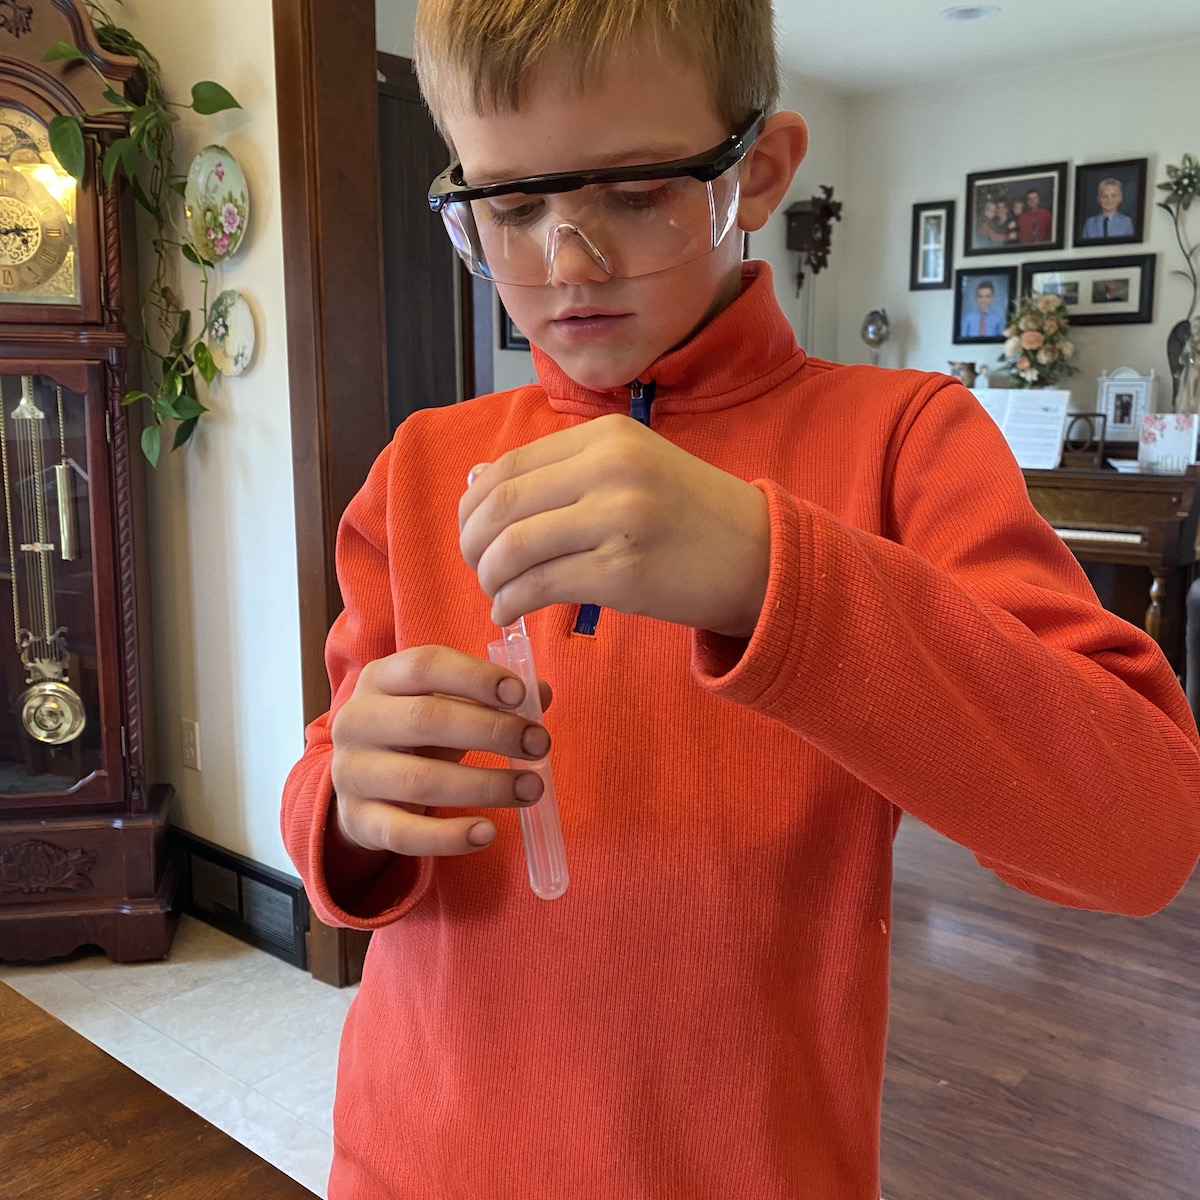
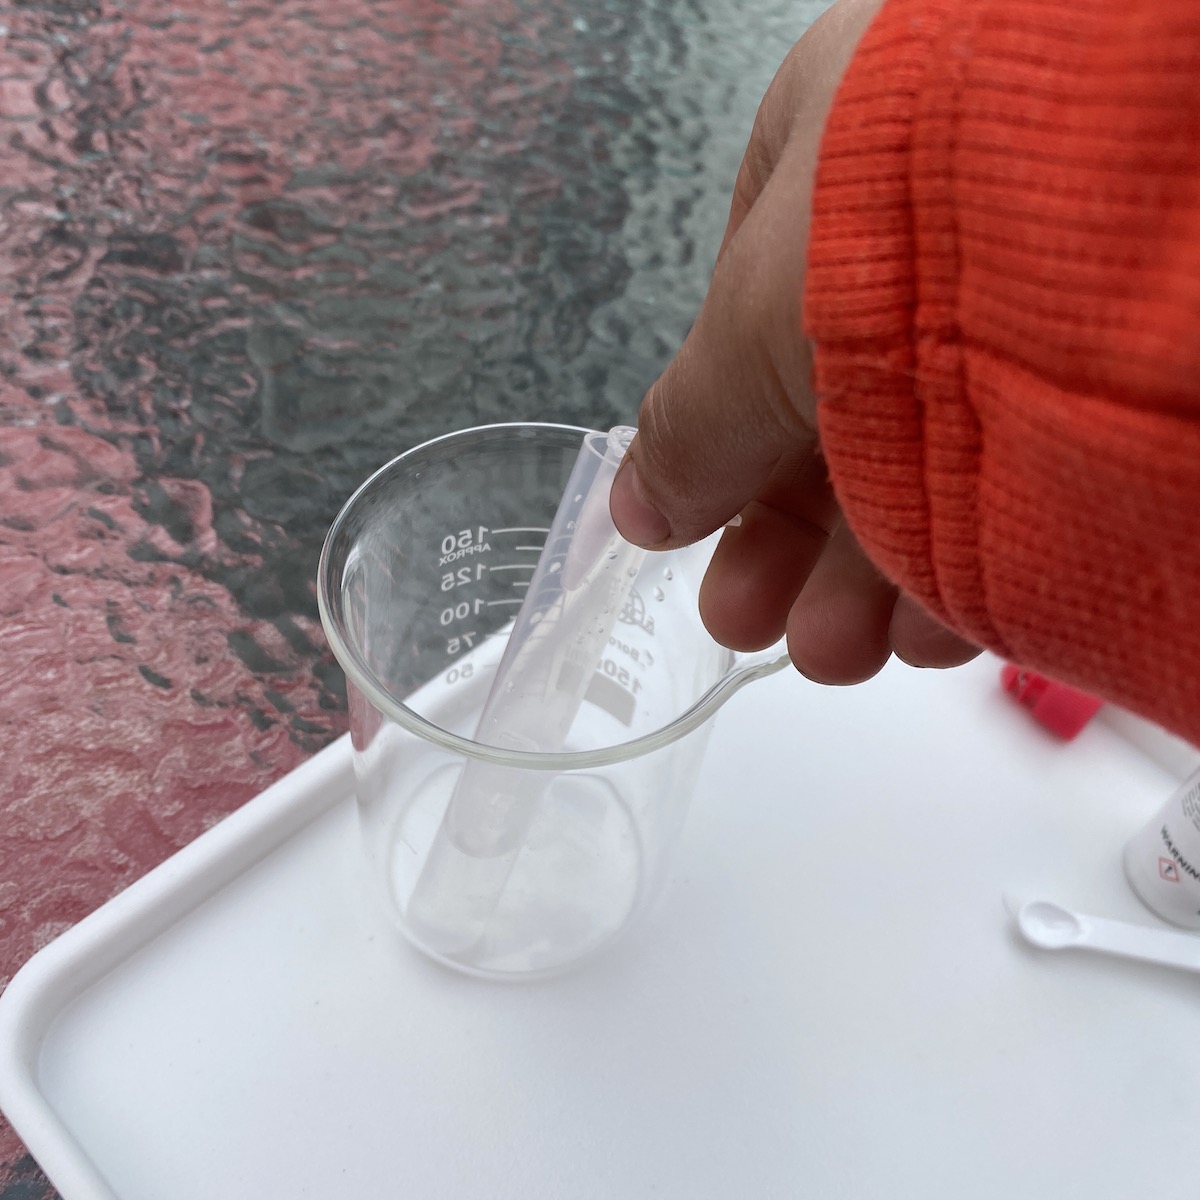
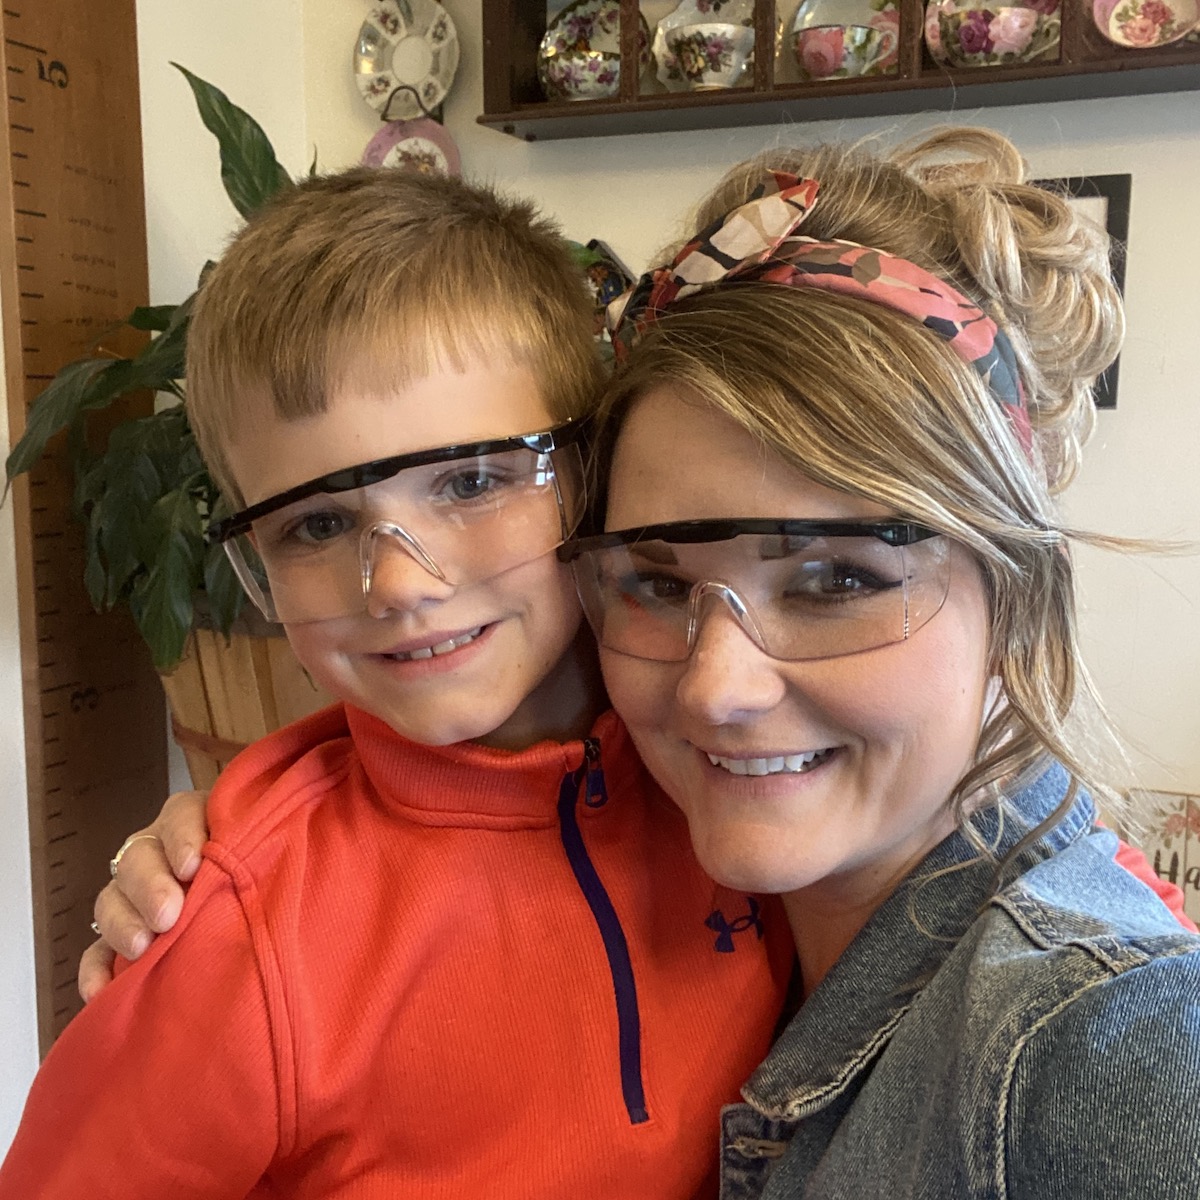
To create the test tube rocket, Charlie first read through all of the included instructions and put on his safety glasses. After collecting all of the necessary supplies, we decided to head outside as this does involve a chemical reaction and rocket launch. Once outside, Charlie added water to the test tube, followed by the citric acid and NaHCO3. He found the instructions to be easy to follow, but was a little worried about the mixture exploding in his hands, so he asked me for help. Because of the fast paced steps of this project, I didn't get the "blast off" picture of this test tube, but it totally worked and Charlie was super proud!
Ignition
The next experiment was rated 3 out of 3 for difficult and danger, so Charlie was very engaged. We read over the instructions and decided to stay inside for this one as the rain had picked up. After our initial lift off, we moved back outside as you will see why in a minute.
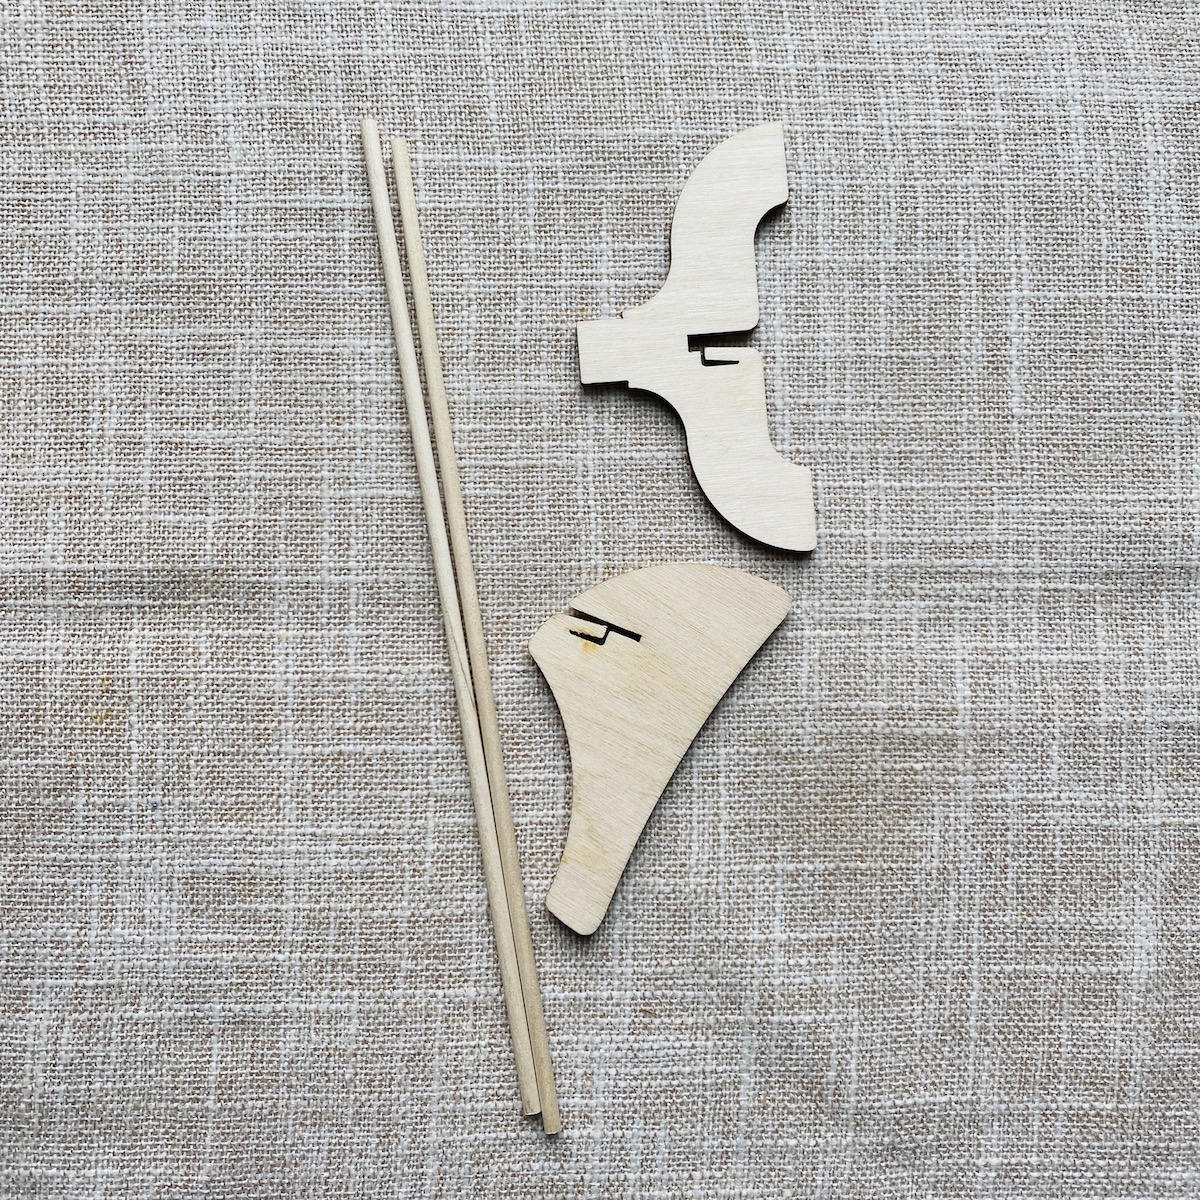
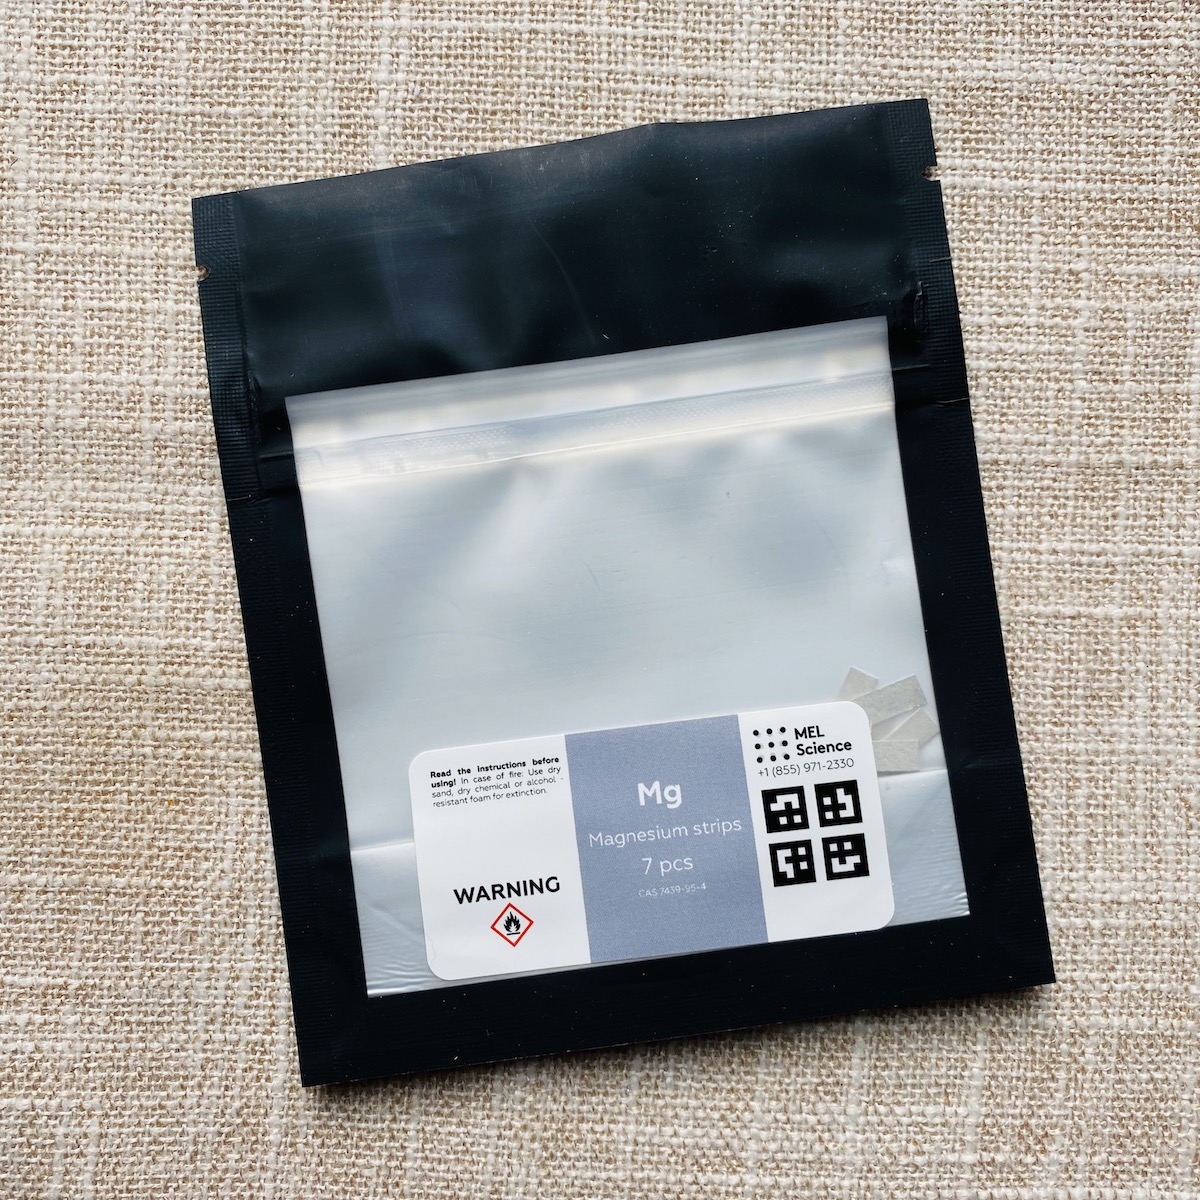
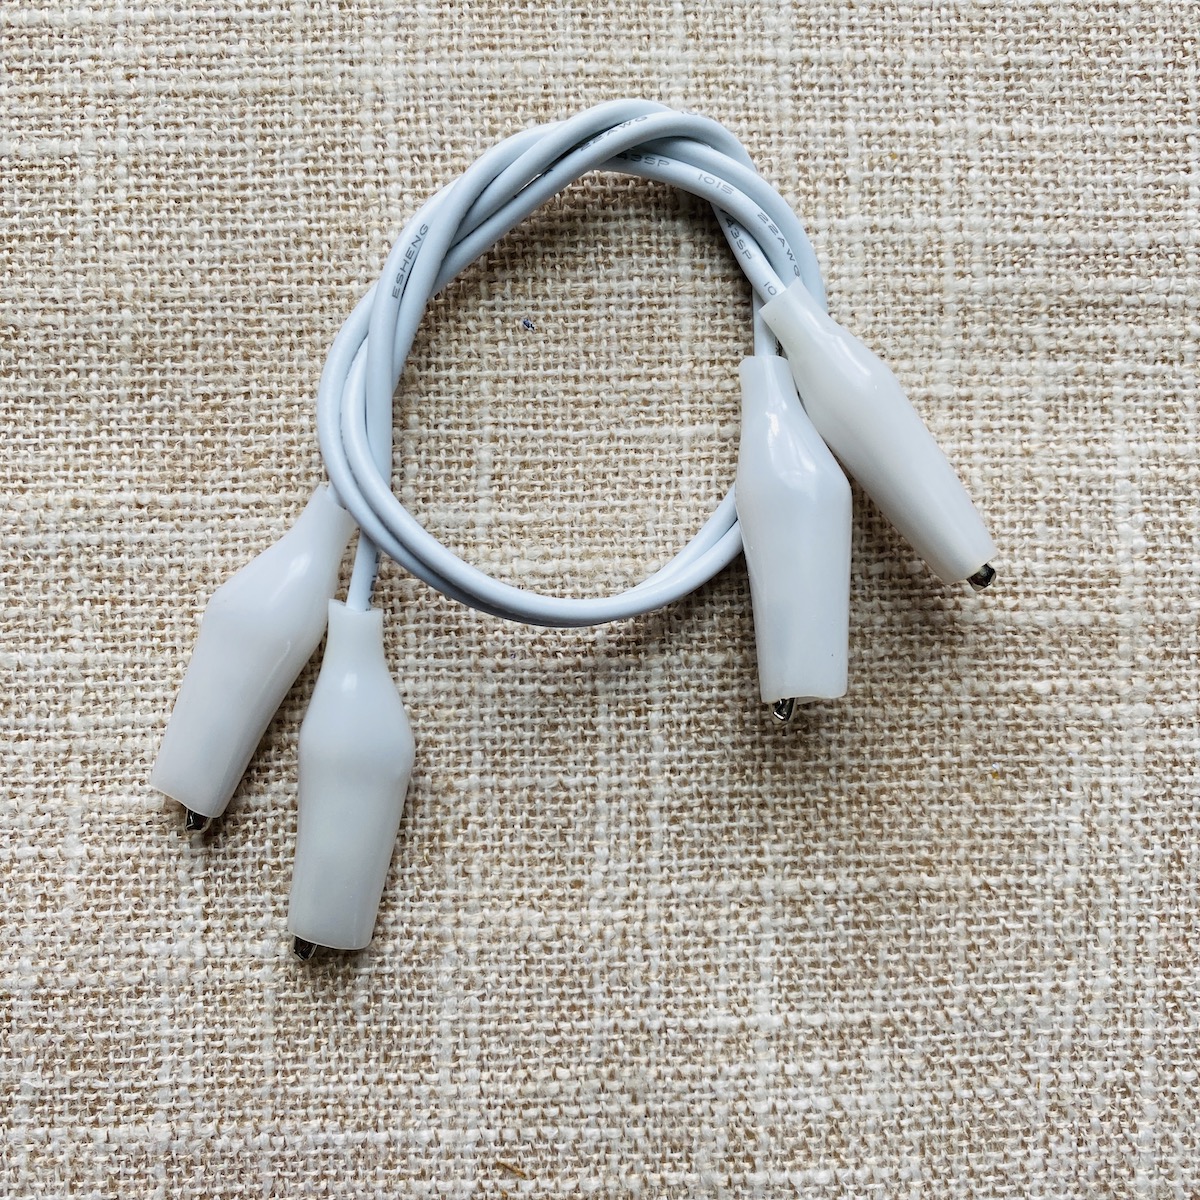
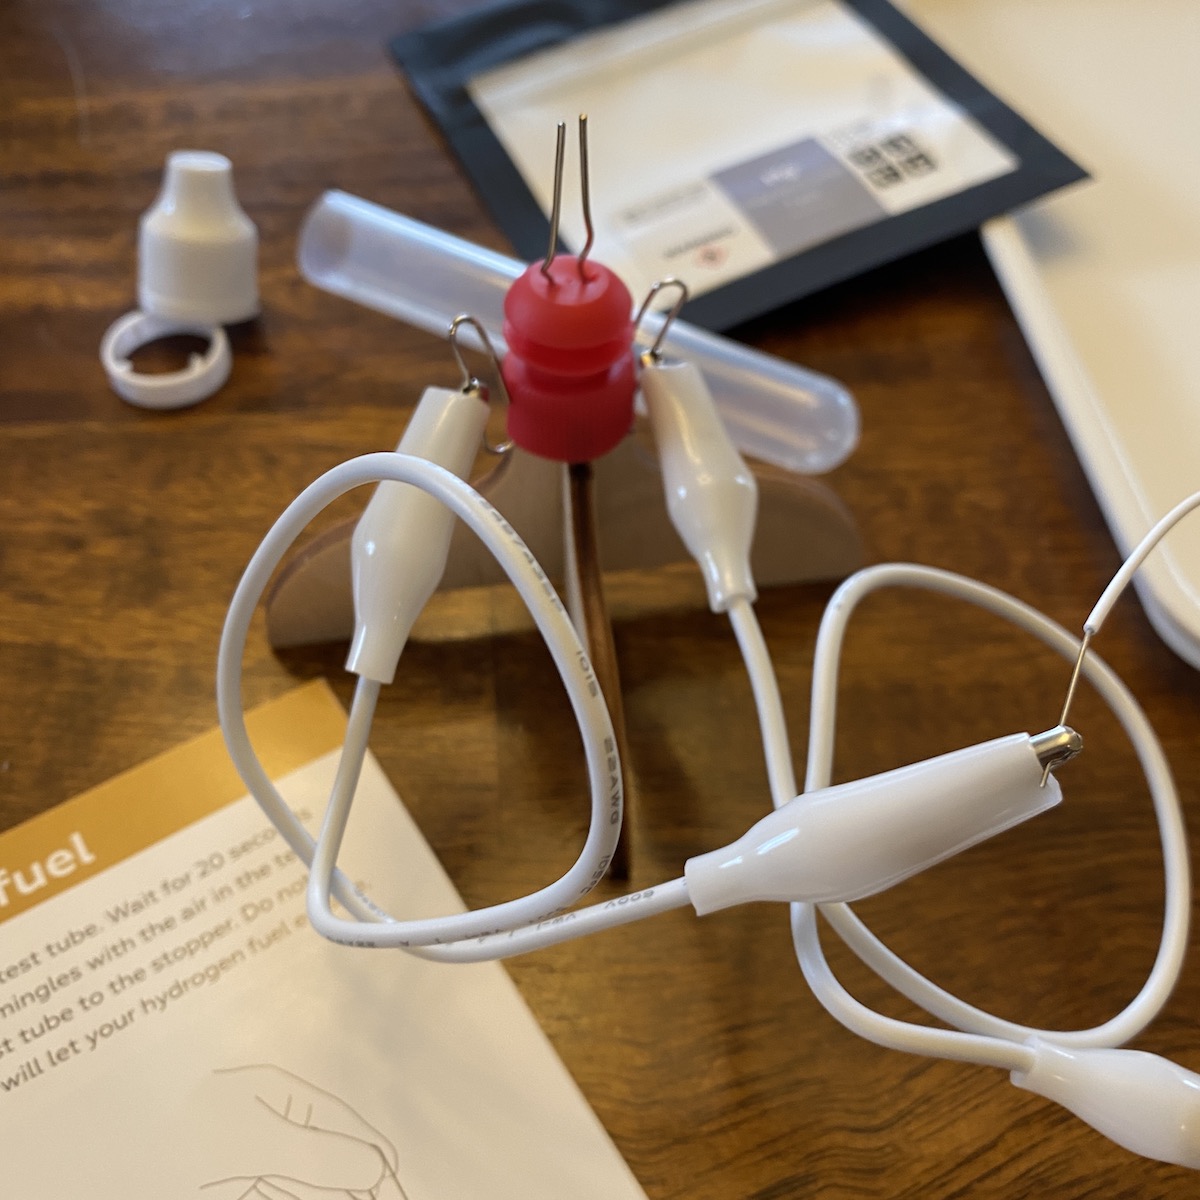
For this experiment we received a variety of supplies. They included a crocodile clip wire, piezo, plastic test tube, paper clip, launch pad base, and launch pad stabilizer, empty bottle, NaHSO4, and magnesium strips. We also needed to use the safety shield from the first project, and the safety underlay and safety glasses provided in the starter kit. I do want to note that this subscription sends enough supplies to do each project at least twice which is very nice.
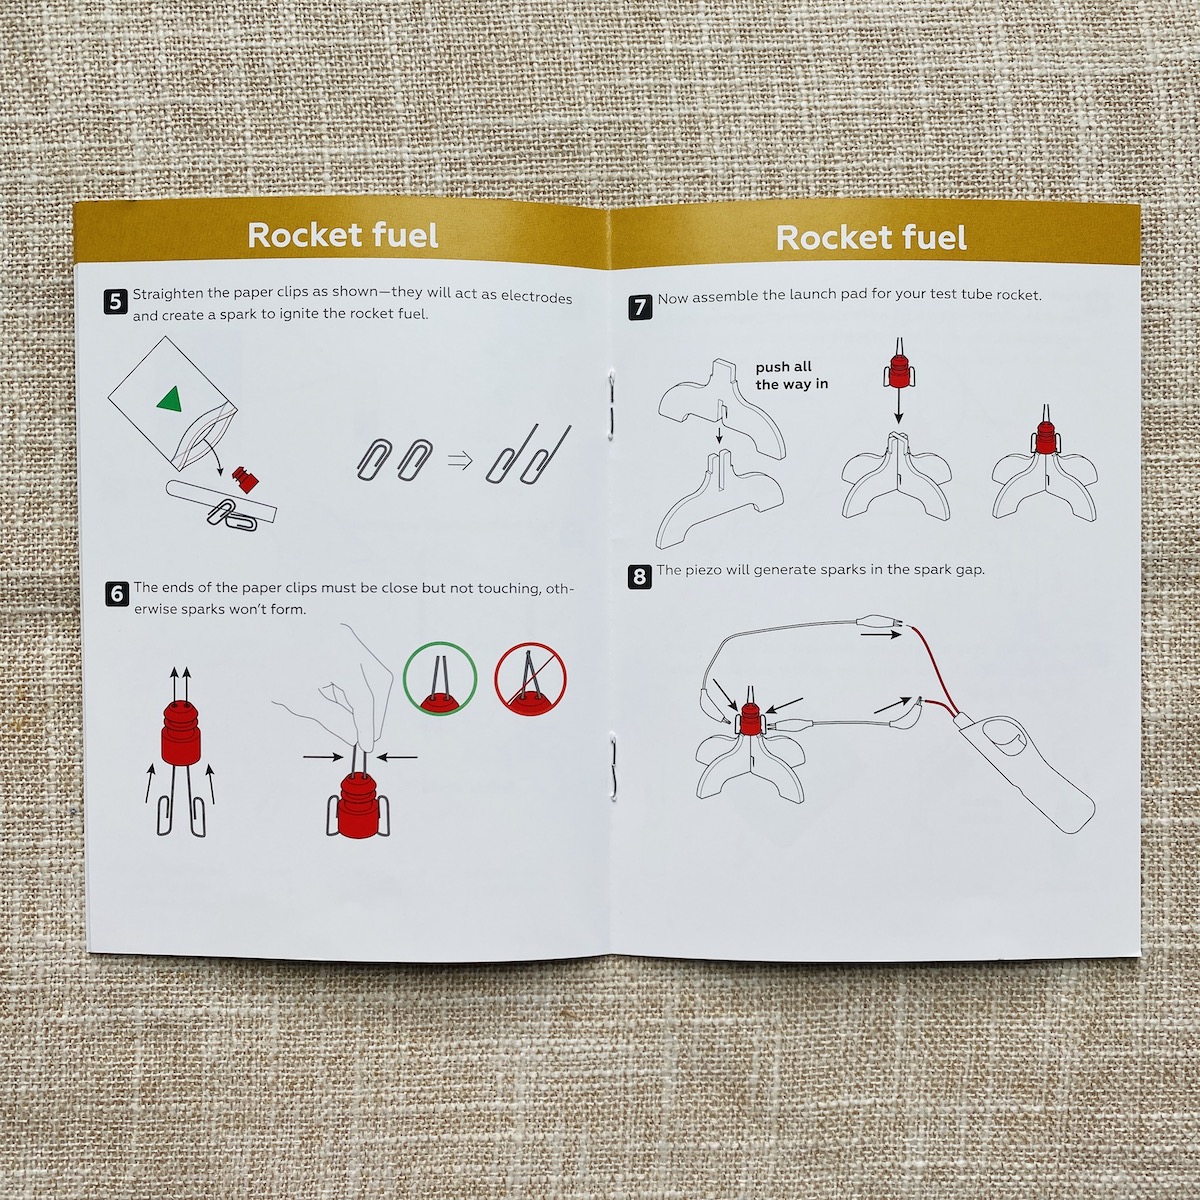
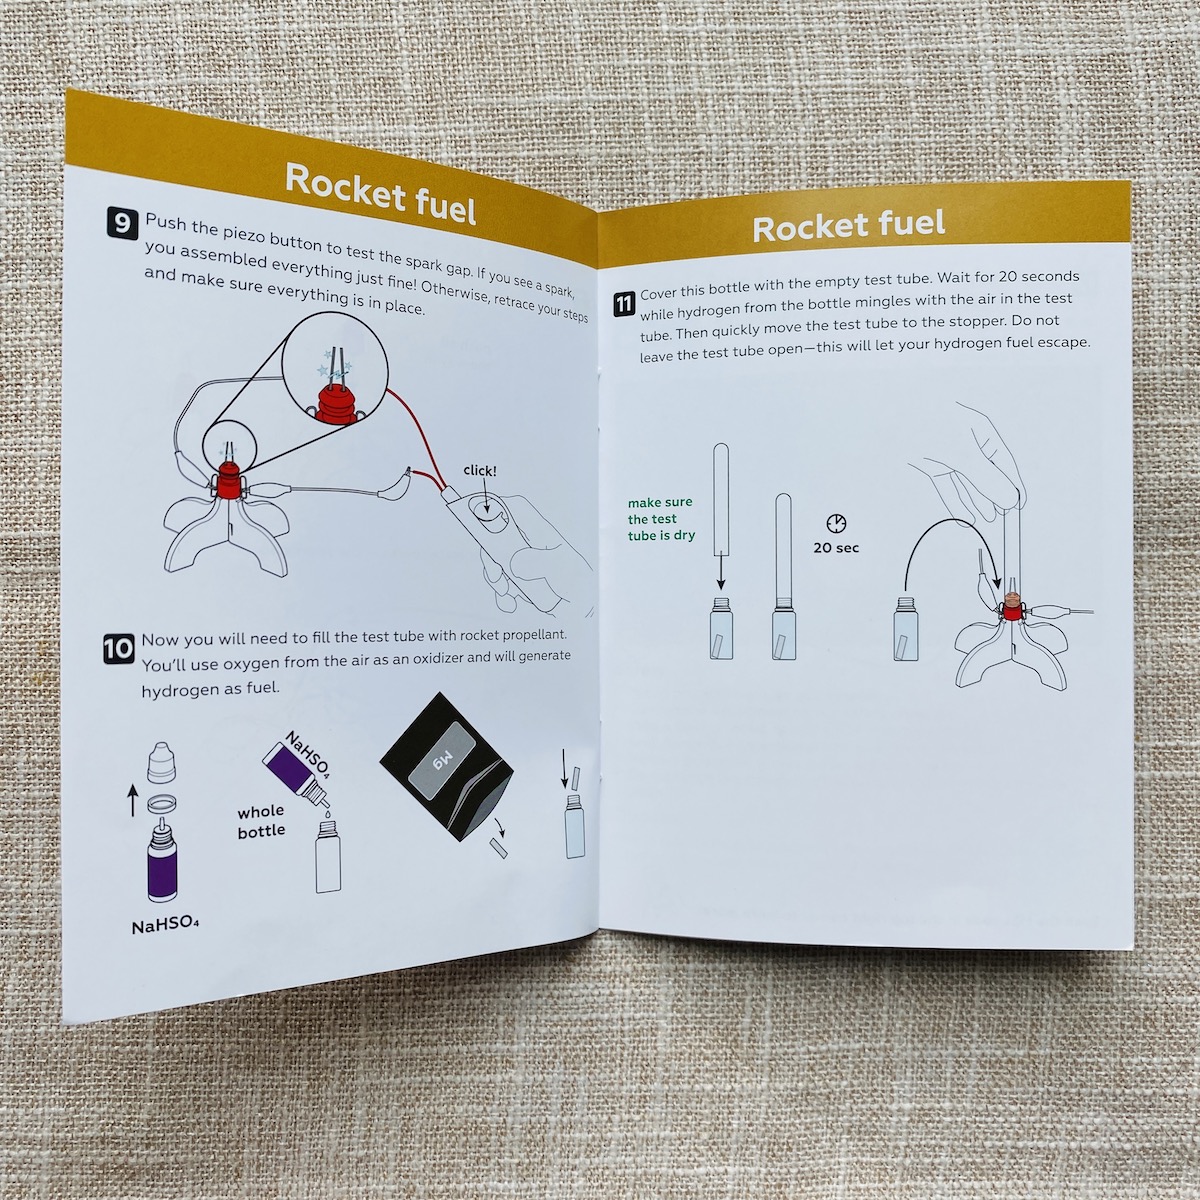
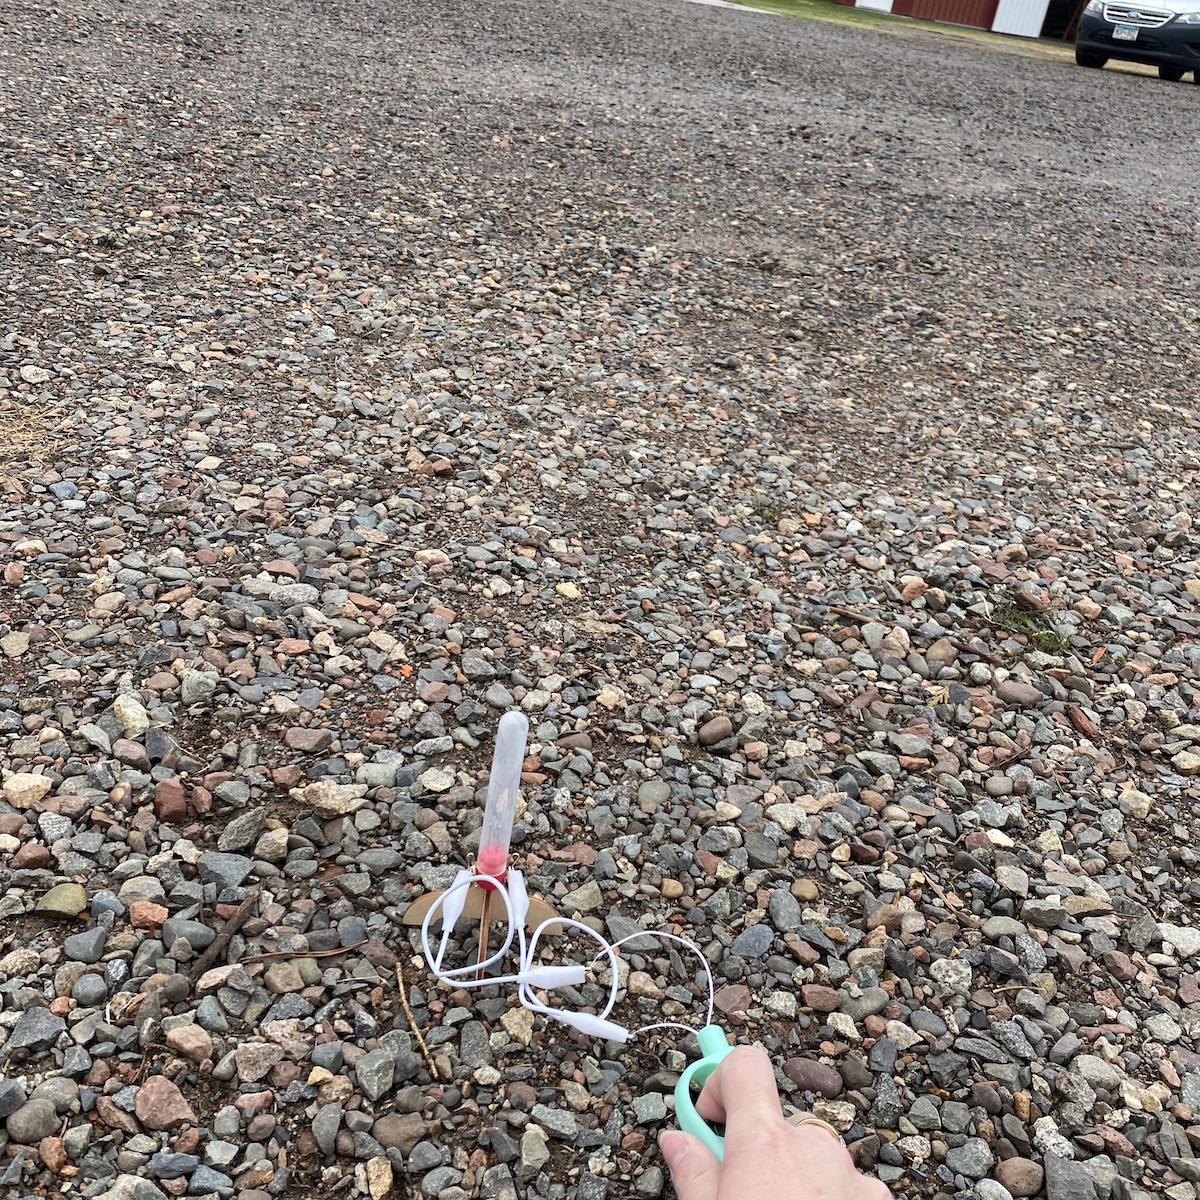
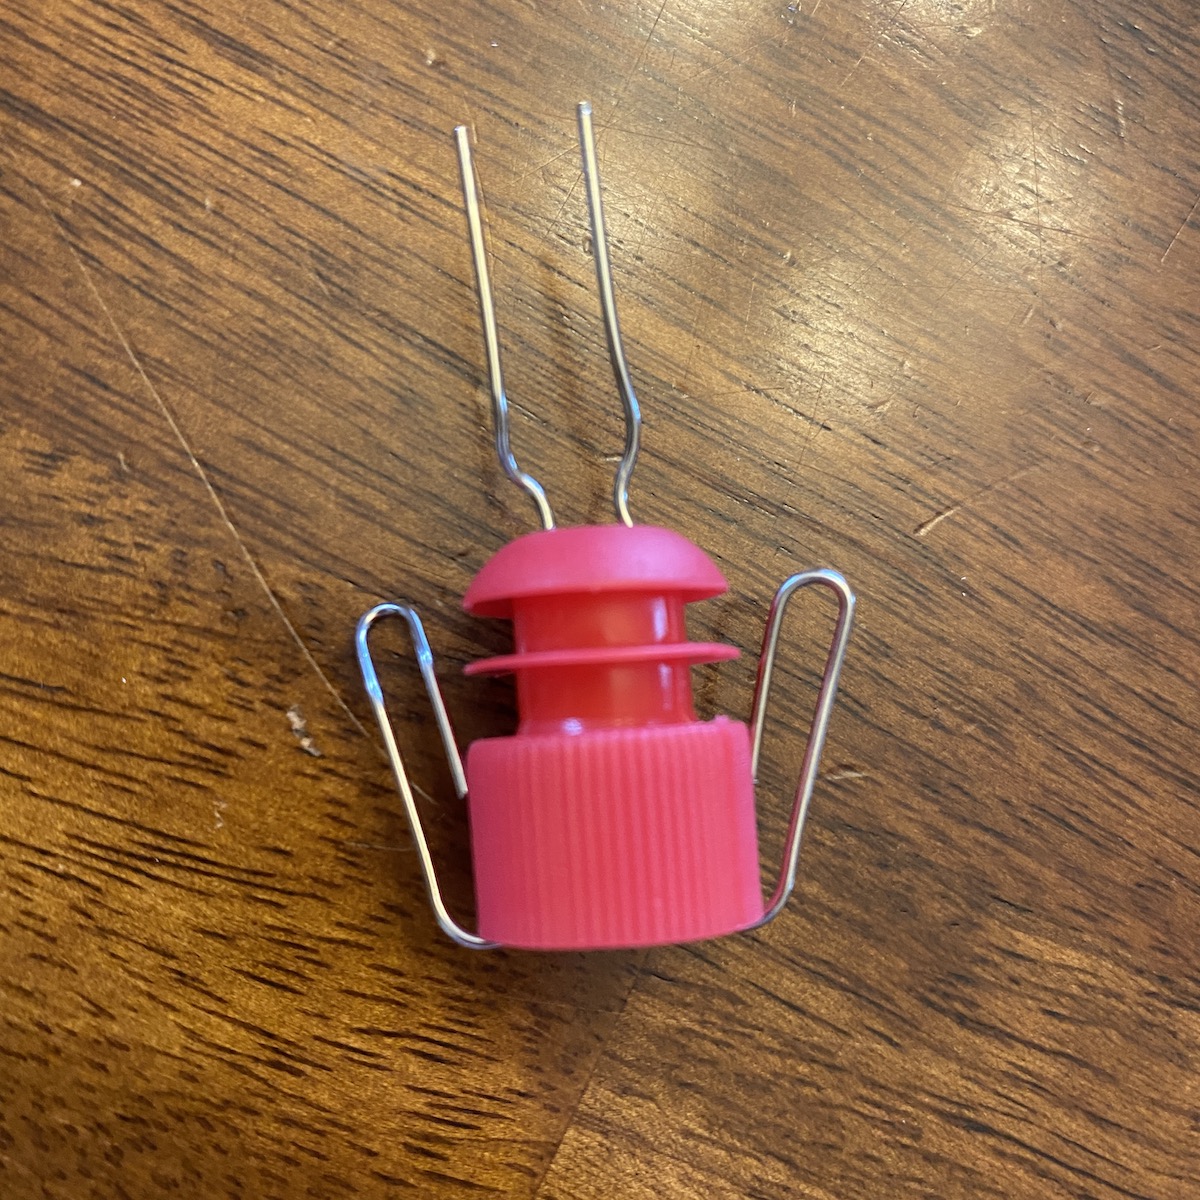
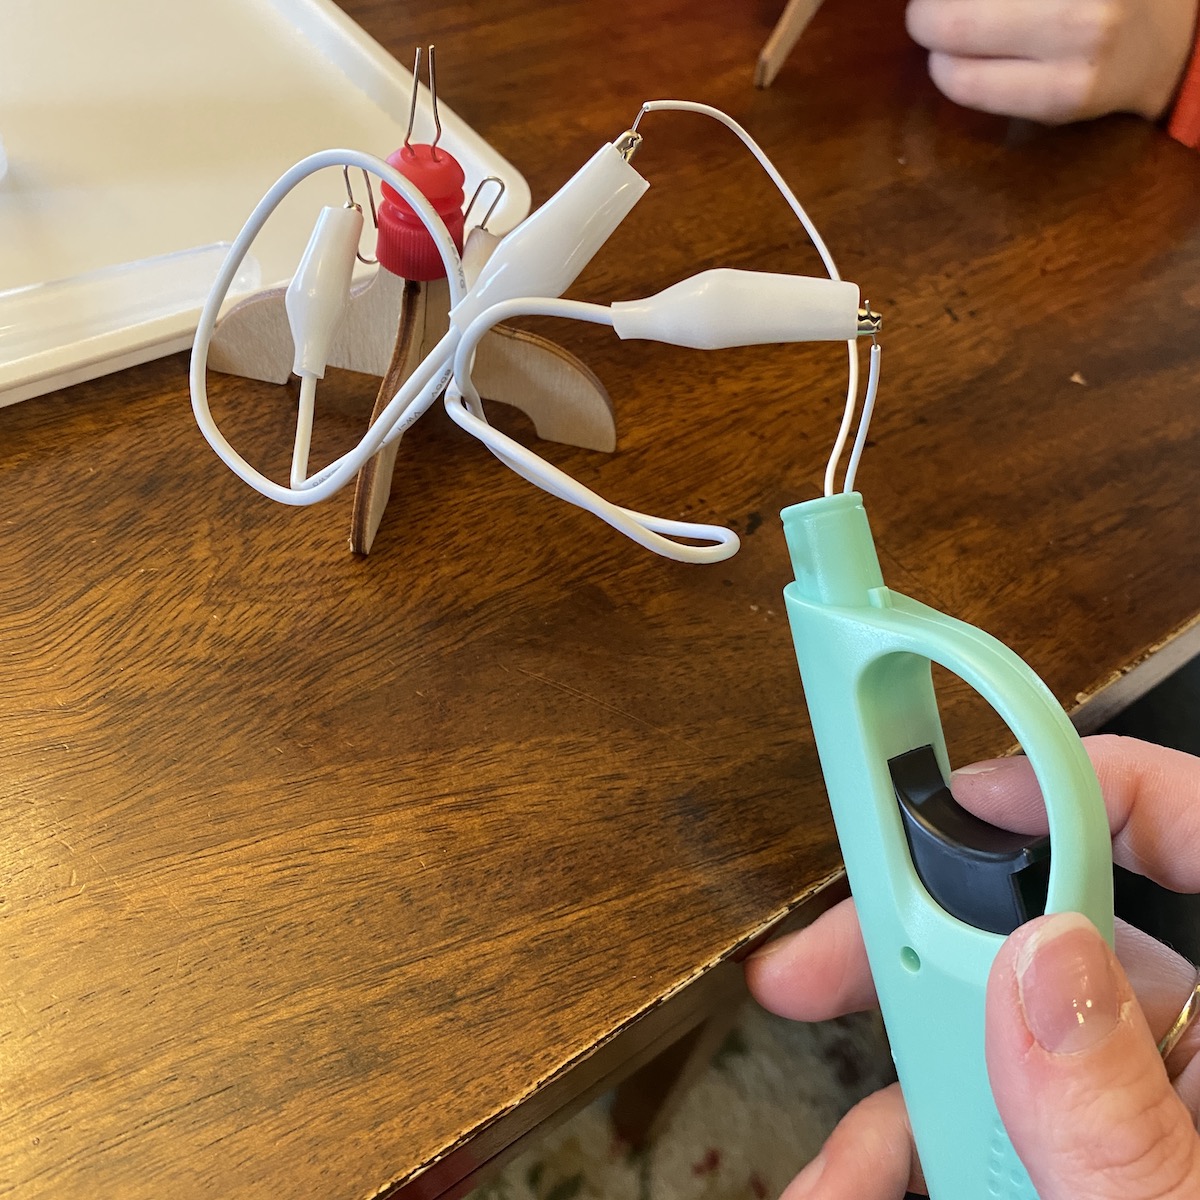
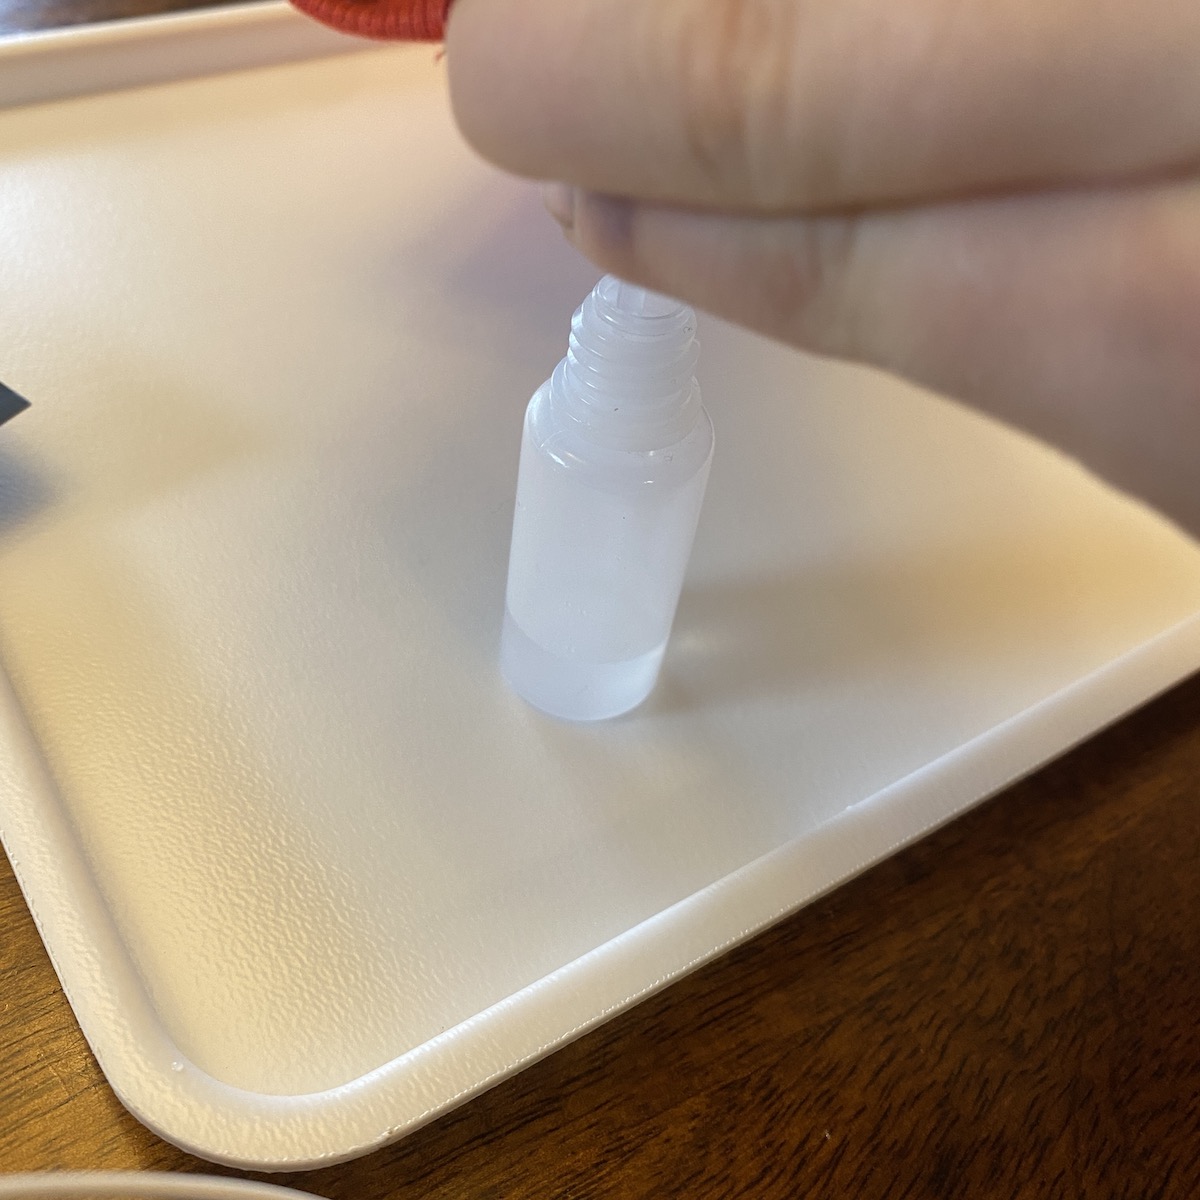
Like I mentioned above, because of the rain, we decided to do this experiment inside, as it was really starting to rain. As you can see in the photos, we ended up outside and it was for good reason! To start this project, we put on our safety glasses and got to work. Some of the steps of this project were a bit too difficult for my 8 year old, so I helped him along the way. The first step was to straighten the included paperclips and add them to the stopper. Once together, we added them to the launch pad. Using the piezo and crocodile clip wire, we were able to create a spark and create our rocket propellant. Mixing the NaHSO4 and Mg strip, we placed the empty test tube over the top of the chemicals, letting it sit for 20 seconds. After the timer dinged, we added it to the launch pad and pressed the button. "POP" when the test tube and launched into the ceiling with a spark! Whoops! It worked like a charm, but because of the commotion, went outside to try it again in a safer space. Cool!
Solid Fuel
The last project included in this month's box was a solid fuel experiment. Again, it didn't state whether we should be outside or not, but after the last project, decided it would be better to be safe than sorry, so headed out into the yard.
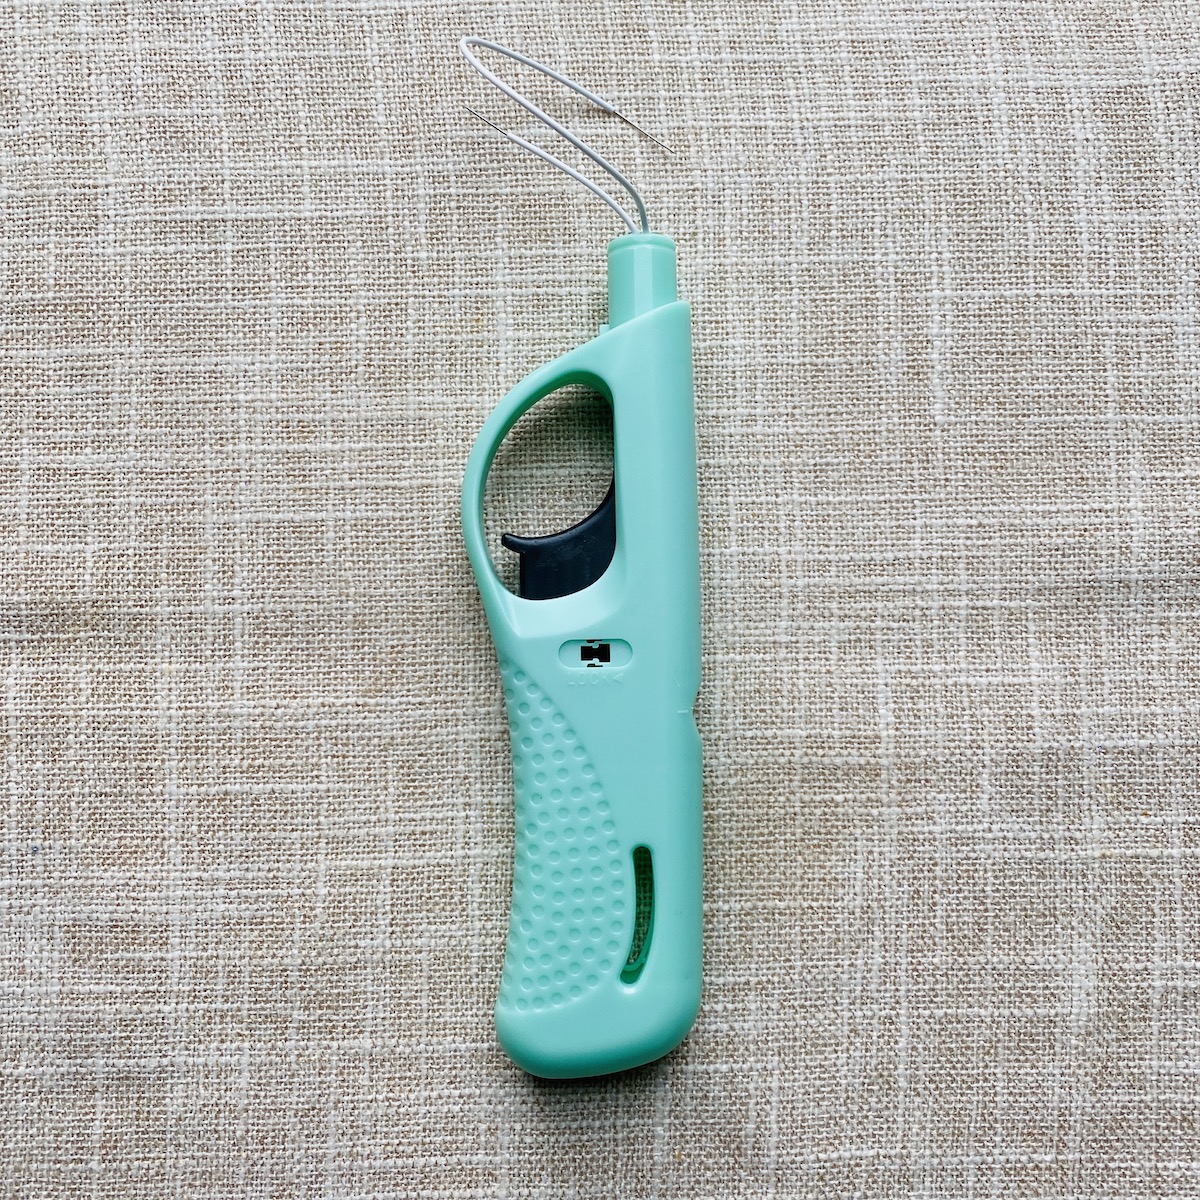
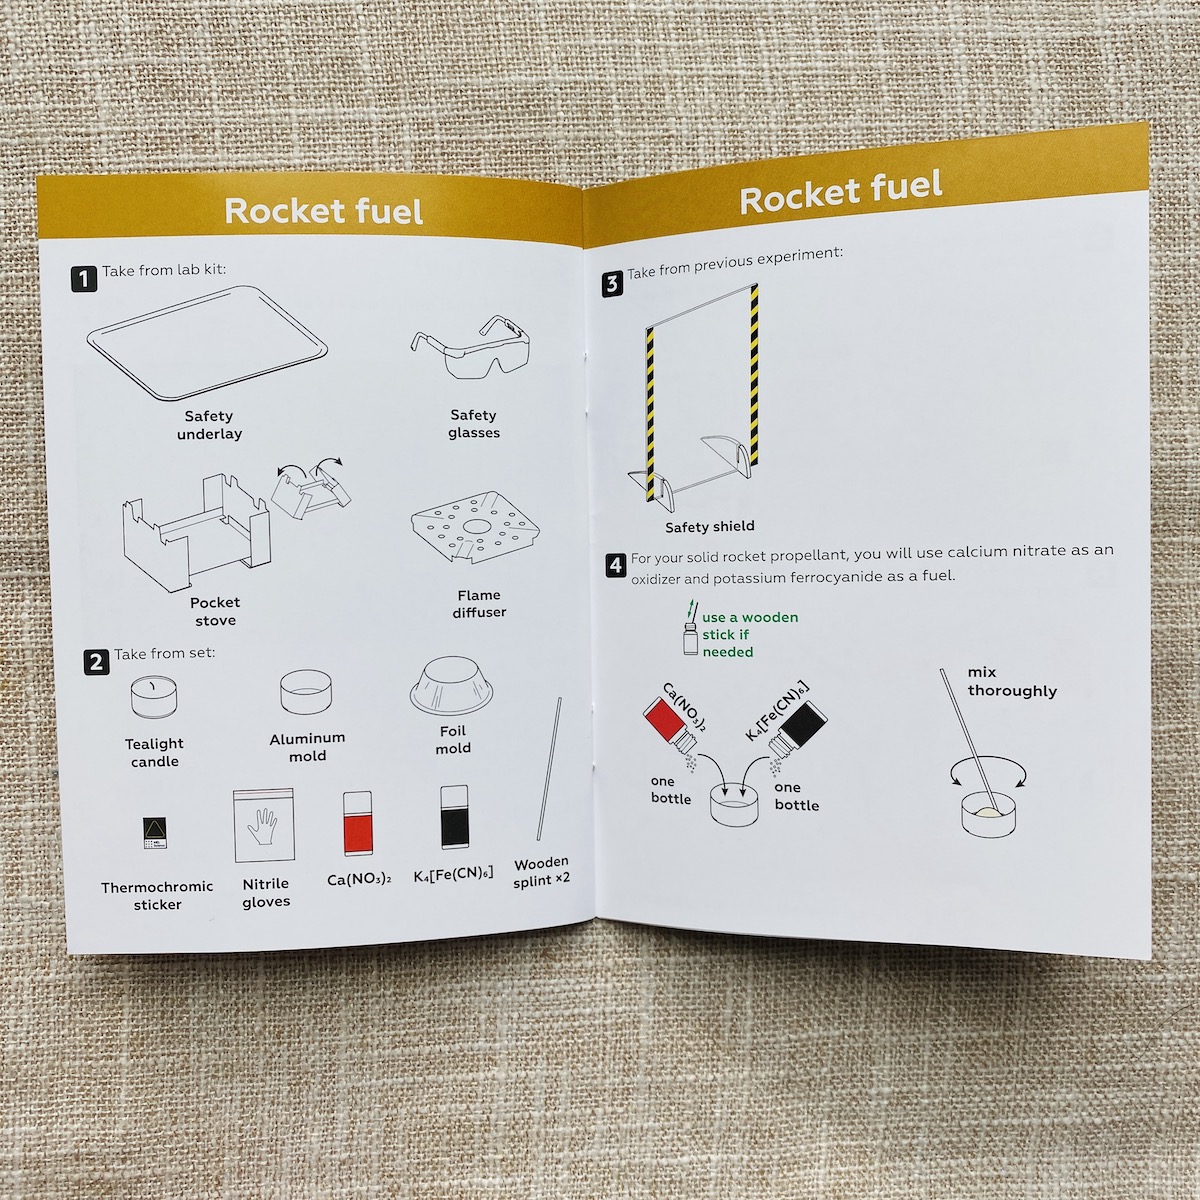
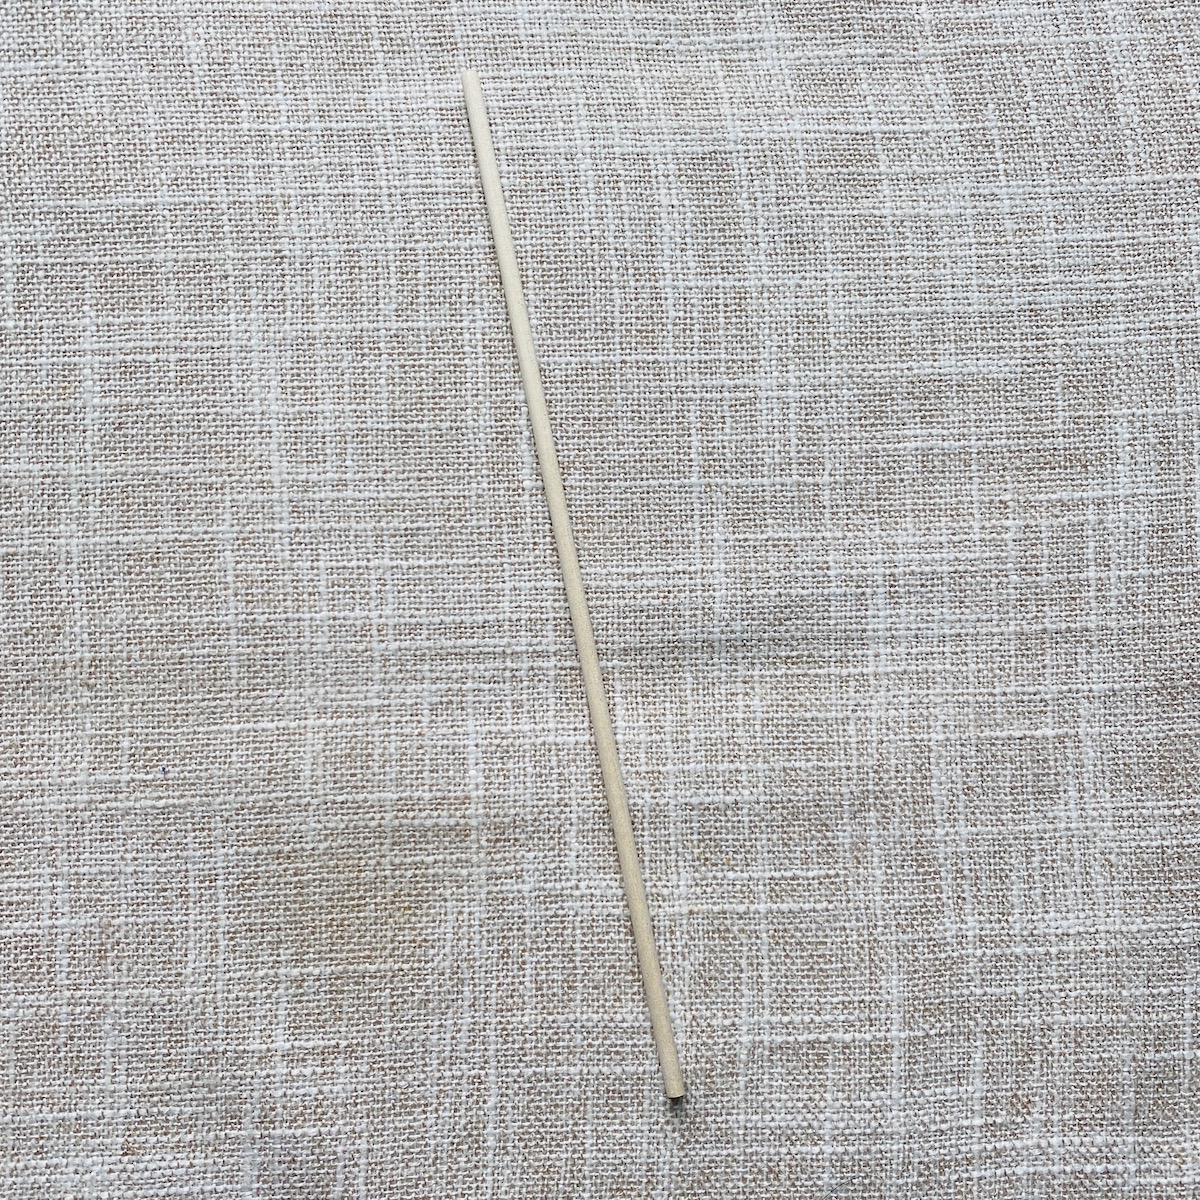
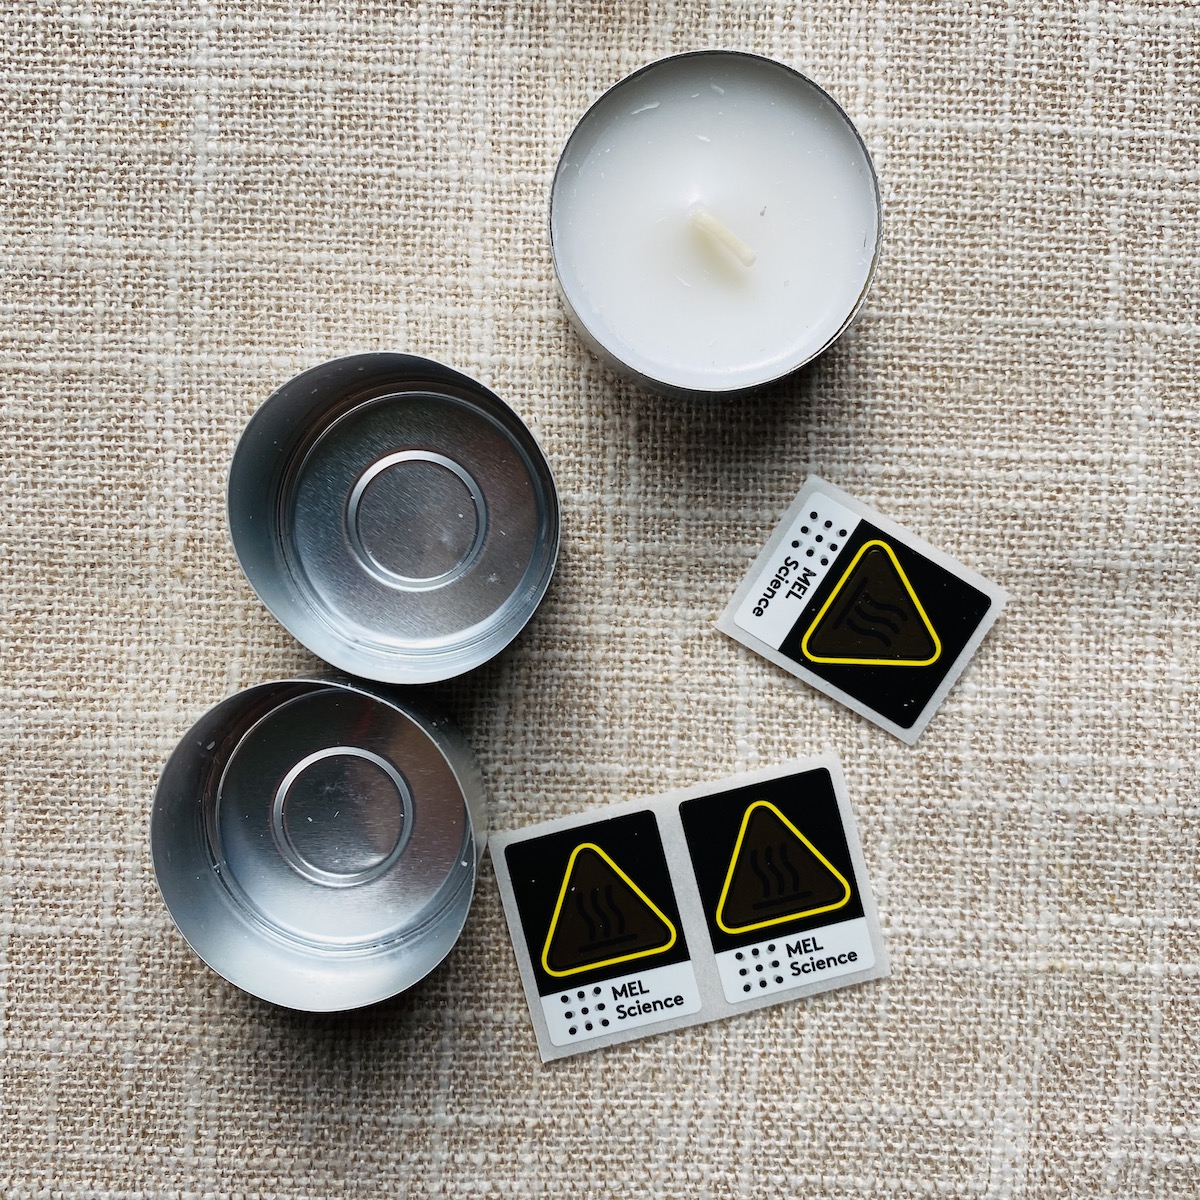
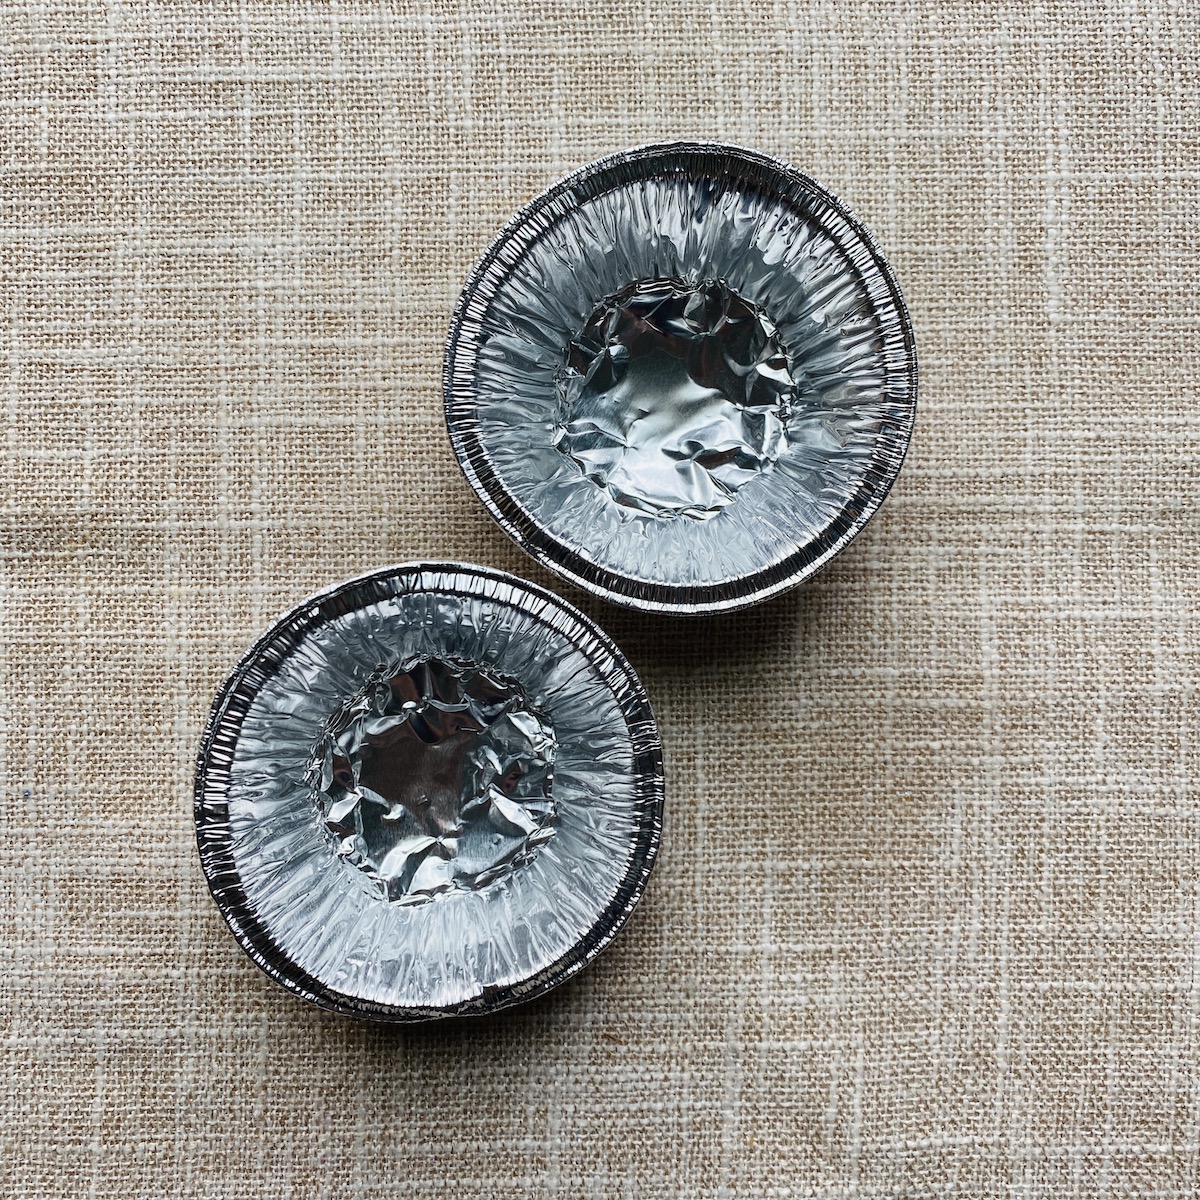
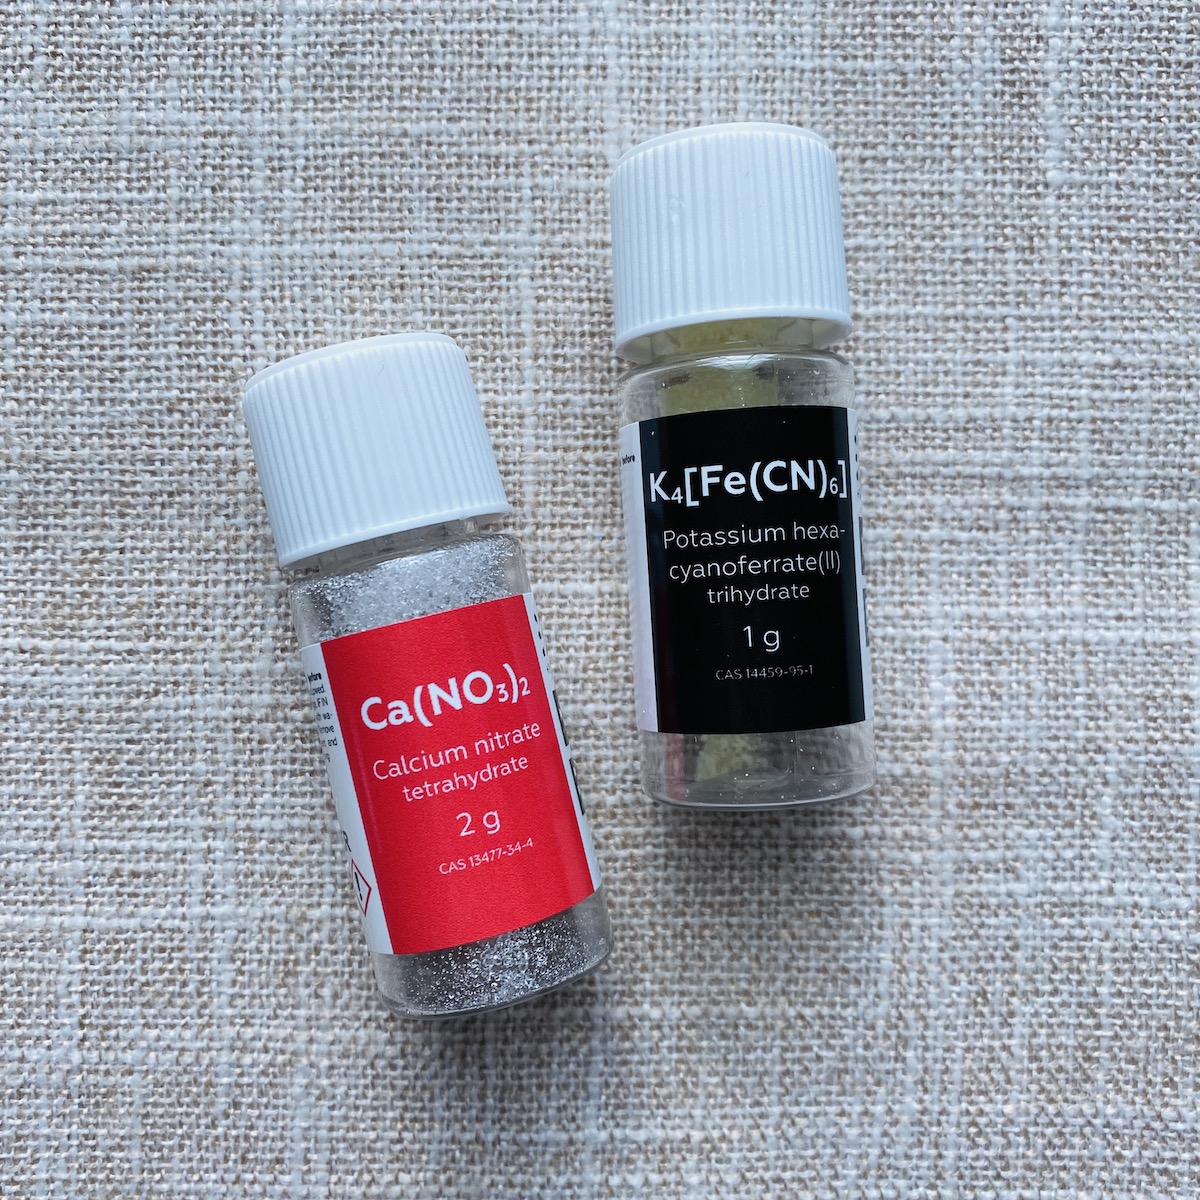
For this project we needed the safety underlay, safety glasses, pocket stove, and flame diffuser from the Starter Box, and the tea light candle, aluminum mold, foil mold, thermochromic sticker, gloves, Ca(NO3)2, K4[Fe(CN)6] and a wooden splint, along with the safety shield from the previous experiments.
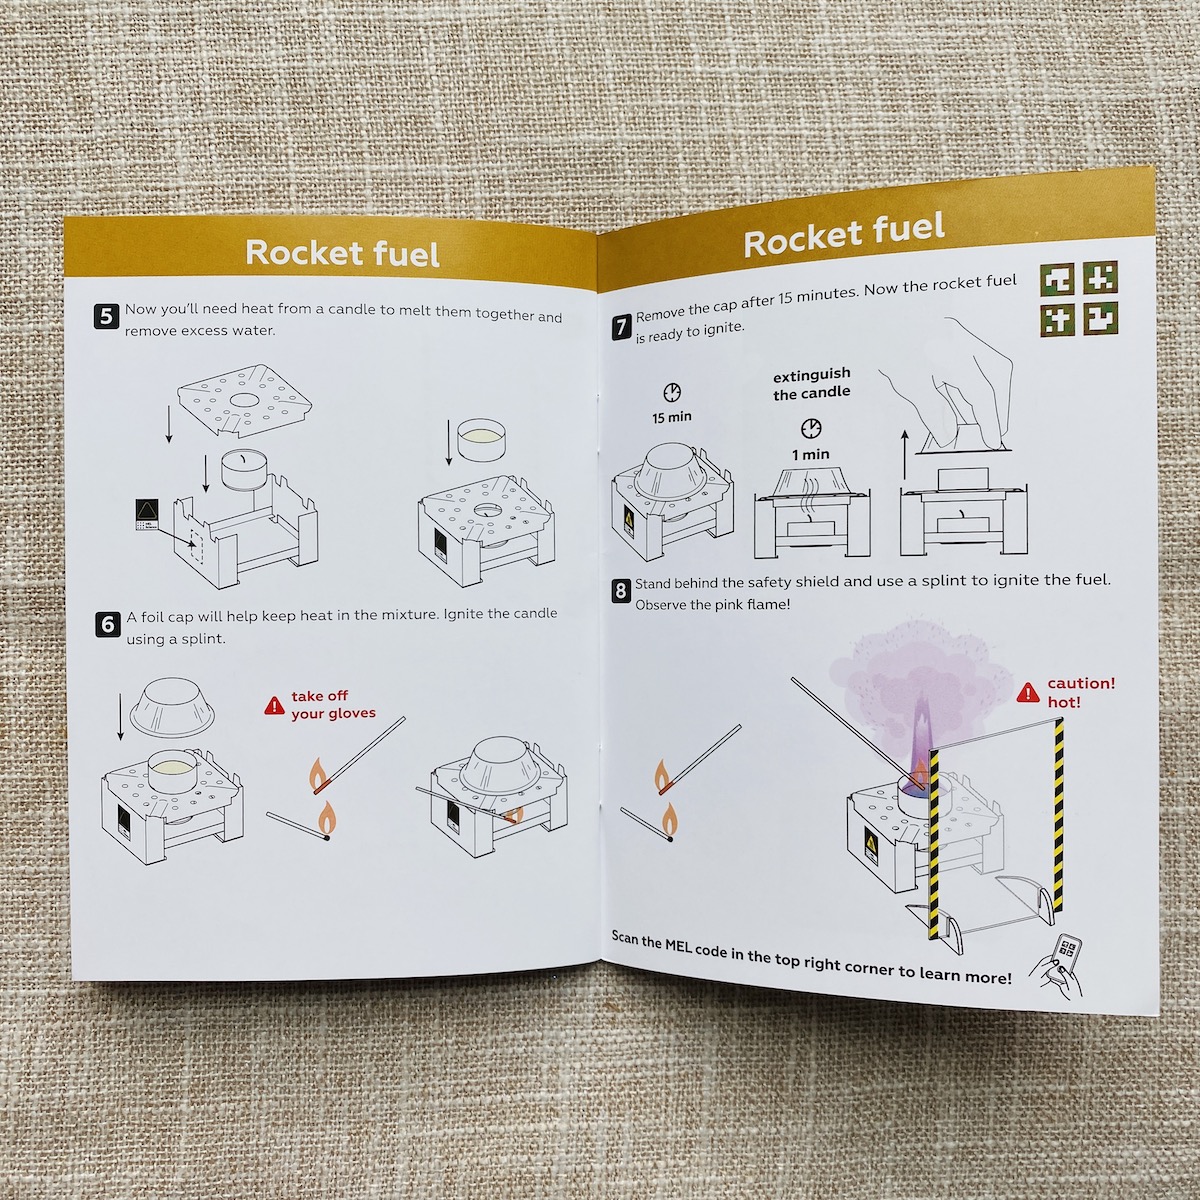
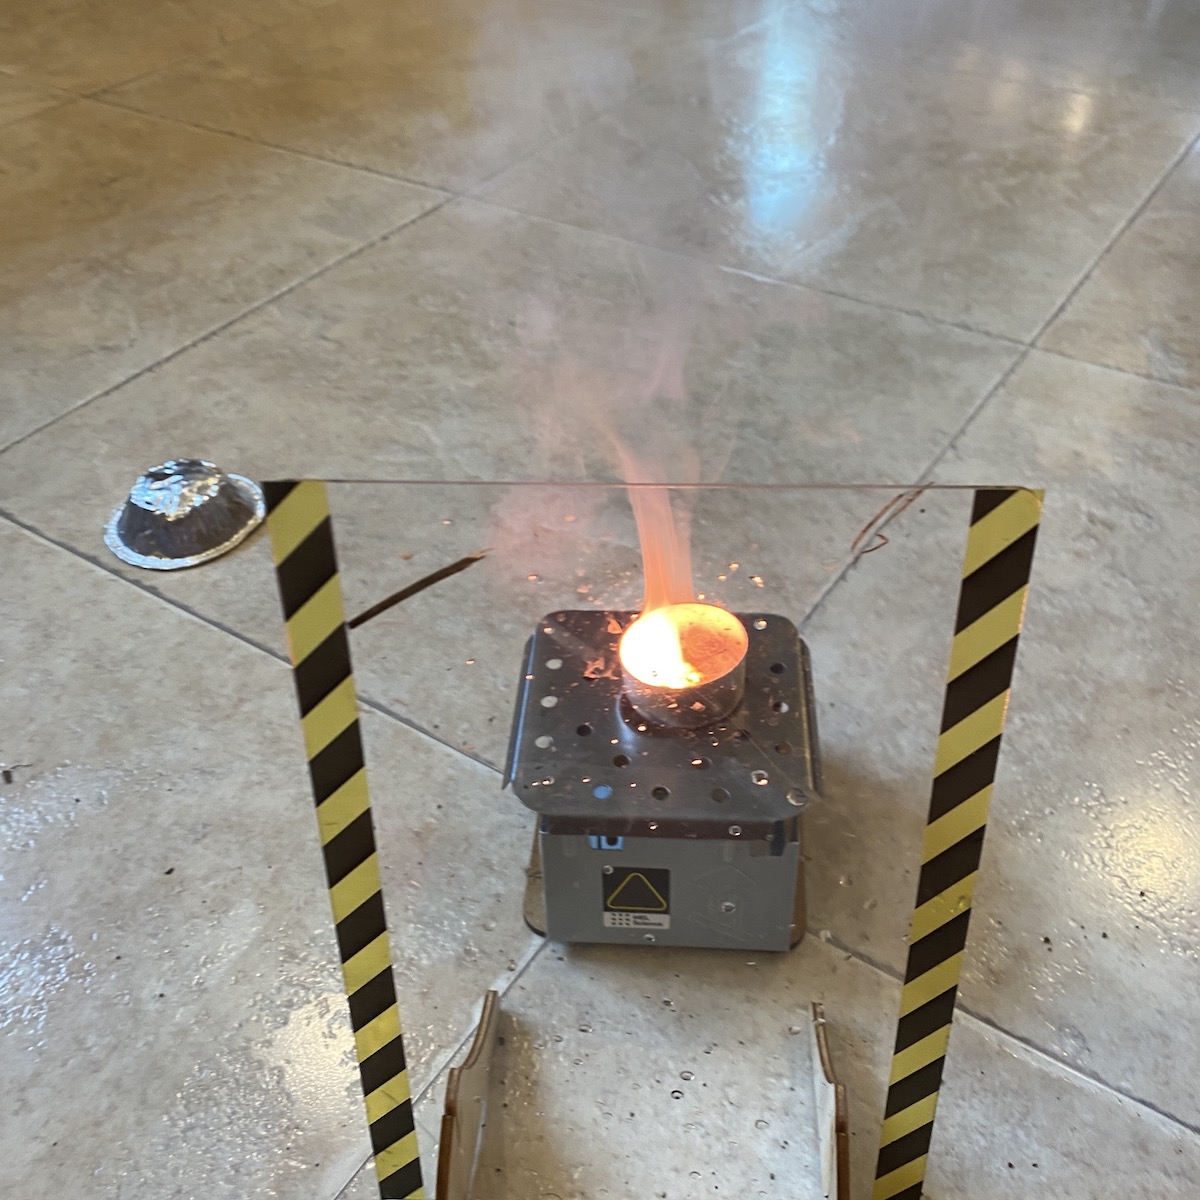
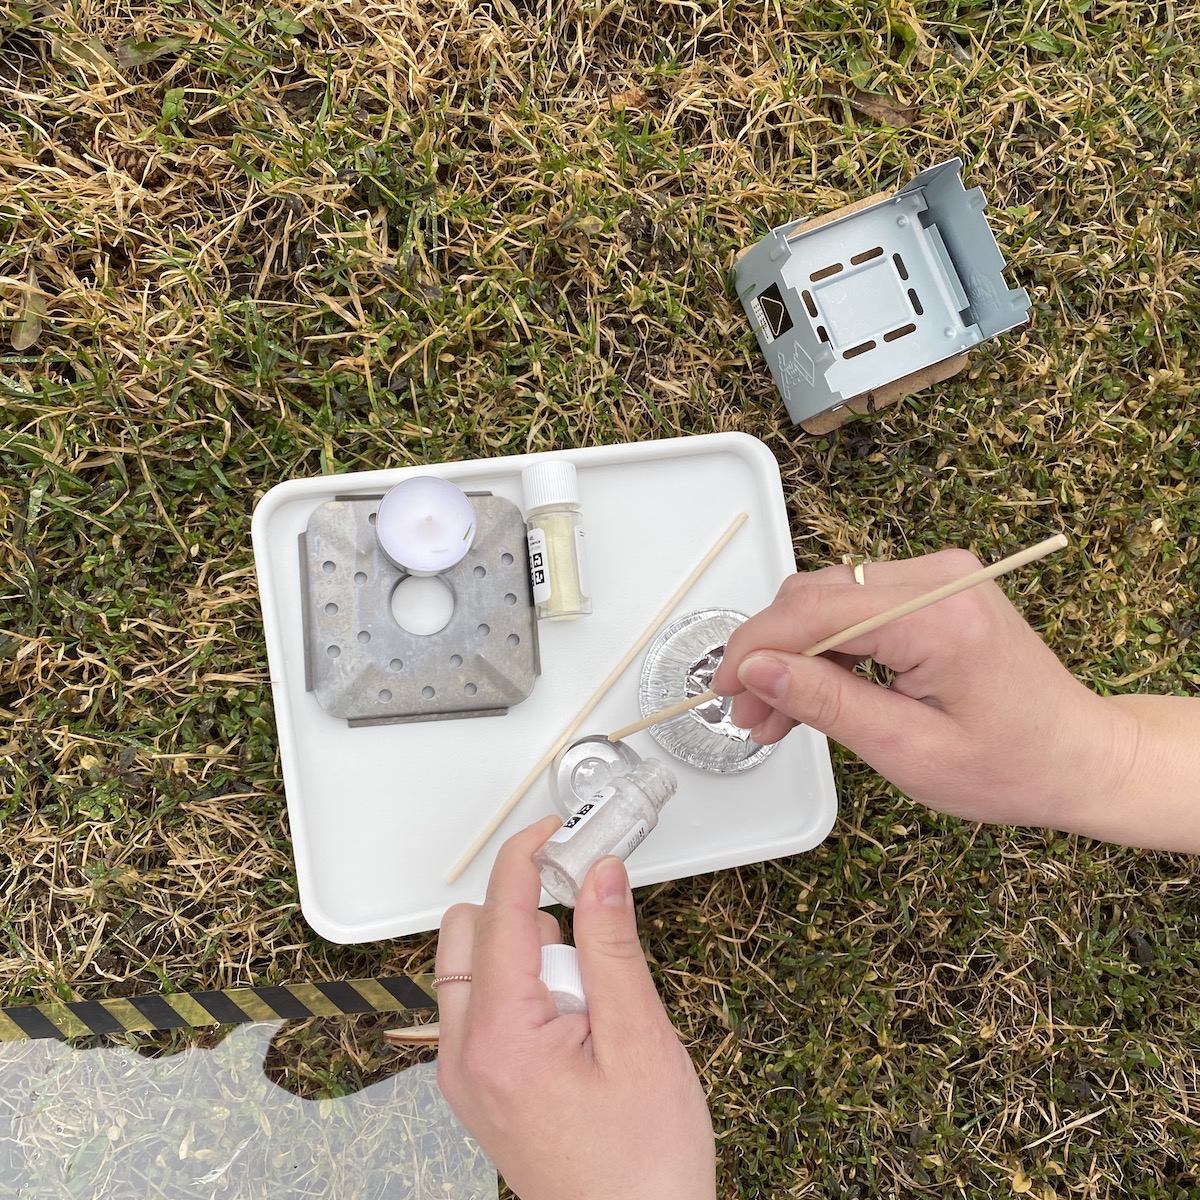
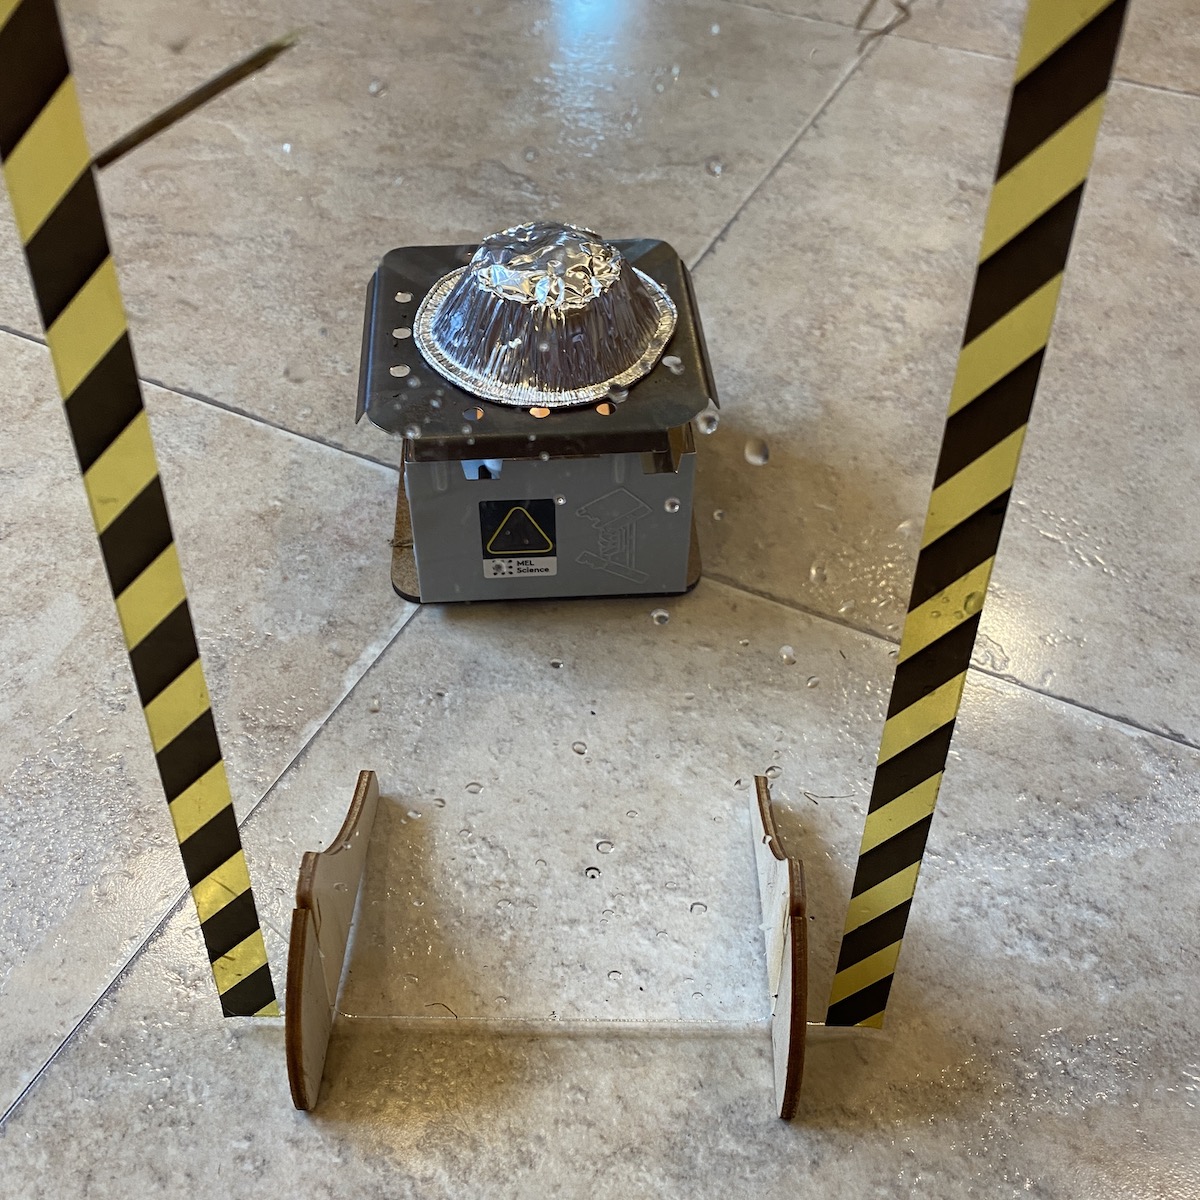
To create a solid rocket propellant, we used calcium nitrate as an oxidizer and potassium ferrocyanide as a fuel. Charlie mixed the Ca(NO3)2 and K4[Fe(CN)6] in the aluminum mold. He then placed the candle on the pocket stove and lit it. Placing the mixture on top of the flame diffuser, we placed the foil cap over it to keep the heat in the mixture. After sitting for 15 minutes, we extinguished the candle and then lit the mixture on fire using the ignitor stick. "BOOM" the mixture exploded into a pink flame! As you can see by the photos, we started out outside as this involves flames and chemicals. Buttttt it was way too windy, and it didn't work the first time. Being brave (or maybe stupid?) we brought it inside, and it worked like a charm! I did place everything on the floor, had the windows open, and had a bucket of water on standby in case of any funny business, but everything went swimmingly and we were happy to have that extra set of chemicals for a redo! What a fun experiment!
Poster

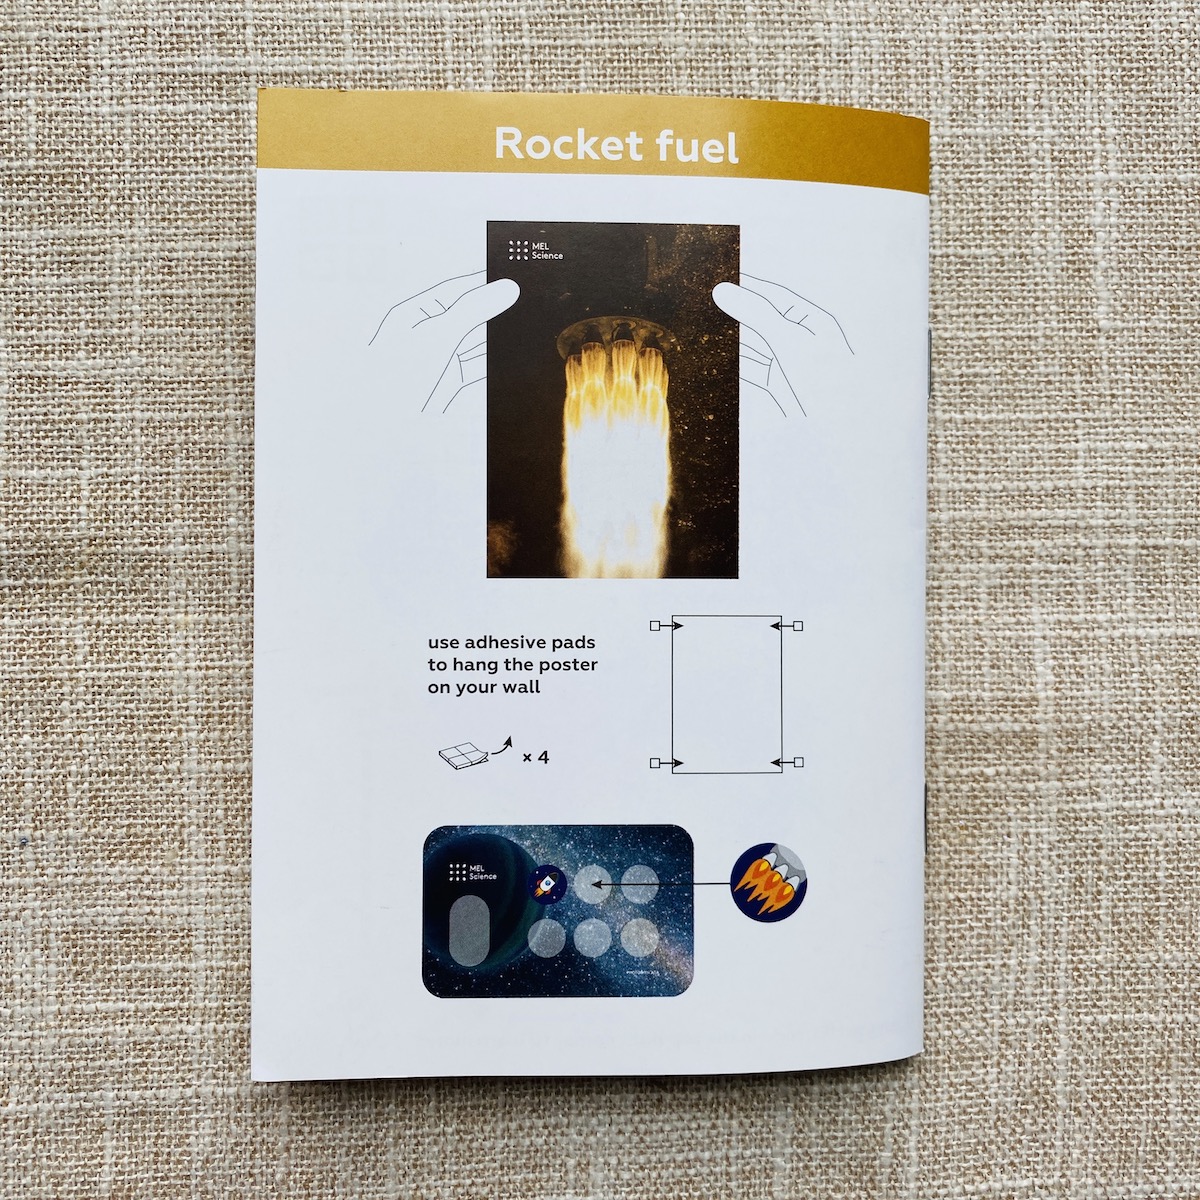
As a token of remembrance for this ultra cool box, we also received a poster of a rocket blasting off! Charlie now rushed upstairs to tape it to his wall. As you can see my boys are a bit competitive and are already fighting over who gets to complete next months box!
Final Thoughts - Was This Box Worth It?
Yes! The Rocket Fuel box was amazing. With three insanely cool experiments, Charlie not only learned a ton, but I did too! We had a great time following the instructions and troubleshooting through each of the experiments, ultimately having everything work in the end. These are definitely not experiments that are being done at school, or ones I have found on Pinterest, so this is above par! This subscription is a great fit for my family and a fun project for us to experience together, while learning about science at the same time!
I also want to note that there are always additional experiments that you can do online with these boxes if your child is so inclined. I have downloaded the app and have found a ton of extra experiments, awards, AR and VR opportunities and more! Check it out!
To Wrap Up:
The Cost: $39.90
ACTIVE DEAL: FREE one-month trial. No coupon needed - just use this link.
Can you still get this box if you sign up today? Yes, this box is still available. From MEL Space:
"Your first package will arrive within 2 weeks of registration. Subsequent monthly packages will be delivered within 2 weeks of each monthly charge."
What do you think of MEL Space? Let us know below!














Please do not enter your email address in the Name field or in the comment content. Your email address will not be published. Required fields are marked *. Remember to post with kindness and respect. Comments with offensive language, cruelness to others, etc will not be approved. See our full comment policy here.