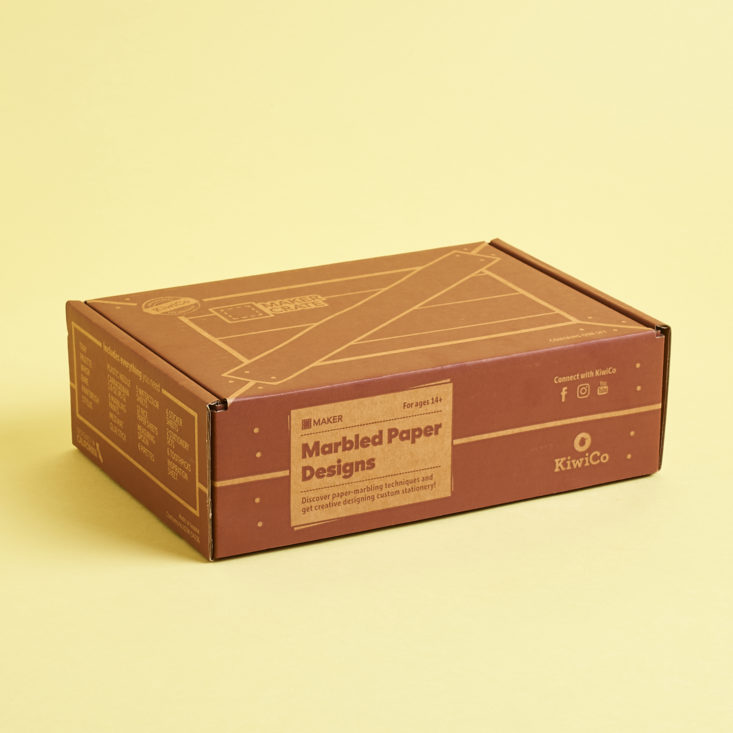
Maker Crate (Ages 14-104)
My Art Making Experience
I am an artist at heart (not a talented one, but I enjoy the process), so I have been itching to try out Maker Crate since I first saw this subscription!
I am a big fan of the many different KiwiCo lines I have already tried for kids of all ages, so I was eager to see if this craft kit subscription offered the same quality projects and innovativeness that those do. Let's find out!
About Maker Crate
The Subscription Box: Maker Crate
The Cost: $29.95 per month + free shipping. Save with longer subscriptions.
The Products: Materials and instructions needed for anyone aged 14 to 104 years to explore new art techniques and complete hands-on arts and crafts projects.
Ships to: The U.S. for free, Canada for $3.95 per month, and worldwide from $4.95-$6.95.
Pros & Cons
The Pros
- The materials were high-quality and they provided all of the art tools we needed.
- The box was well-organized and there were extra materials, enough to complete several projects after our first art session.
- They provide a bit of history regarding the art method which added an educational aspect.
- The online tutorials included several helpful tips and moved at a slower pace making it easy to follow along.
- There was plenty of room for creativity after the initial guidance was given.
- It looks like there is a great range of art techniques and mediums explored throughout this subscription.
- This would be great as part of a homeschooling curriculum!
The Cons
- The instructions are only available online through a video tutorial, this may make it less accessible for some.
- The projects are somewhat time-consuming.
- I had to provide a few things from home such as water, containers, scrap paper, and paper towels, although I'm sure this is to be expected with an art-themed box!
Is It Worth It?
- I think so! I was really impressed with the quality and amount of materials they included. While I might run out of paper, I definitely have plenty of the other supplies to do a few more marbling sessions!
I'd Recommend This If
- You or your child enjoys exploring new art mediums and techniques.
- You enjoy getting creative through hands-on activities.
- You are looking for an art lesson in a box.
How Does it Work?
Each month you'll receive a box delivered to your door containing all of the high-quality materials you'll need for that month's art project. There will also be a Maker's Guide with some instructions inside. Crates are assigned based on your history so that you never receive the same crate twice.

What's in Each Box?
The materials you receive each month will depend on the project you receive, but everything seemed to be high-quality and was organized so neatly making it easy to locate everything. I appreciated that the materials looked like they are meant to last and can be used multiple times.
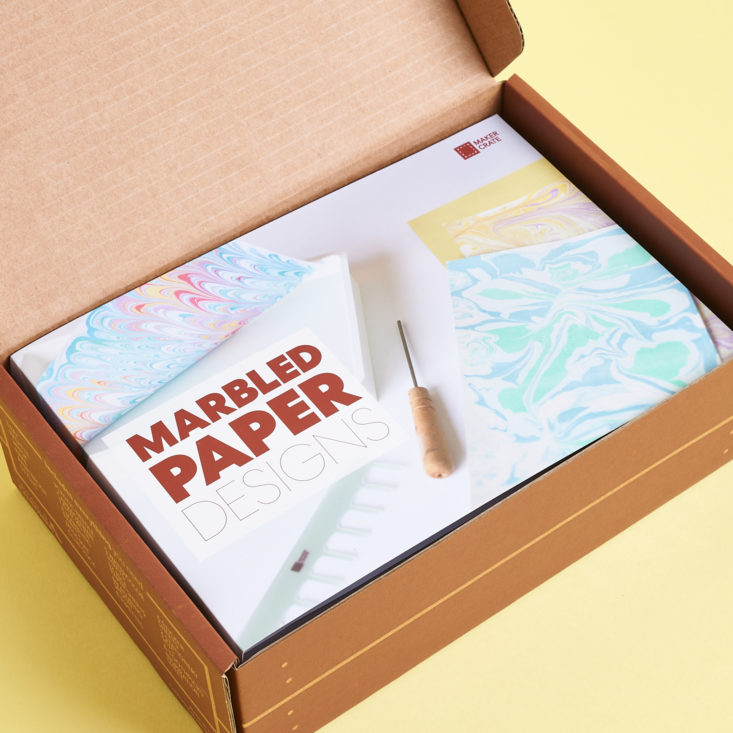
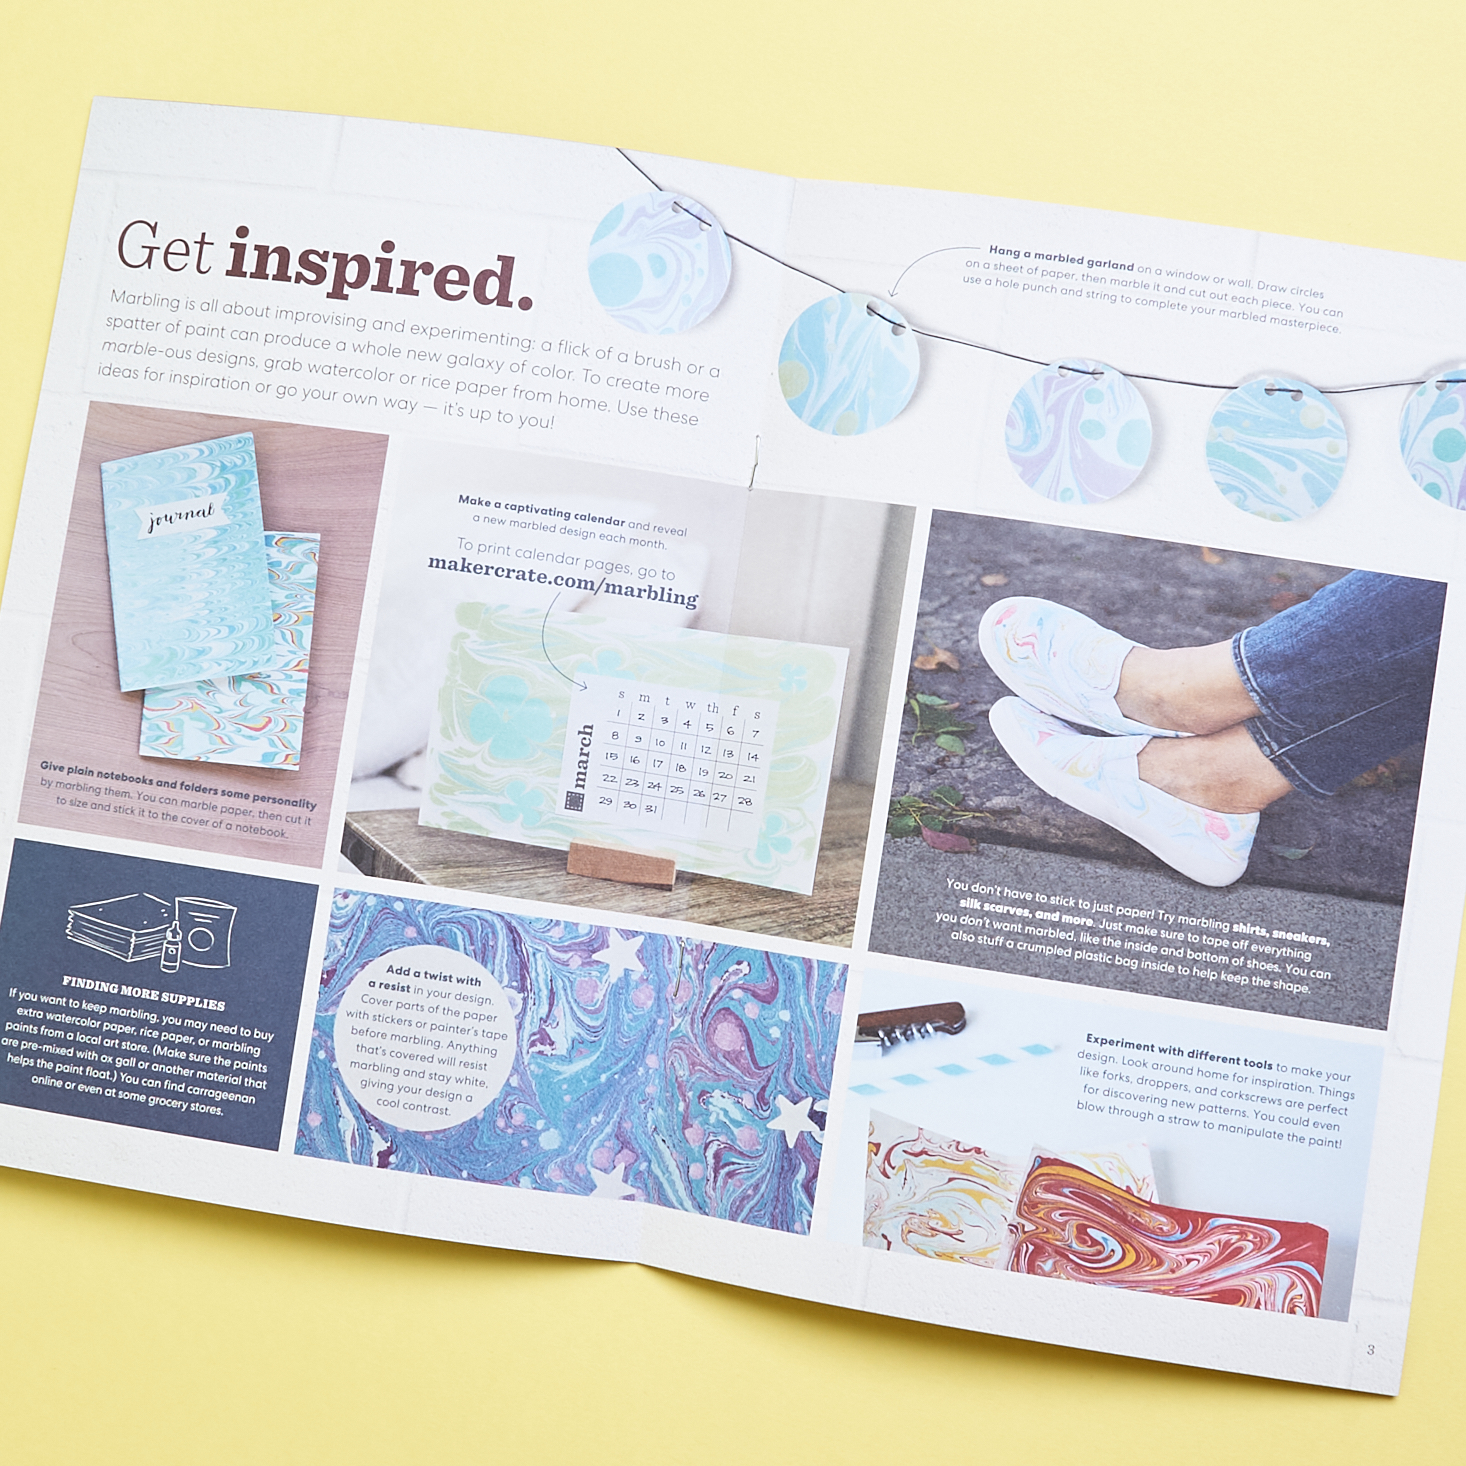
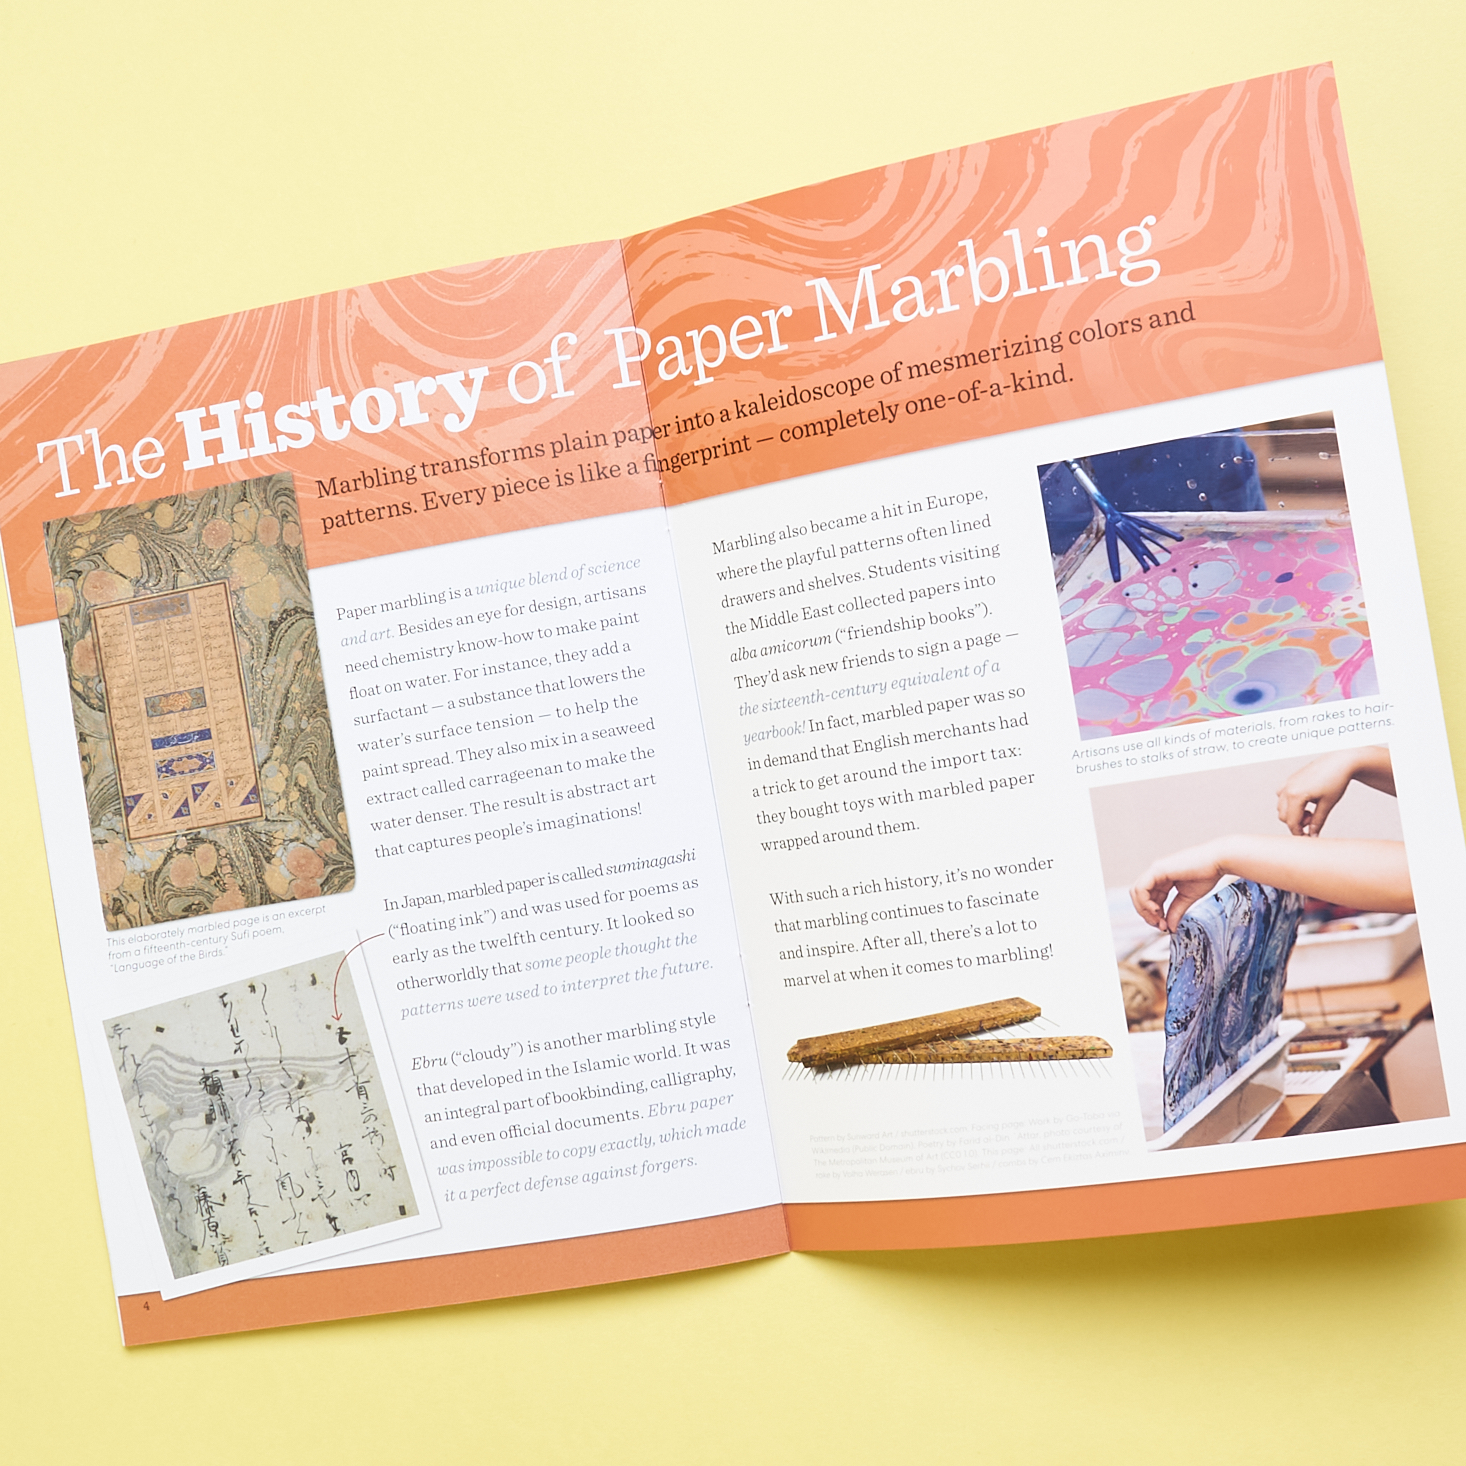
The most important item you will receive is the Maker's Guide which provides the QR code for accessing your instructions. They also included some inspiration for us and some history about paper marbling.
Tutorials
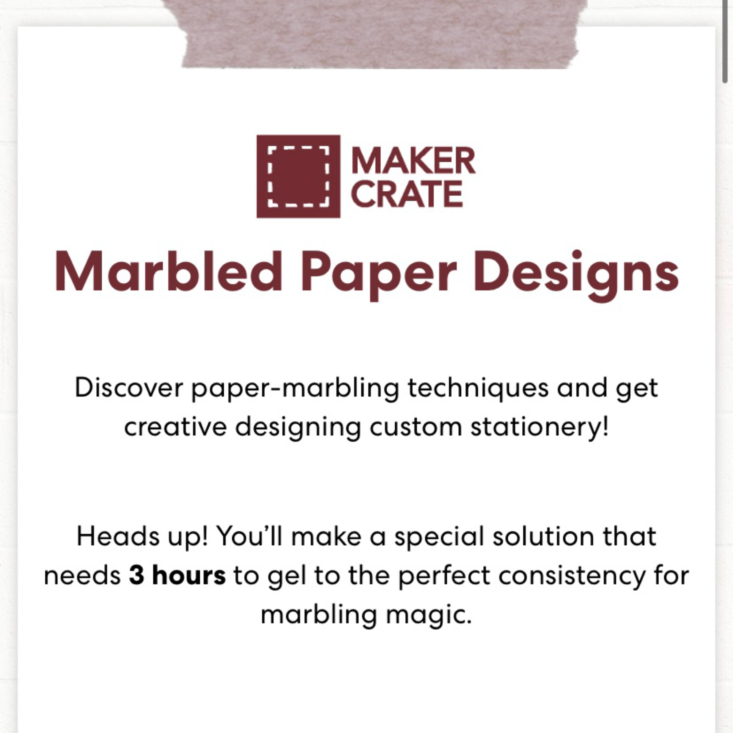
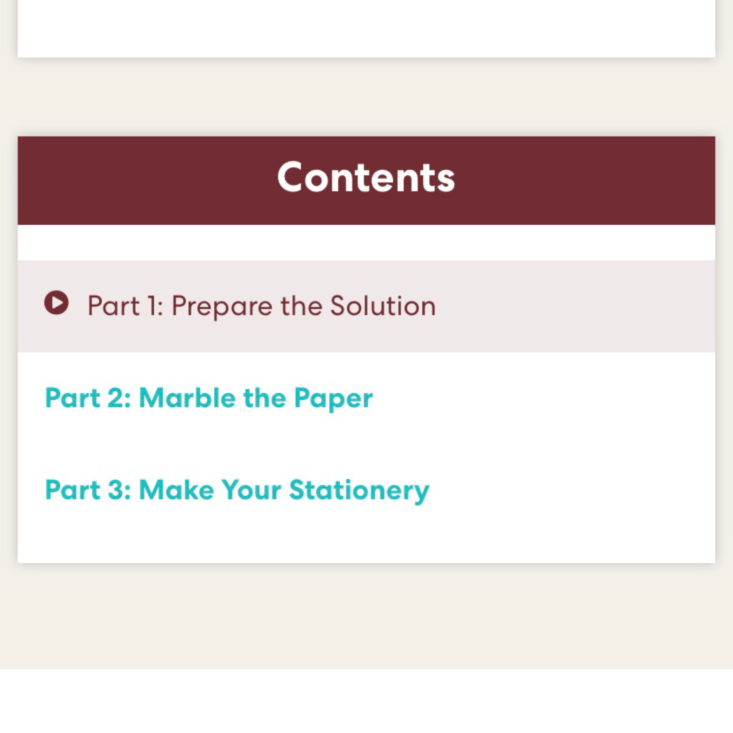
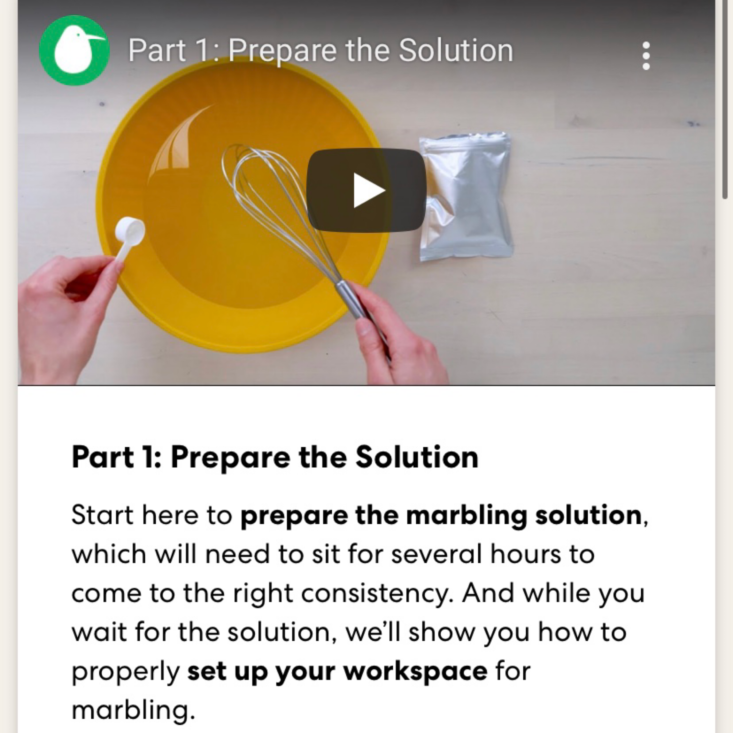
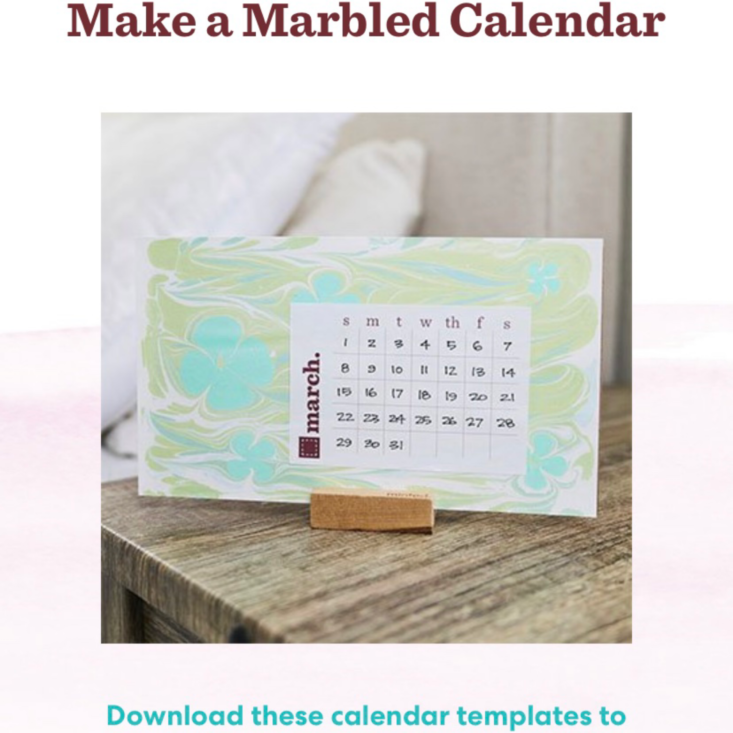
I have to admit, I was a little disappointed that I had to get out my phone and watch a video to see what to do, I definitely prefer physical directions that I can glance at as I go. The site had a table of contents with links to 3 different videos for different steps of our project. There was also a link to some calendar templates which will be a great future project! Fortunately, the videos were really easy to navigate and they moved slowly enough that it was very easy to follow along with. They also interspersed little tips throughout that I found to be very helpful.
High-Quality Materials
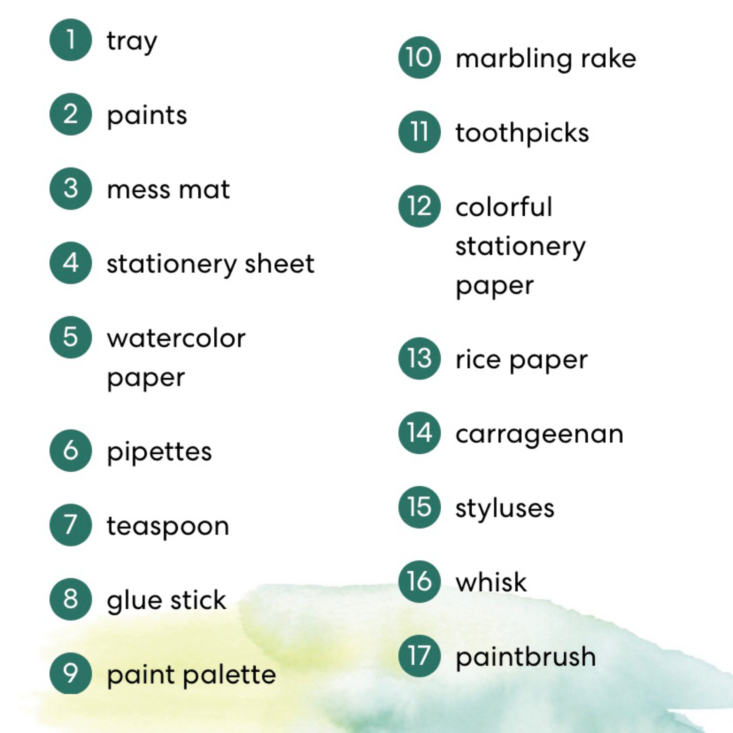
There was a list of what we should have received in our crate on the website. Again, I would have preferred this to be in the magazine, but maybe that's just me being old-fashioned. Let's take a look at some of our supplies!
Carrageenan and Whisk
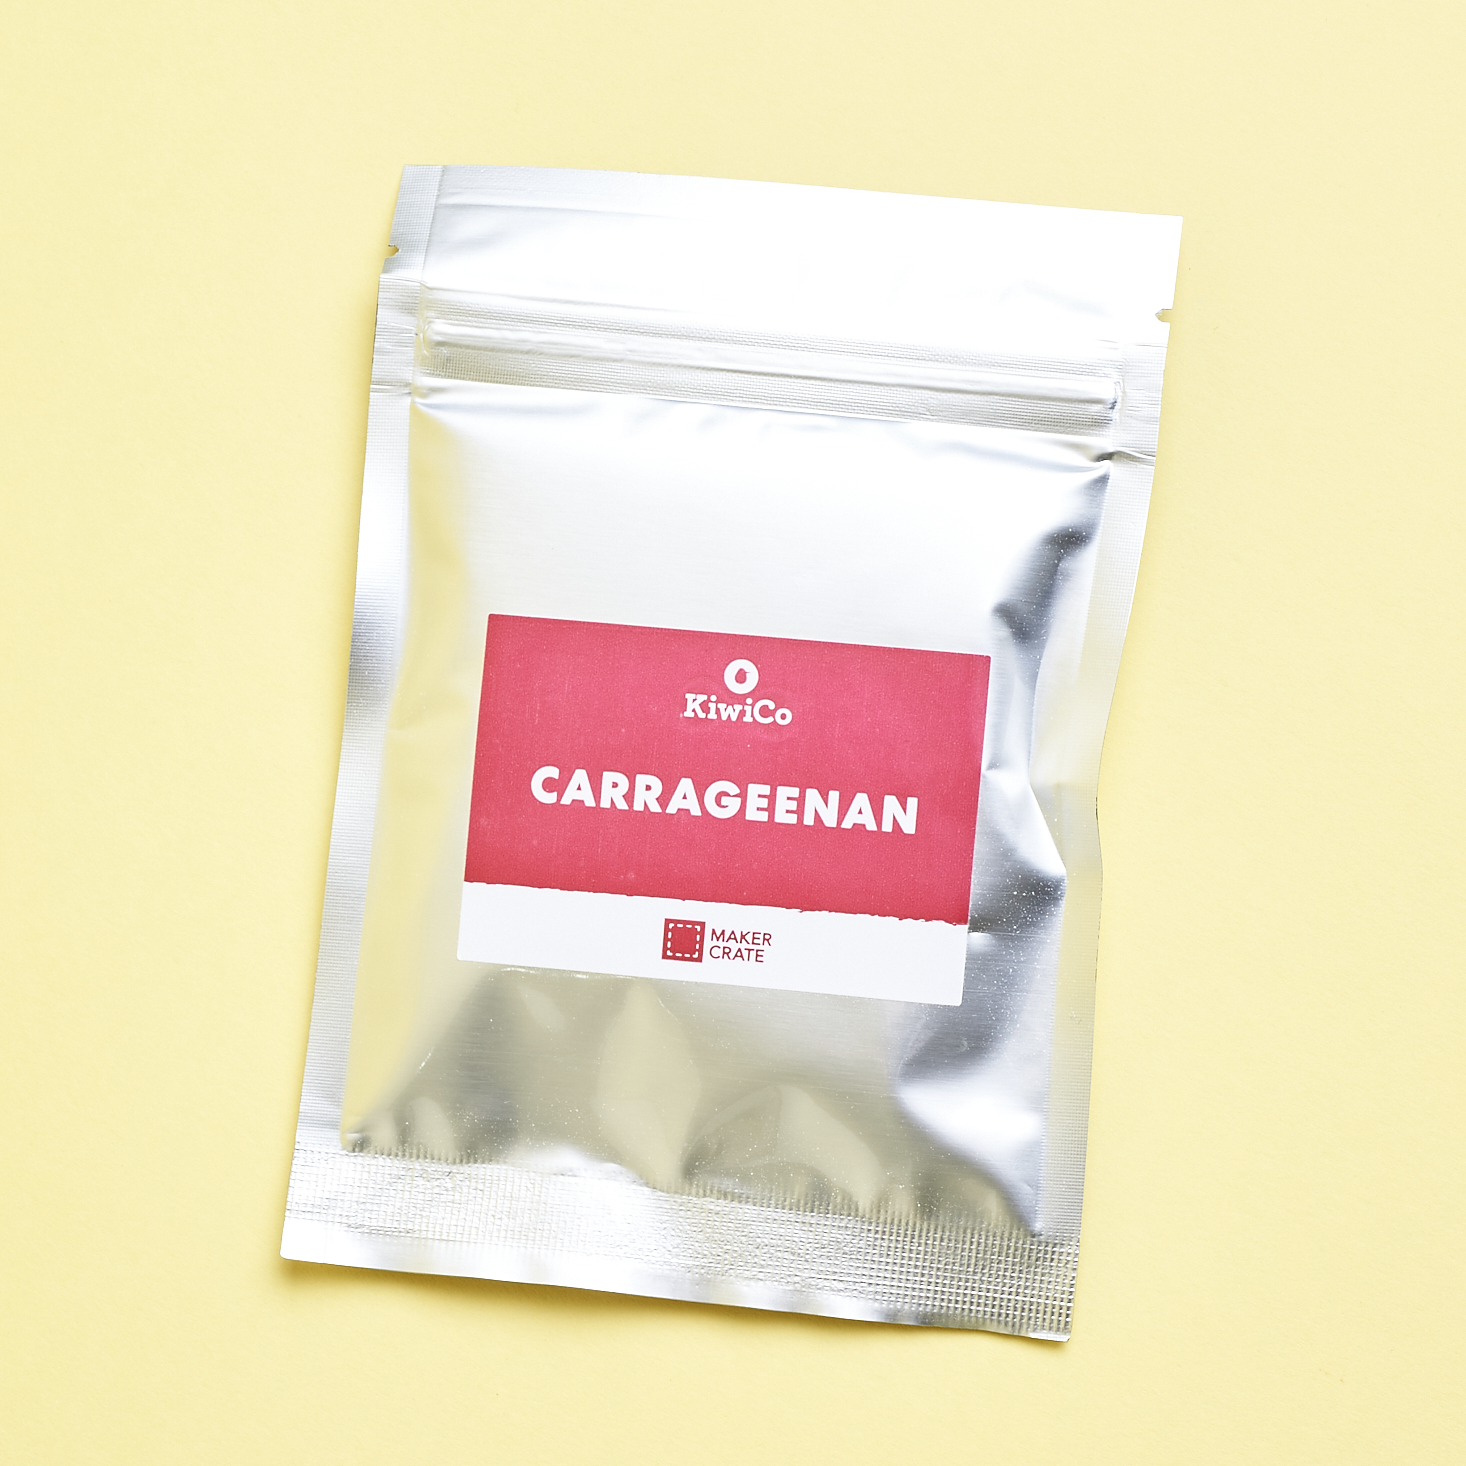
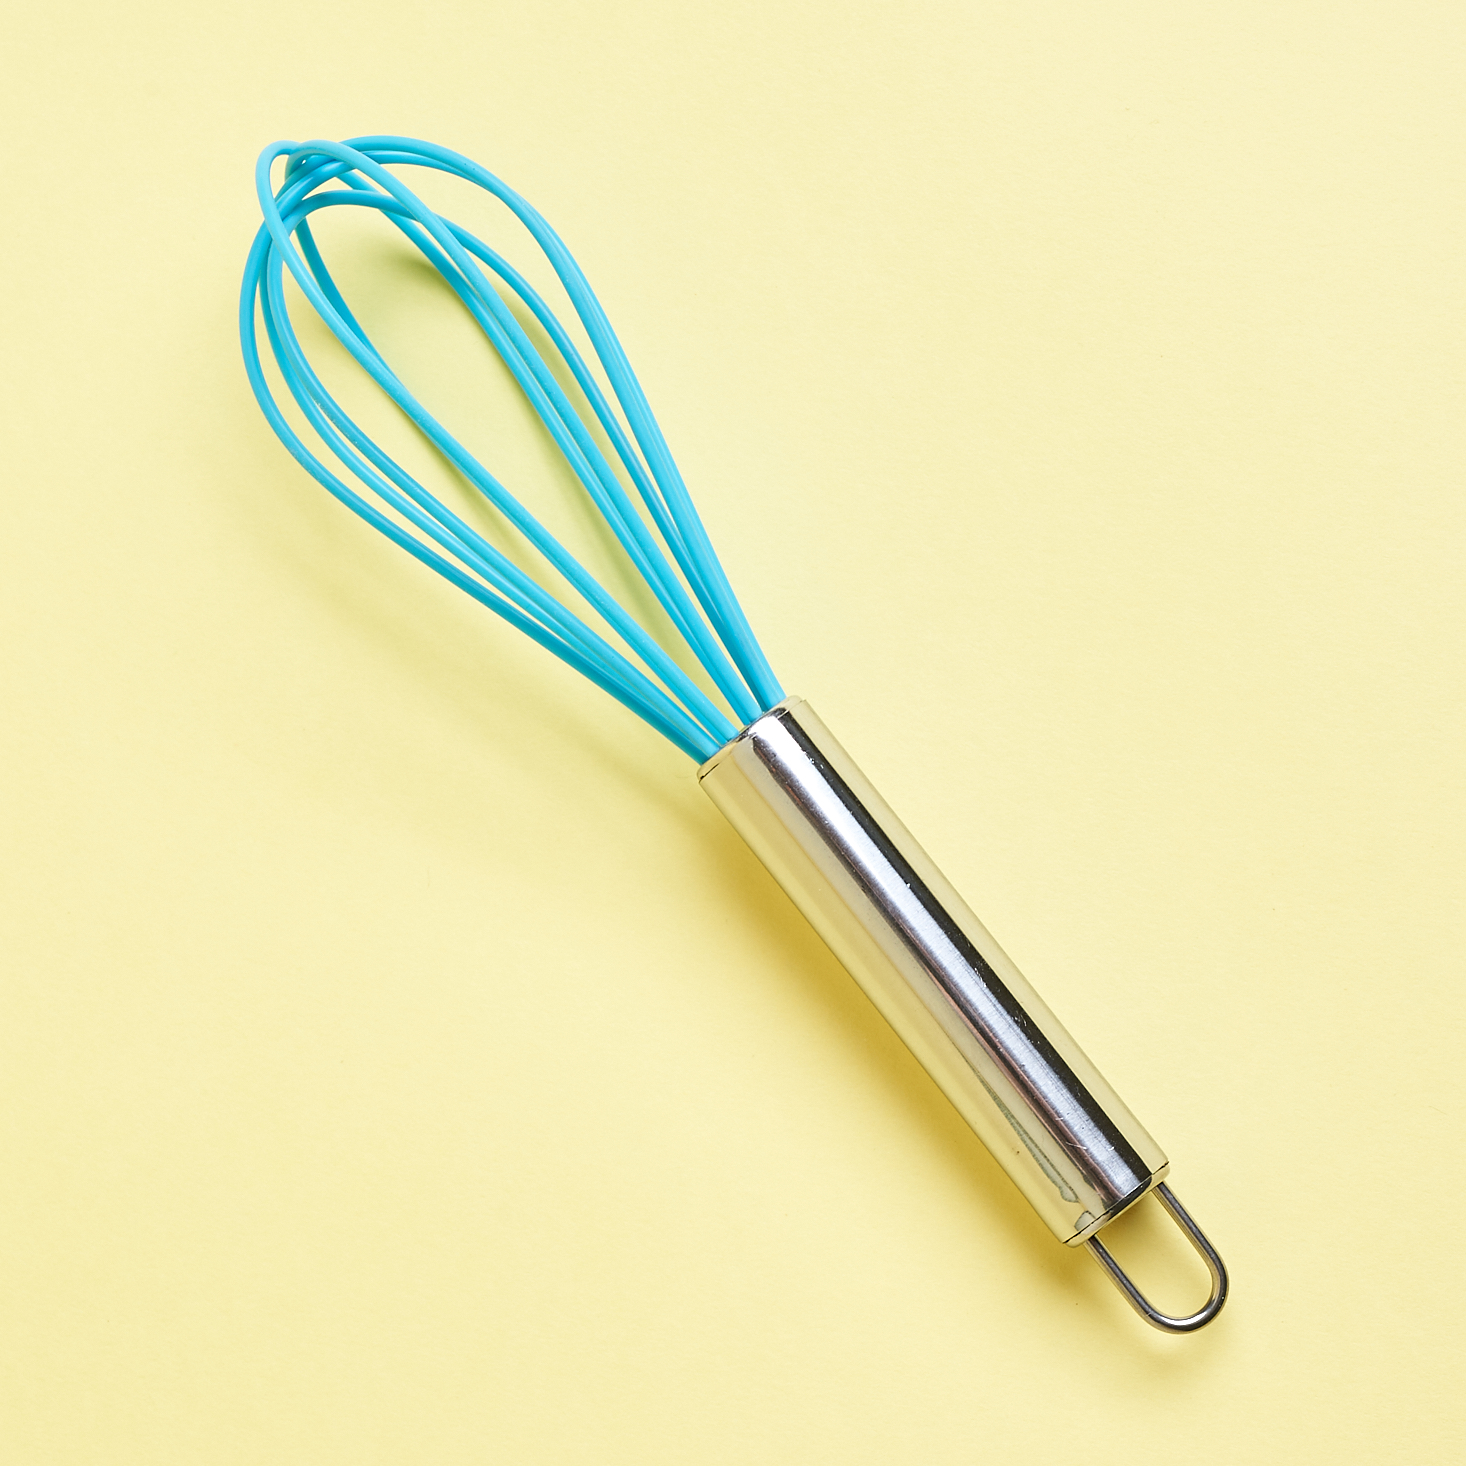
They included a generously sized packet of carrageenan for us to use. This was the thickening agent for our project. They also provided a whisk for us to use to mix up our solution.
Tray, Palette, Wax Paper
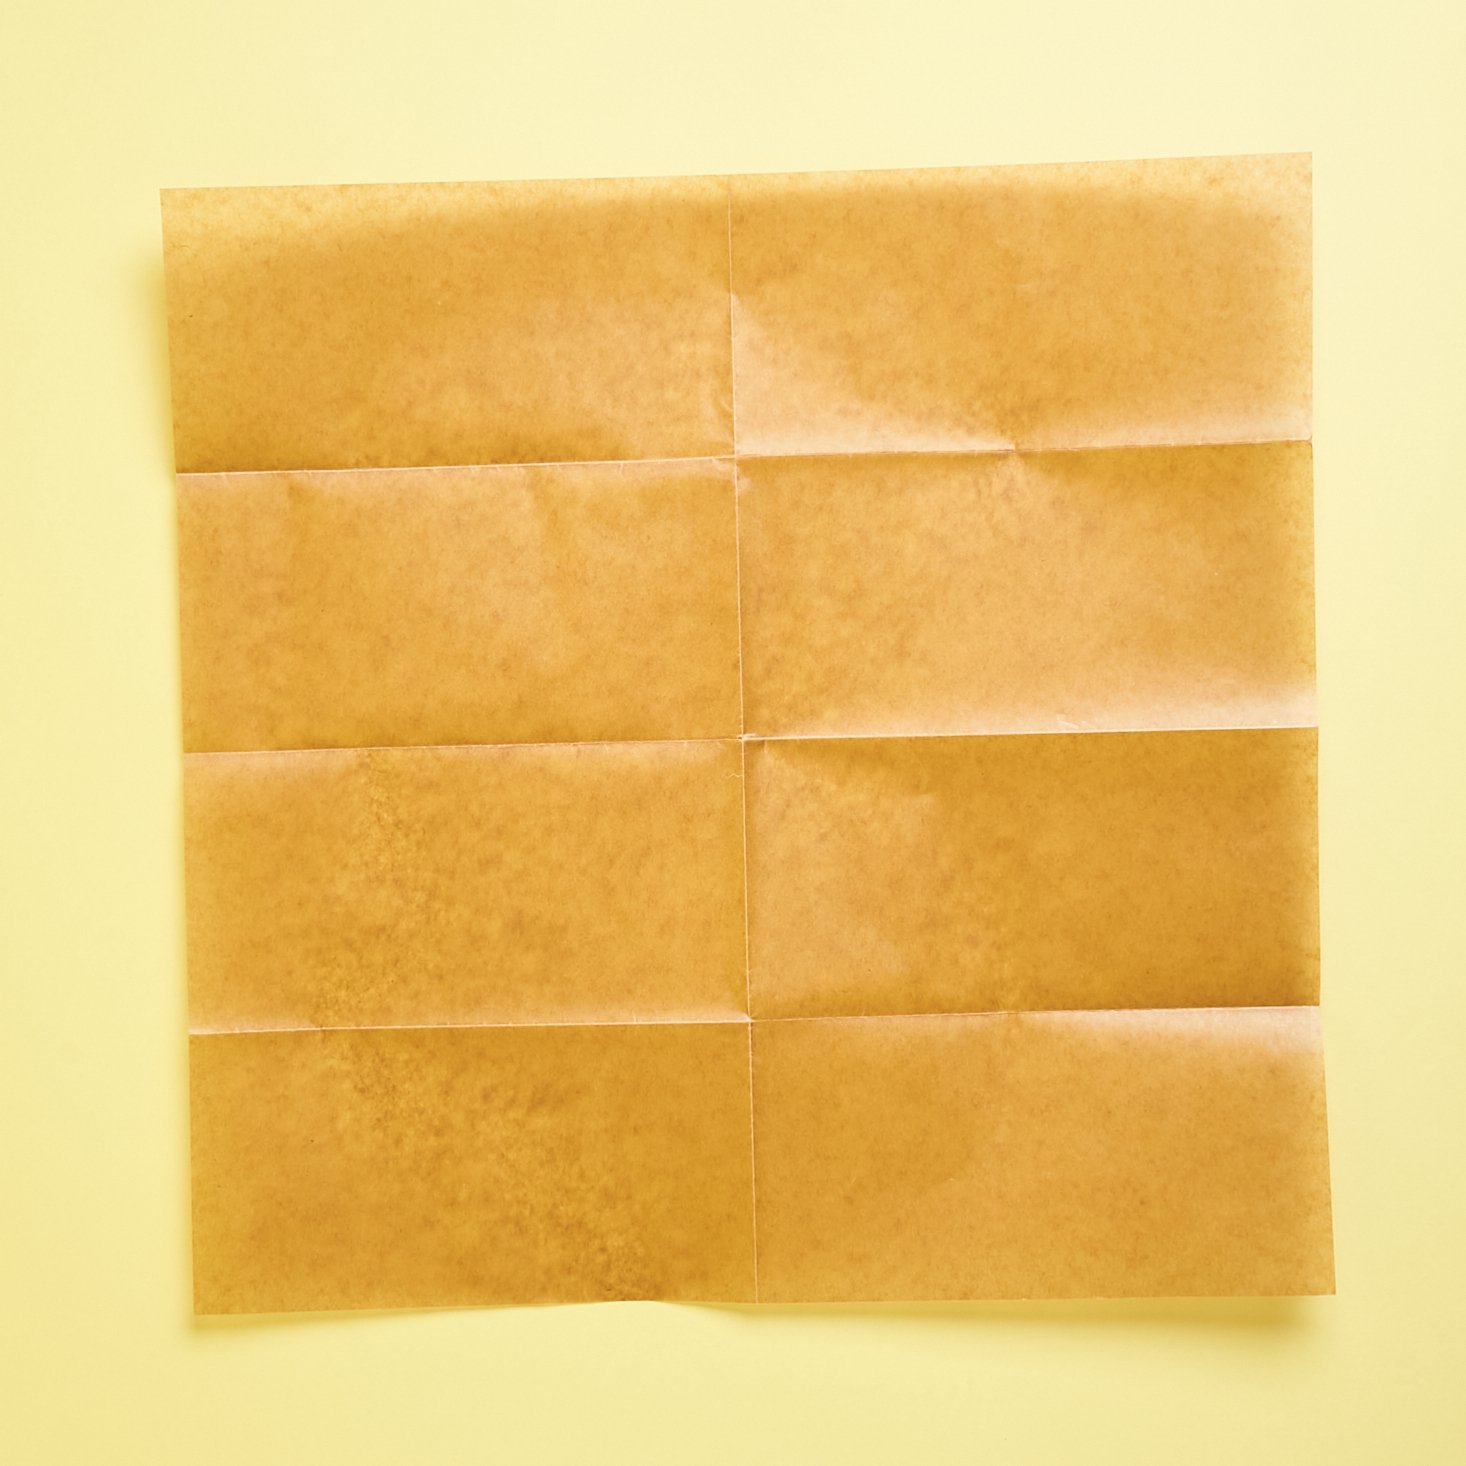
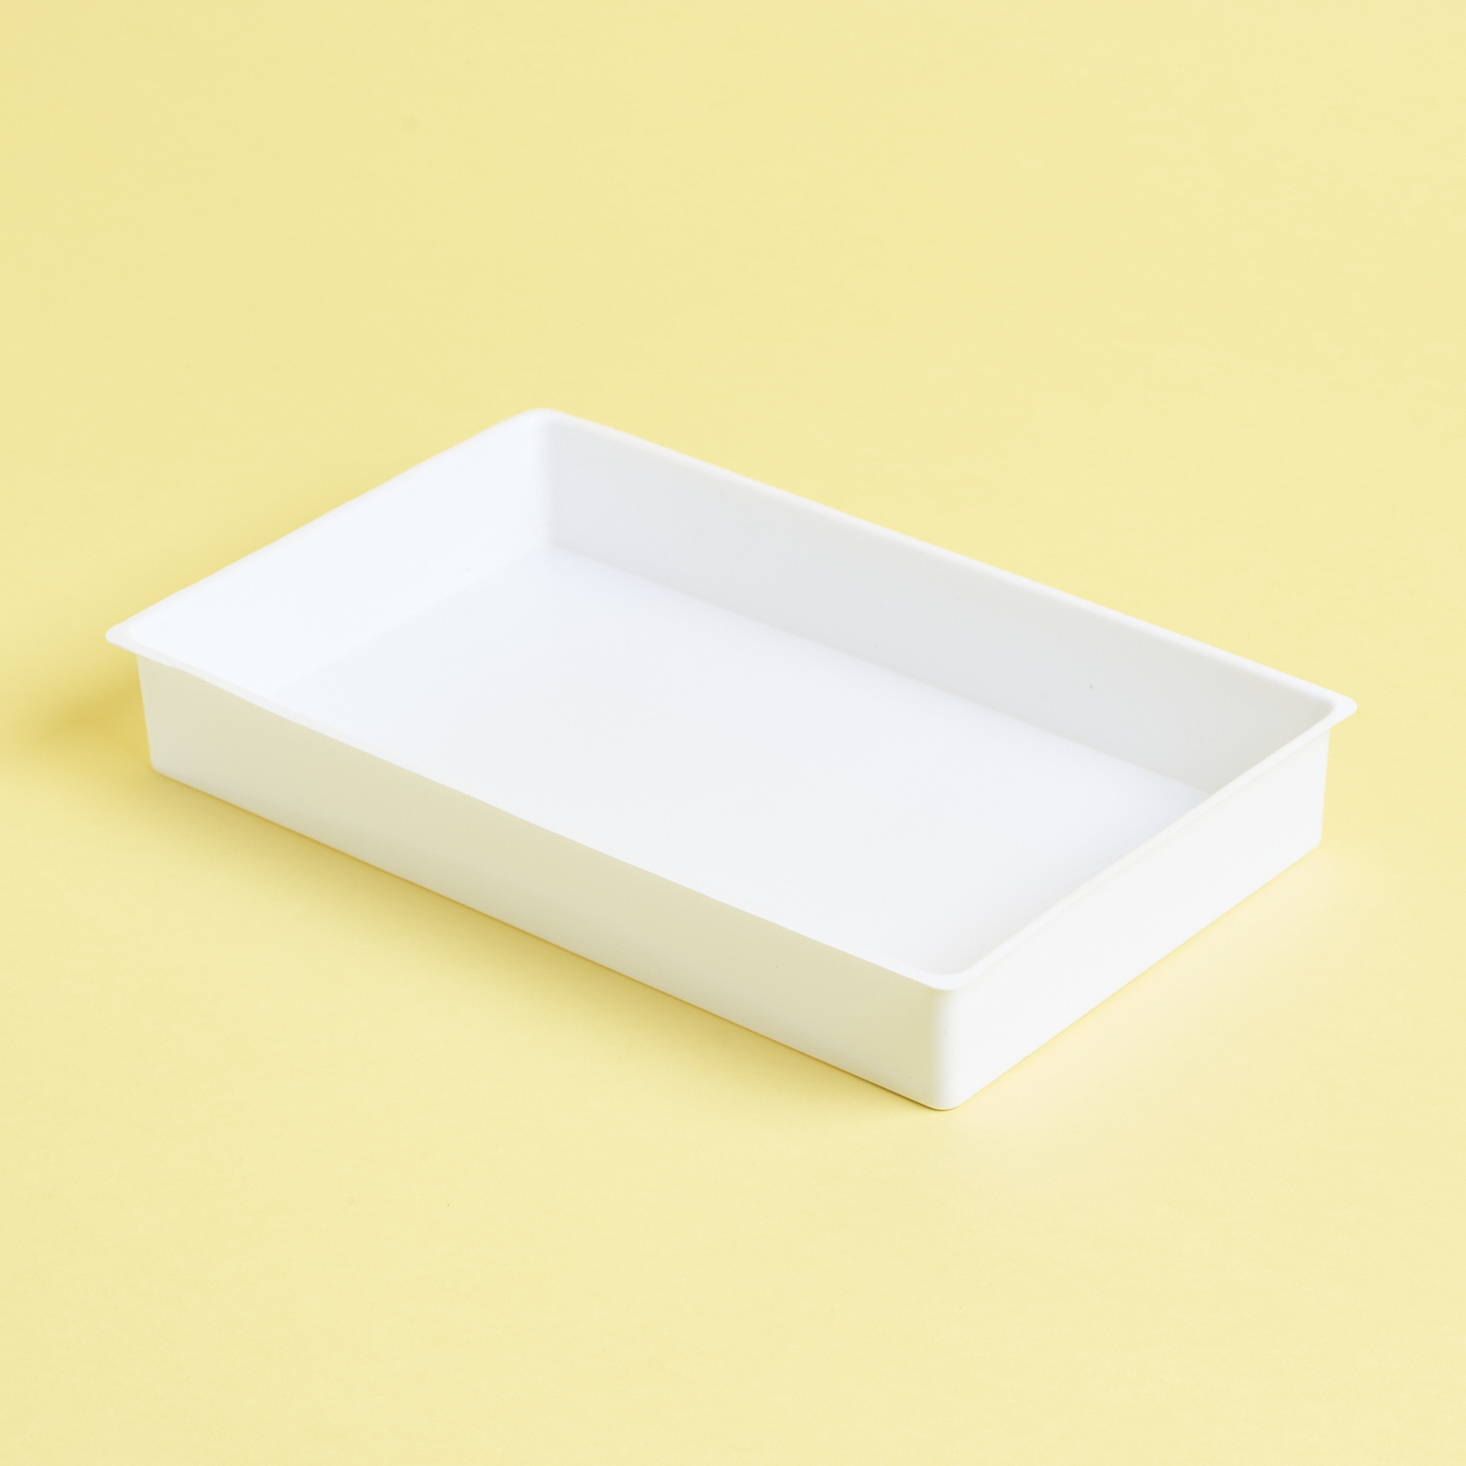
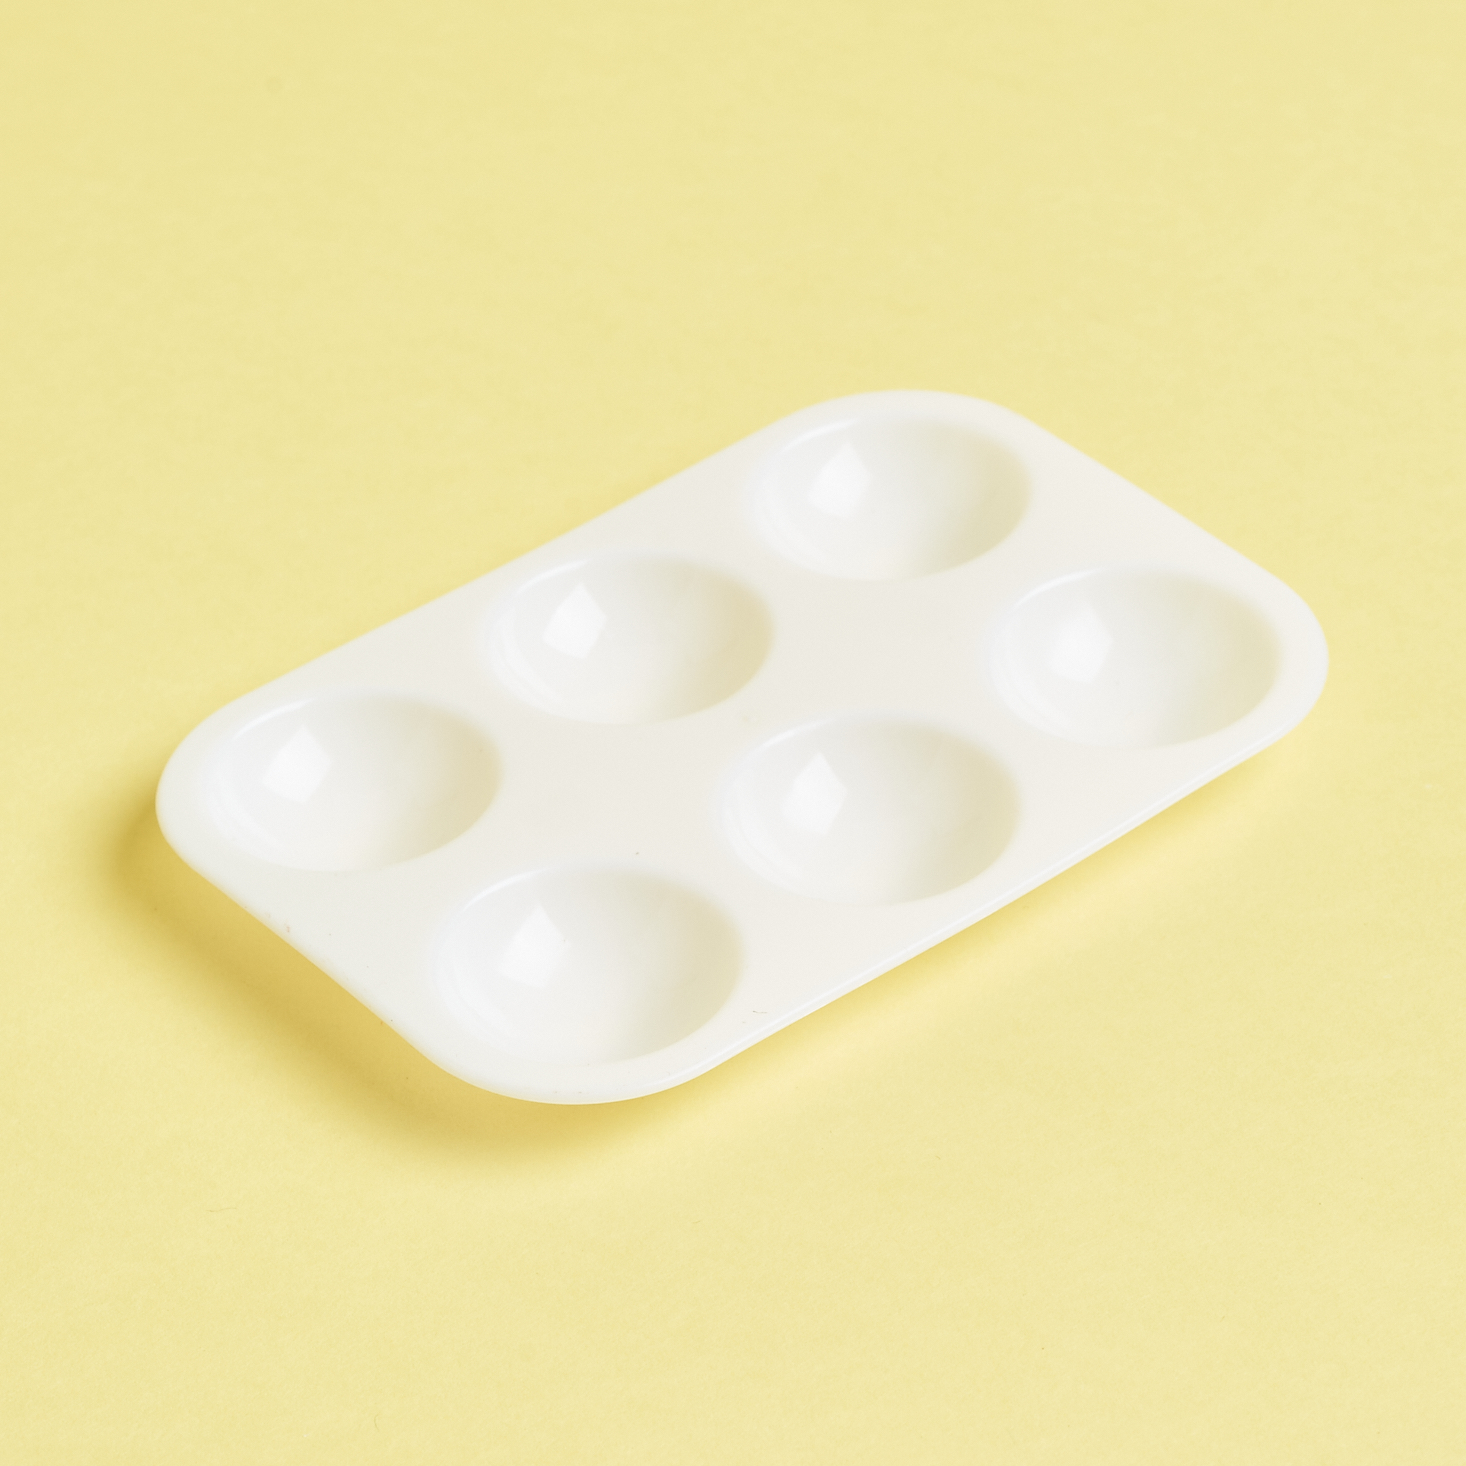
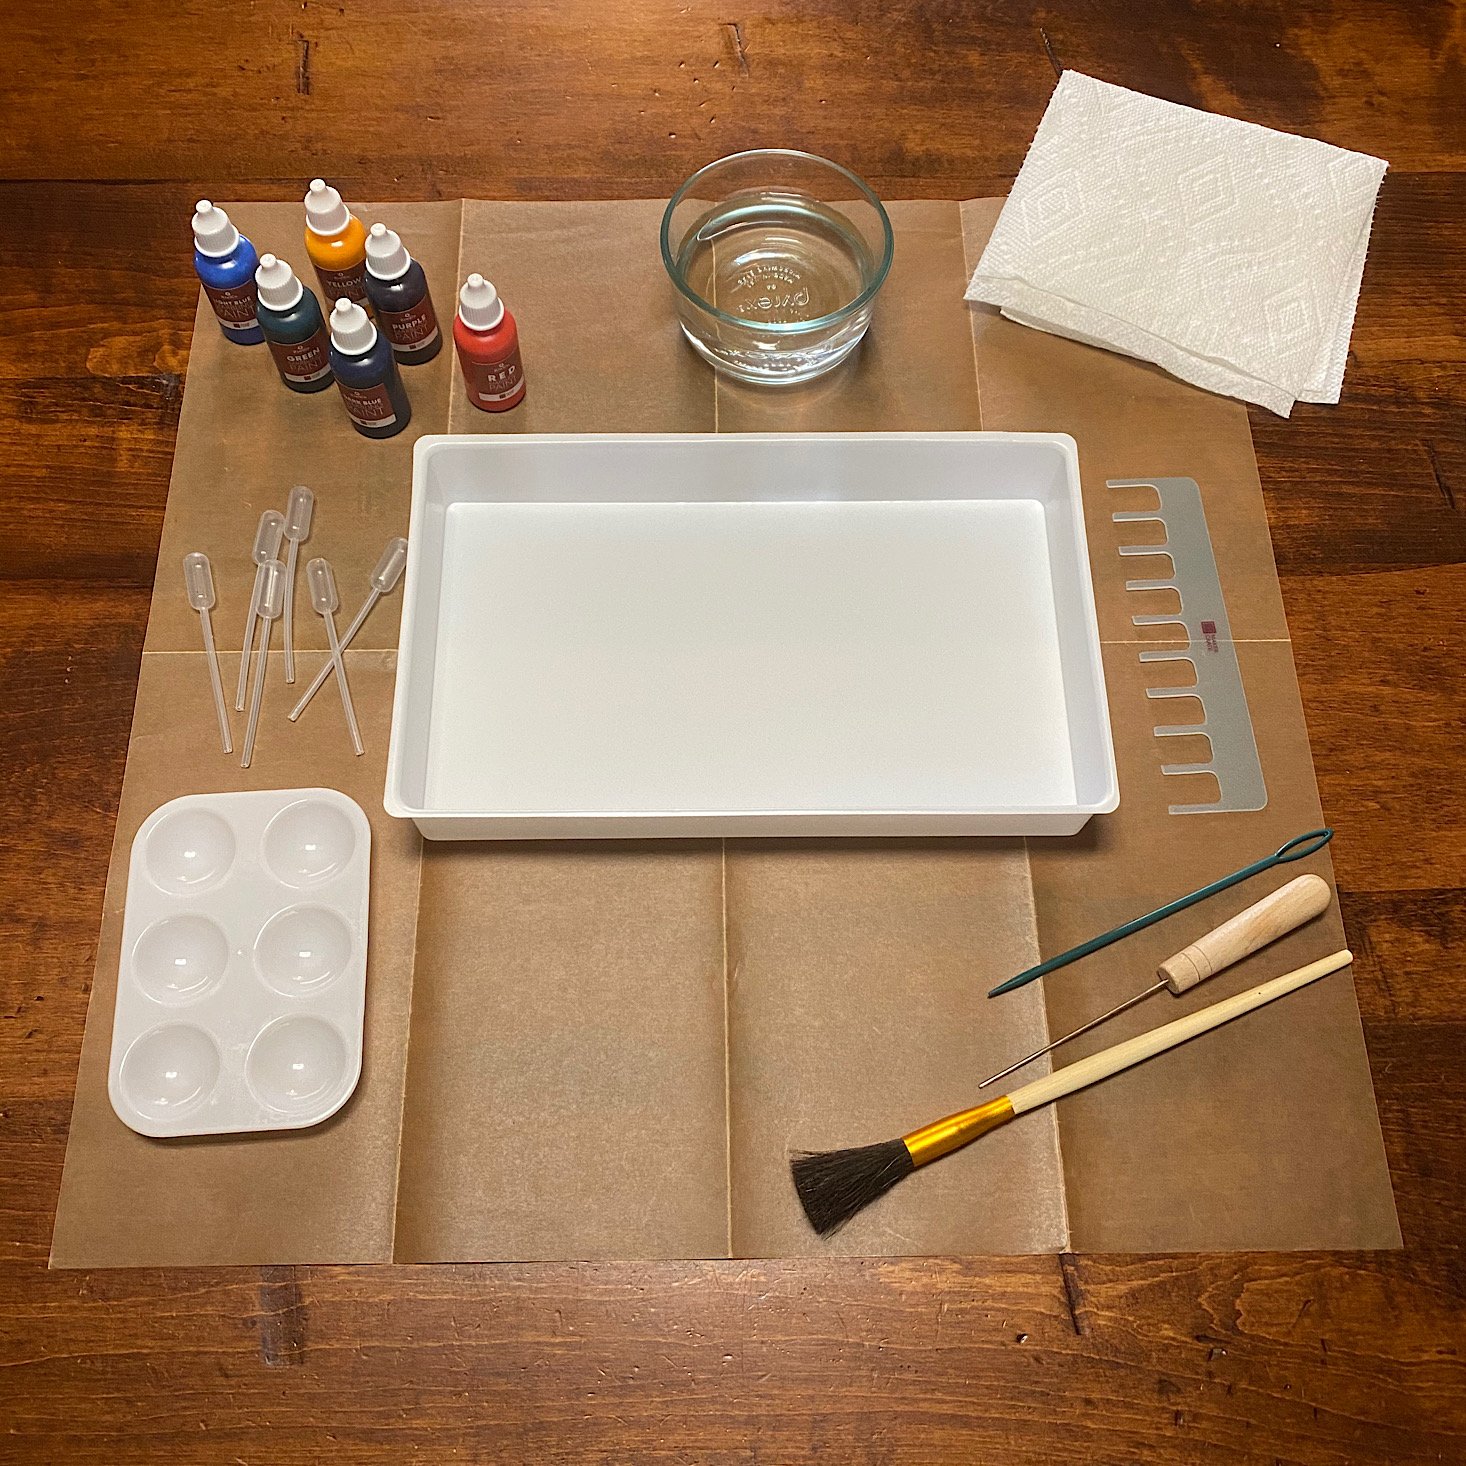
They provided a tray, a small plastic paint palette, and a generously sized piece of wax paper to use as a mess mat.
Marbling Paint
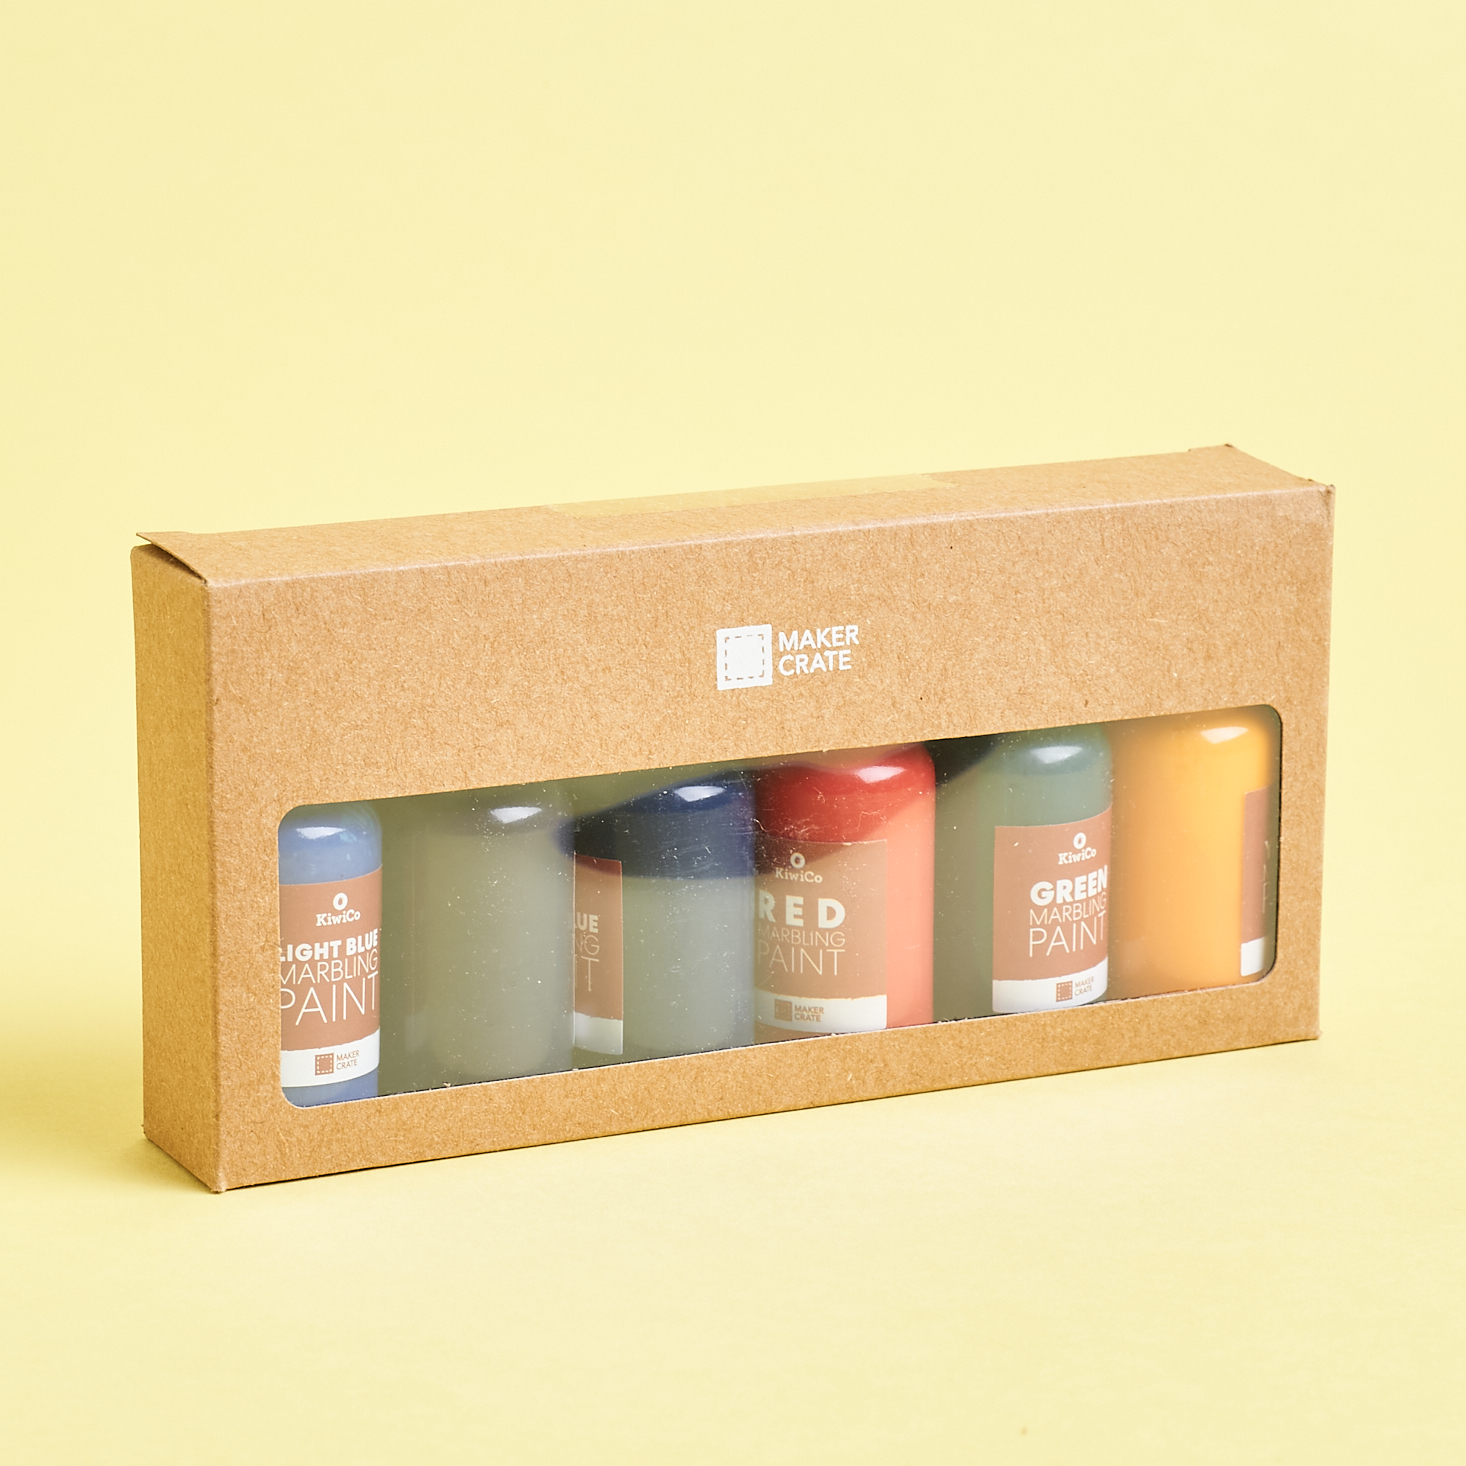
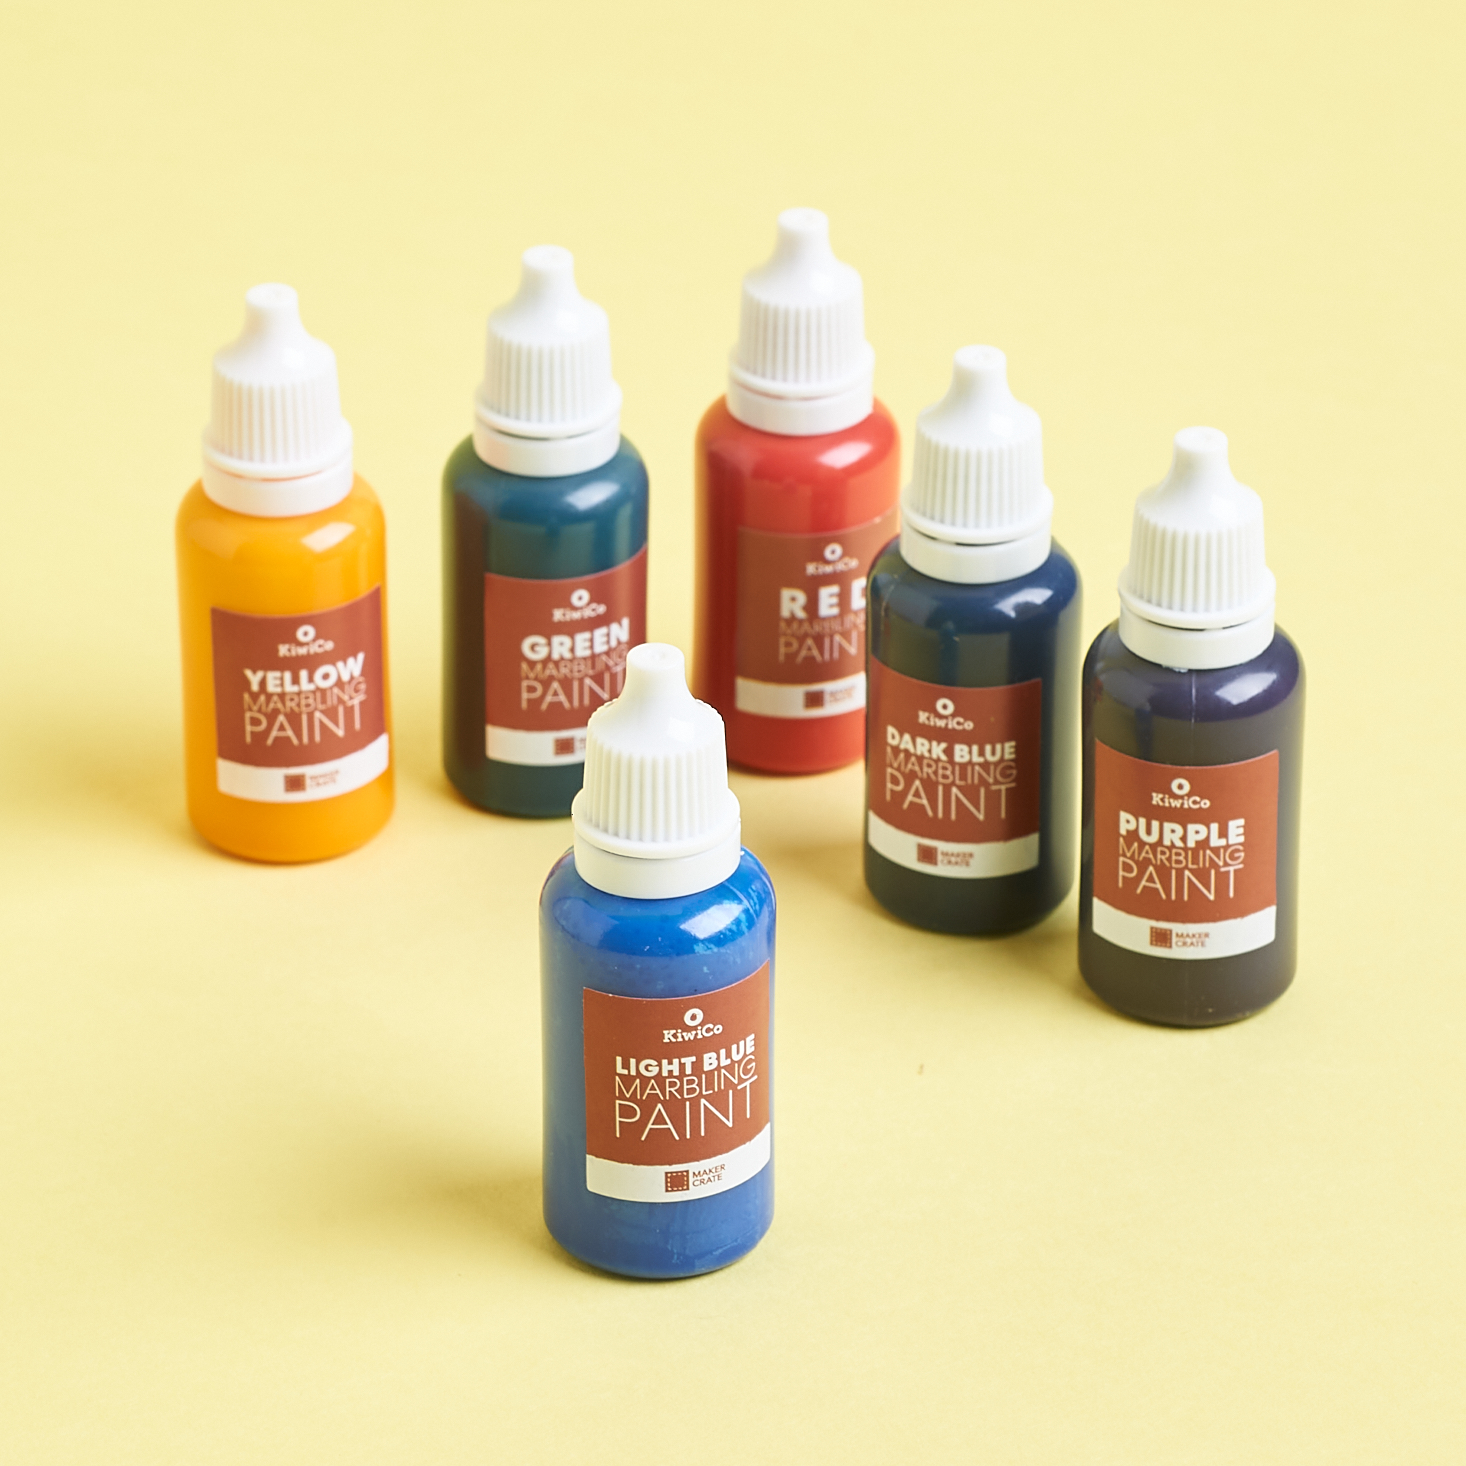
We received six different bottles of marbling paint in purple, green, yellow, red, and two different shades of blue. Considering you only use a few drops for each marbling session, I would consider this a generous amount of paint!
Marbling Tools, Pipettes, Measuring Spoon
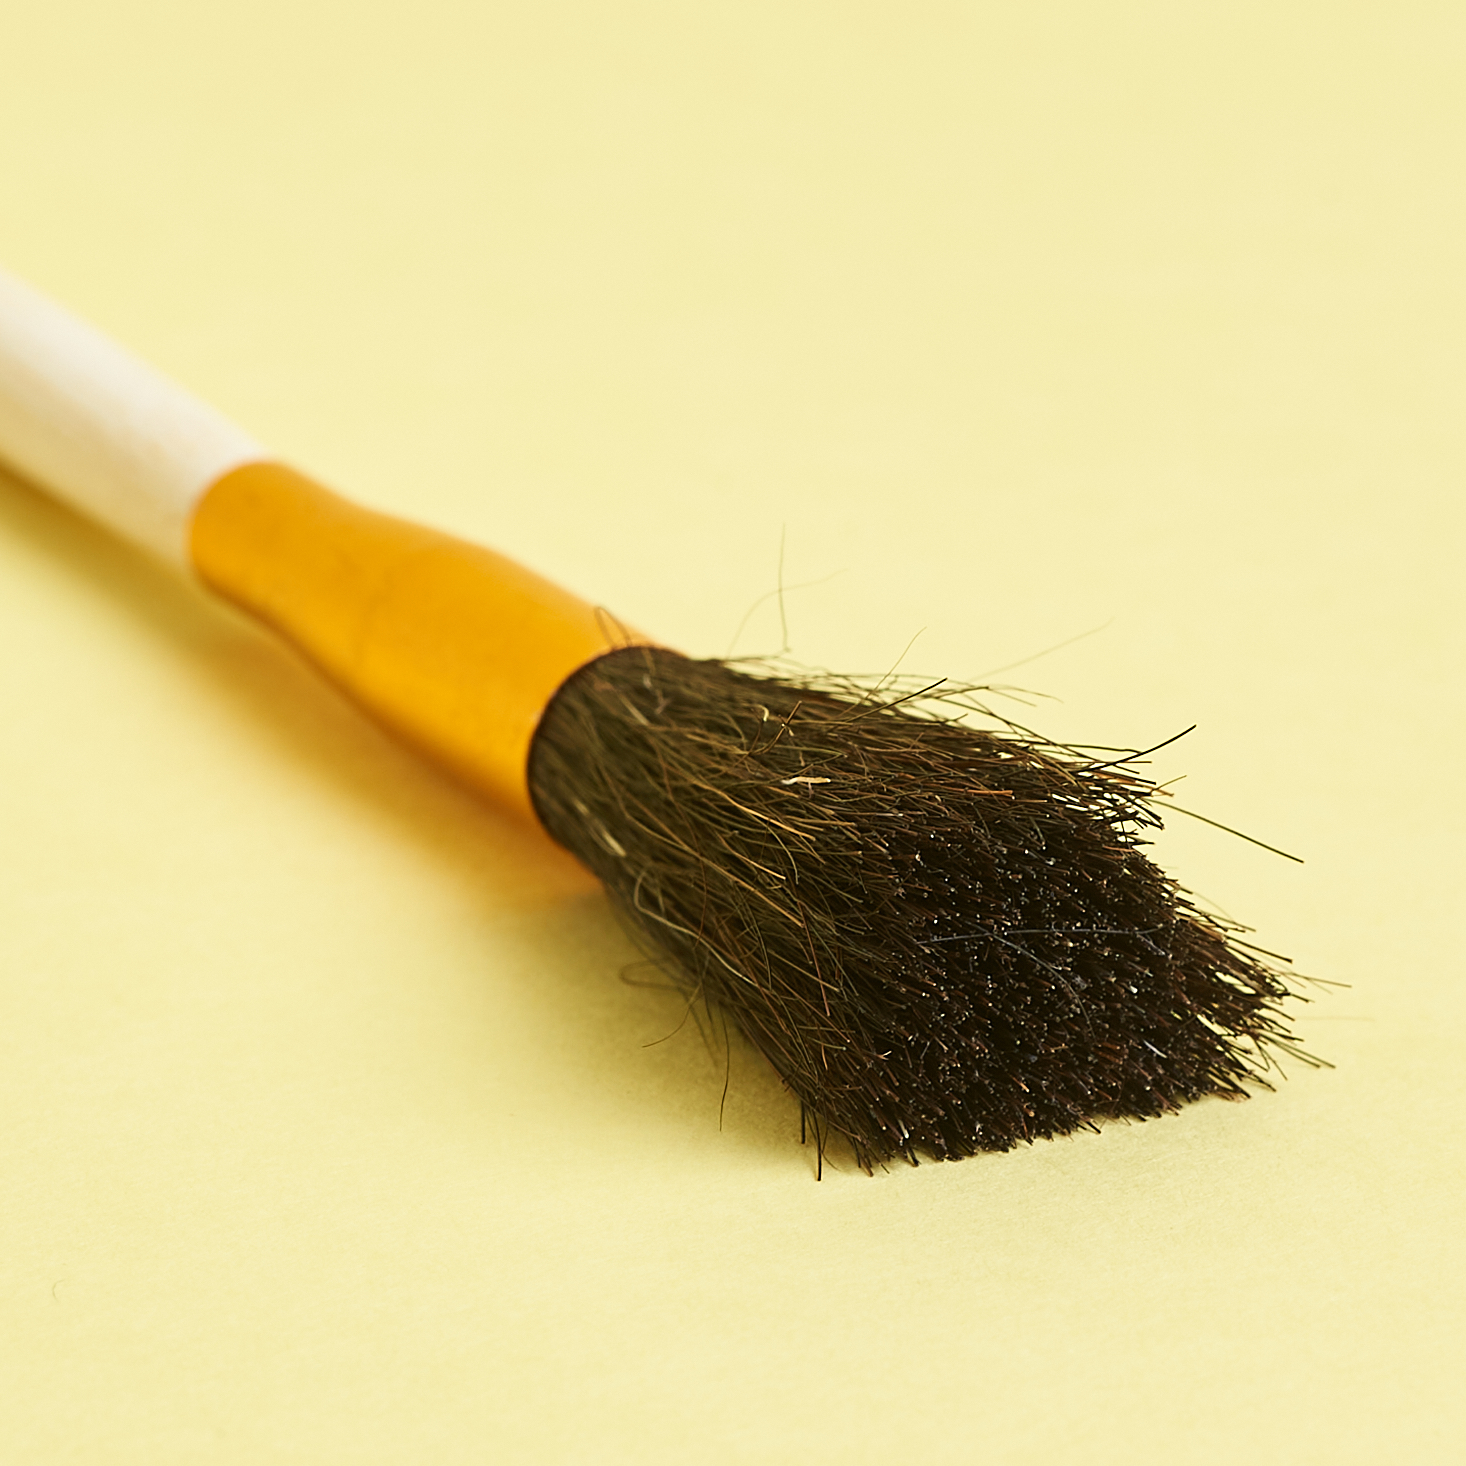
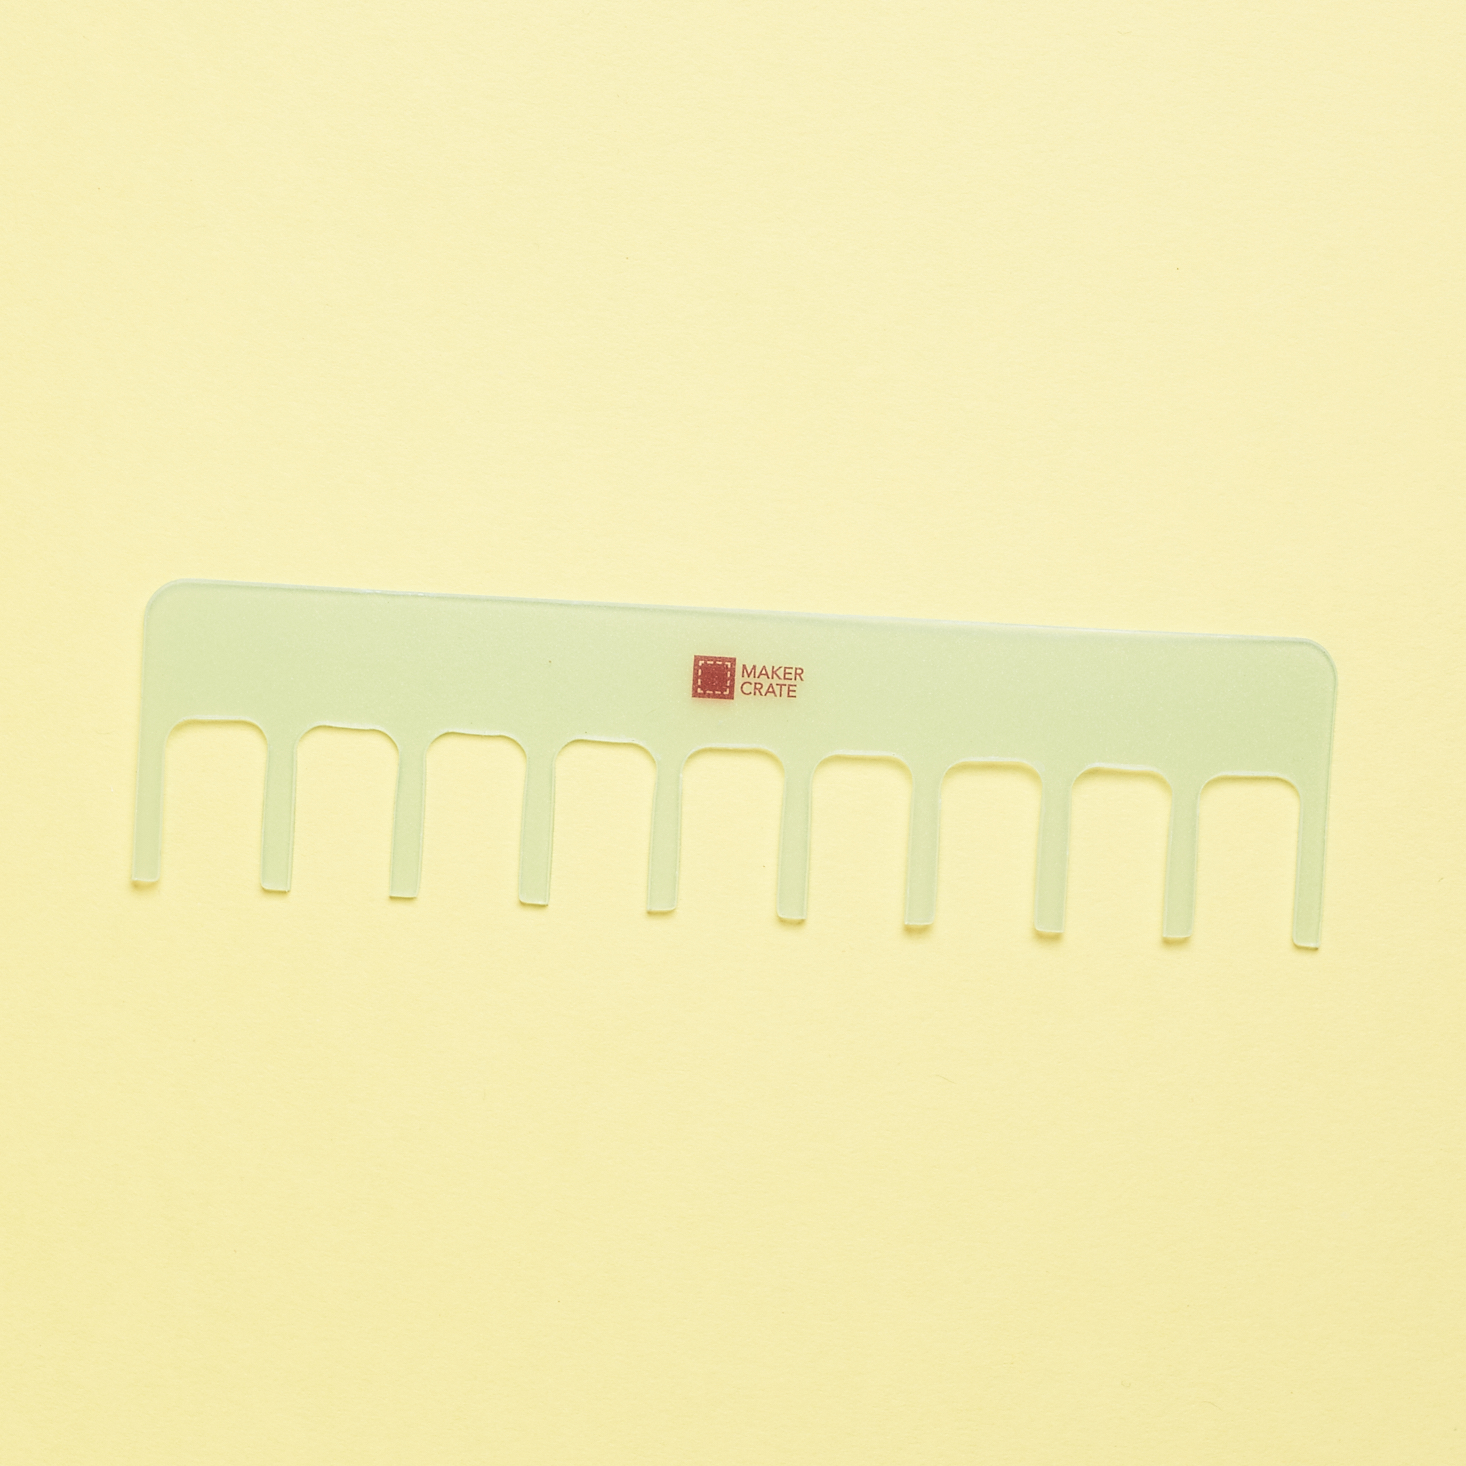
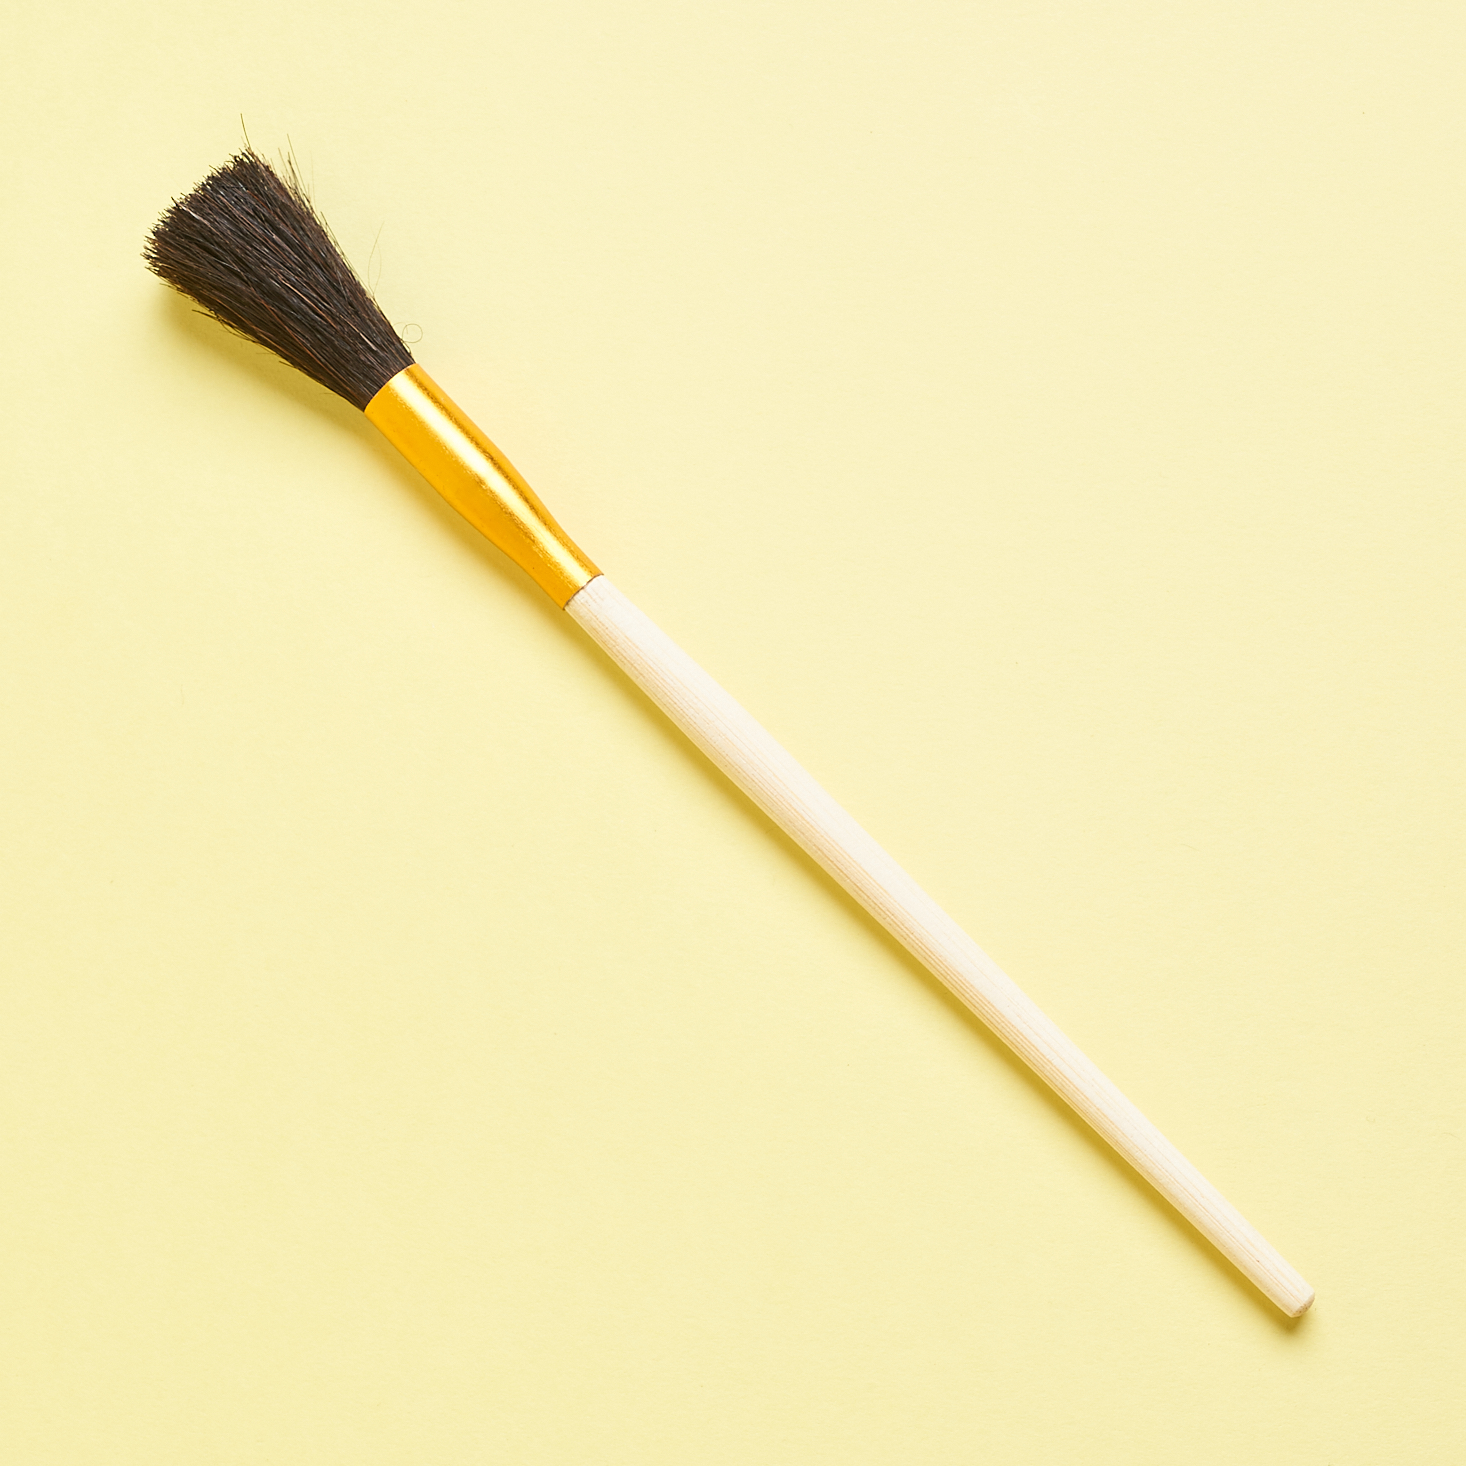
They provided a mix of marbling tools including both a metal and plastic stylus, a marbling rake, and even a paintbrush. They also included a measuring spoon and some pipettes.
Stationery Paper
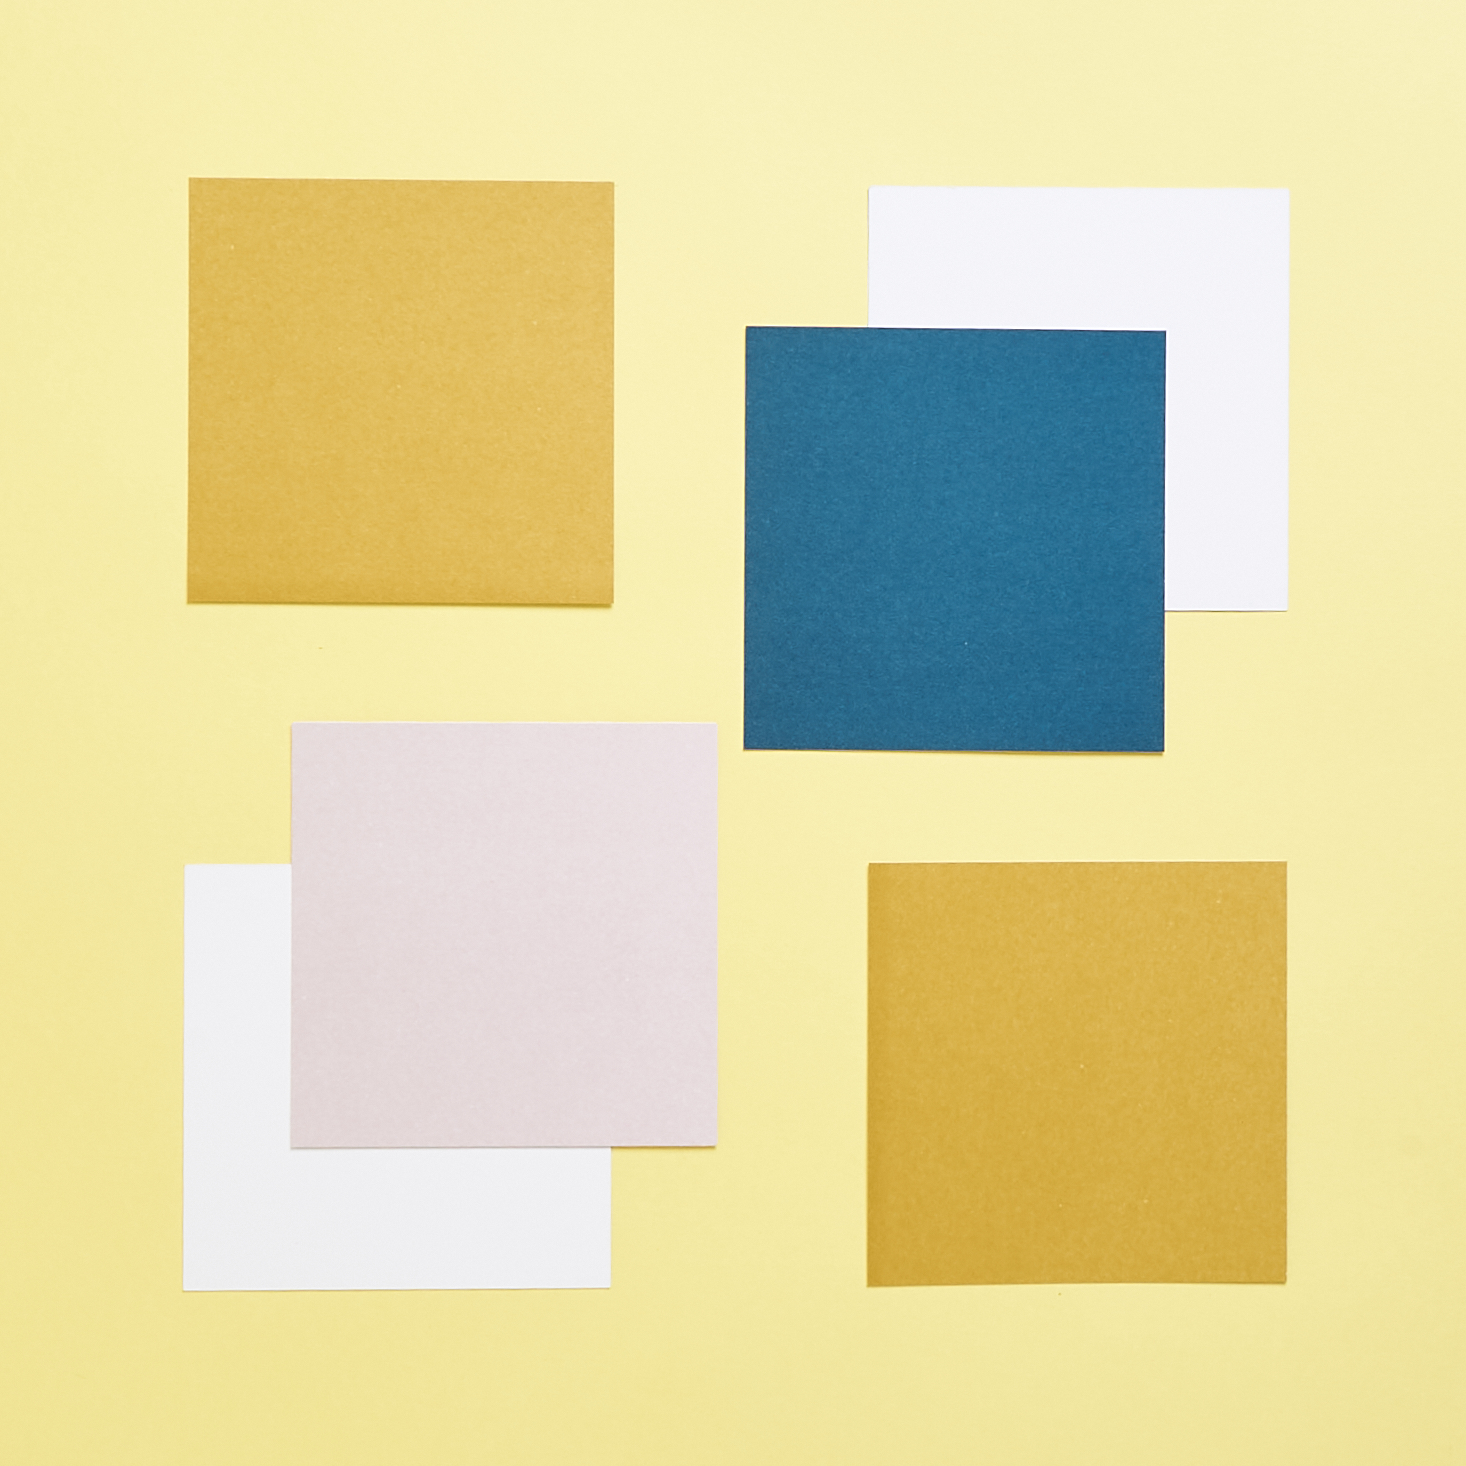
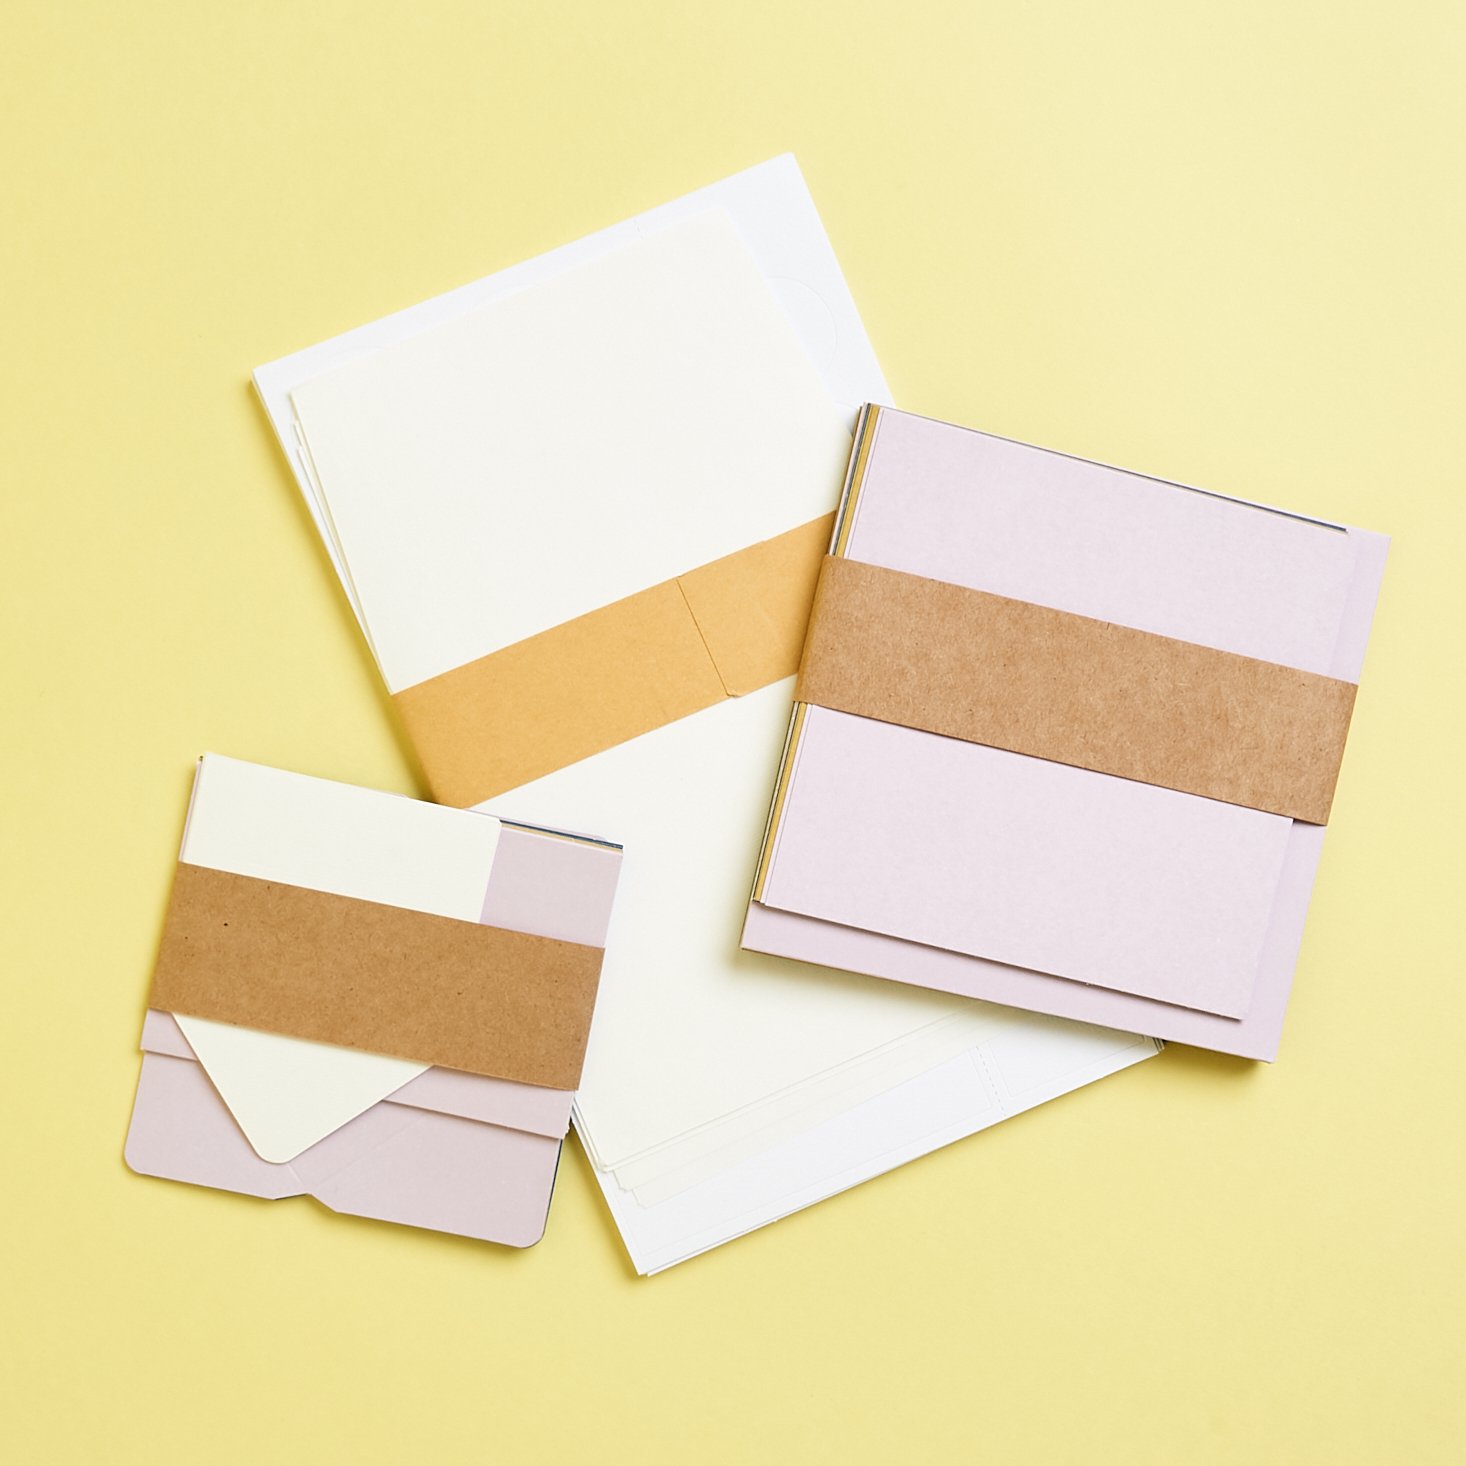
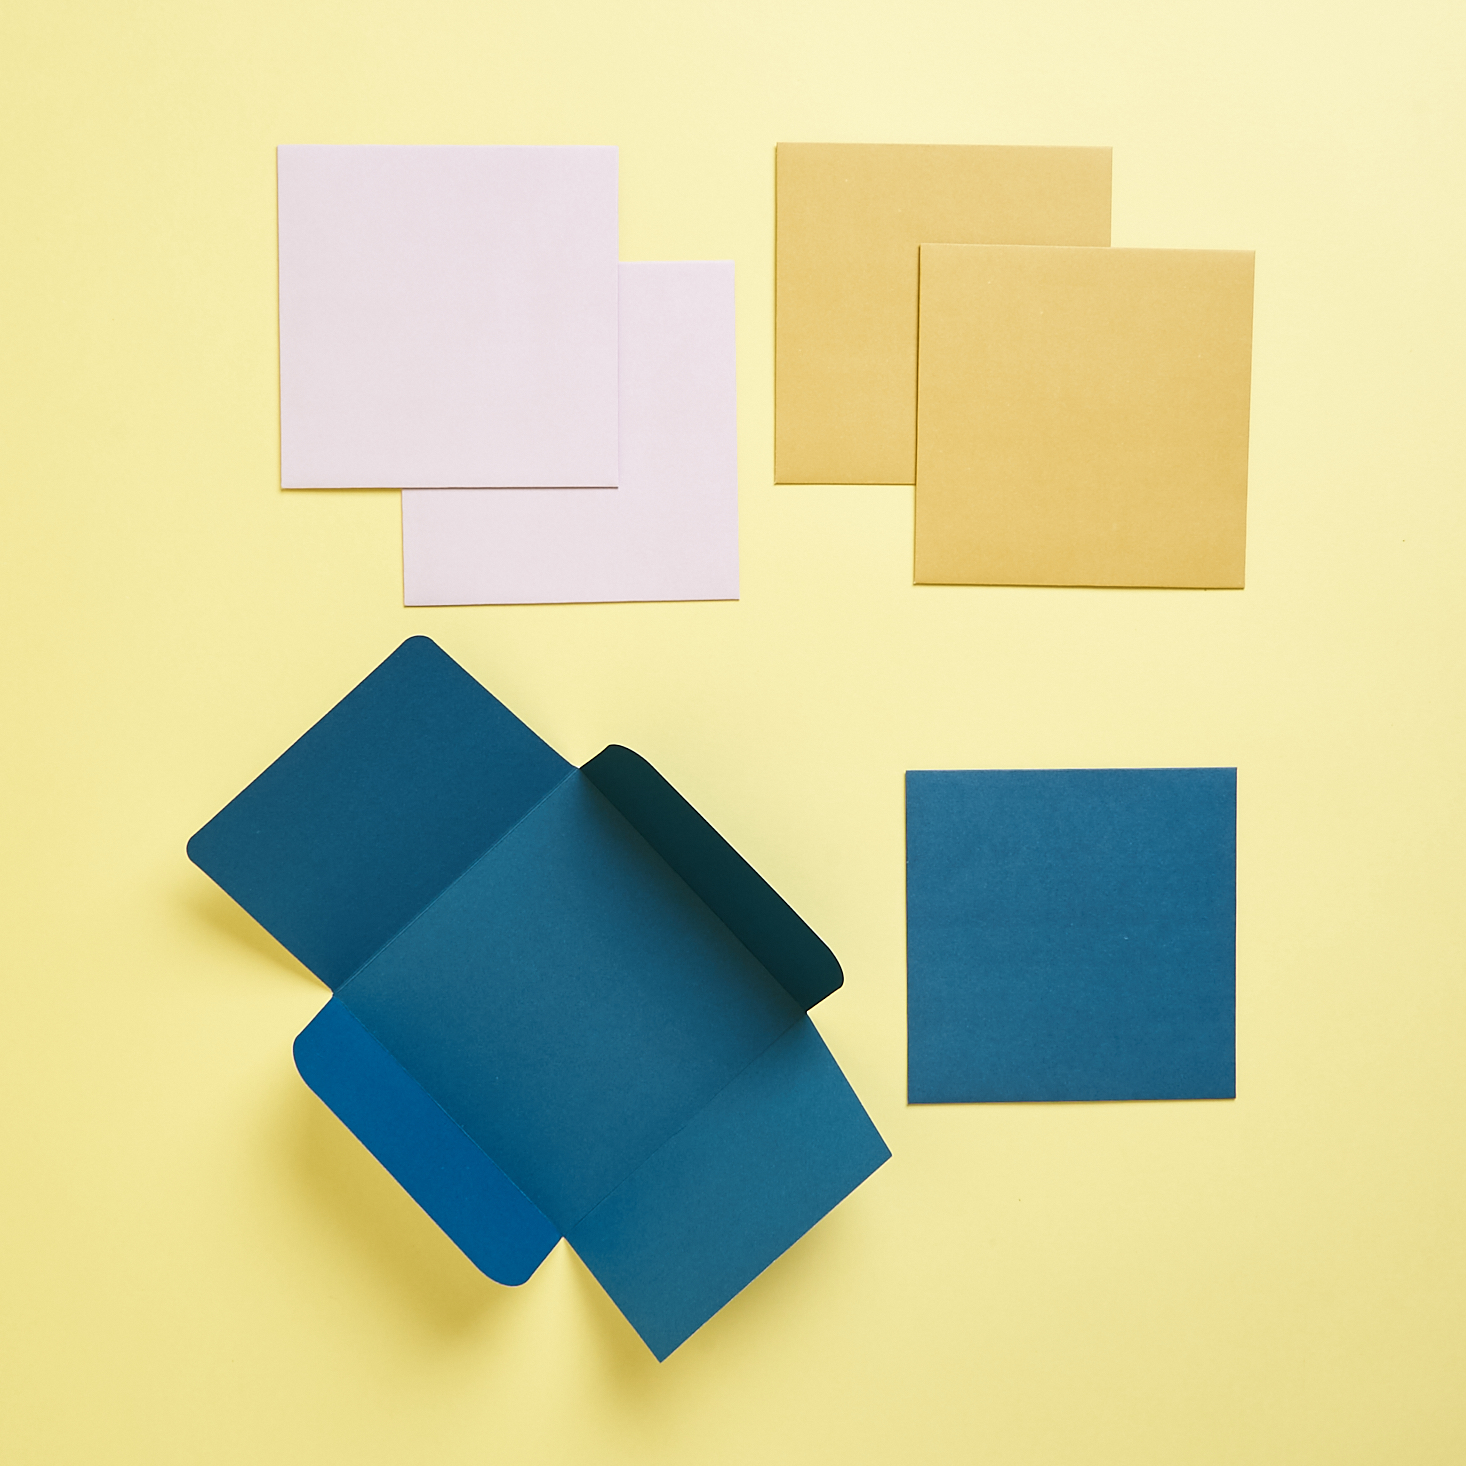
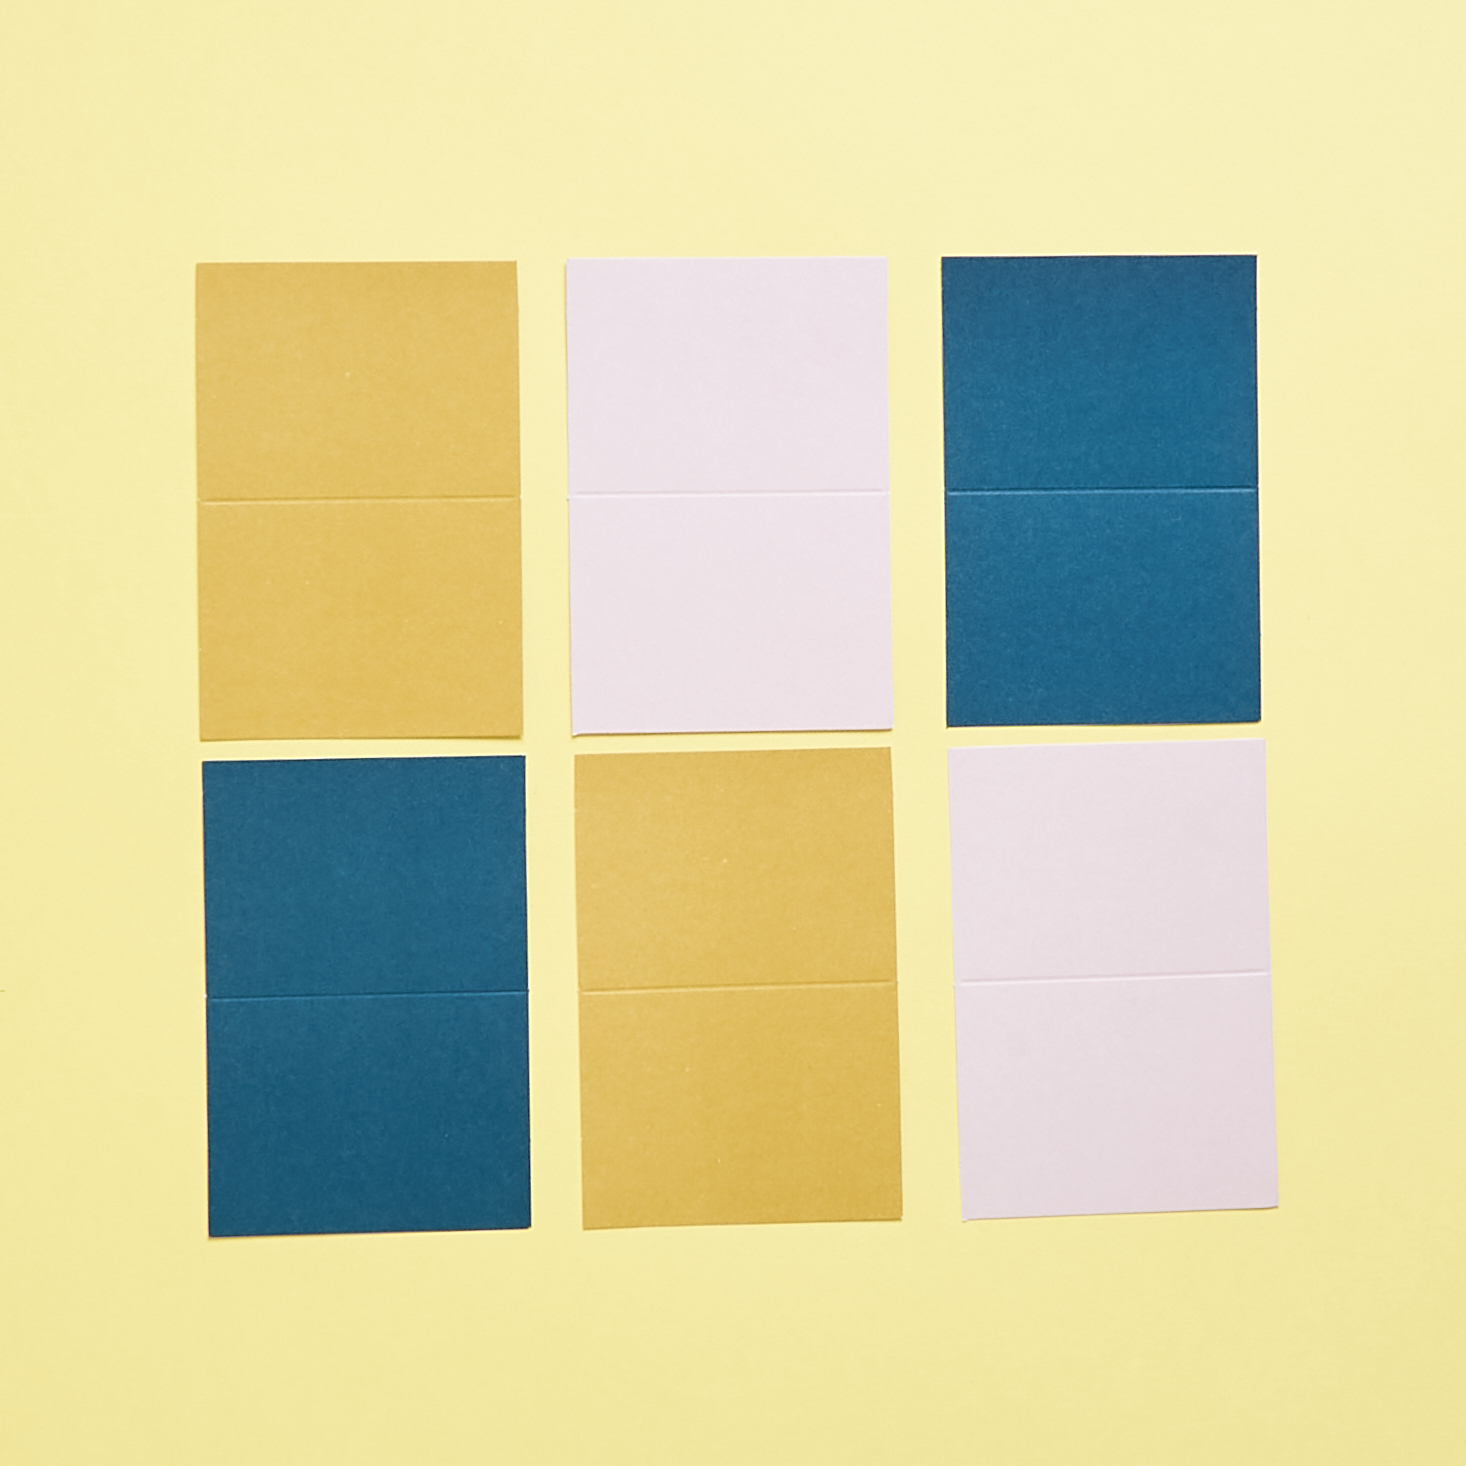
They provided a nice mix of paper for us which included several envelopes and other fun colorful pieces to work with.
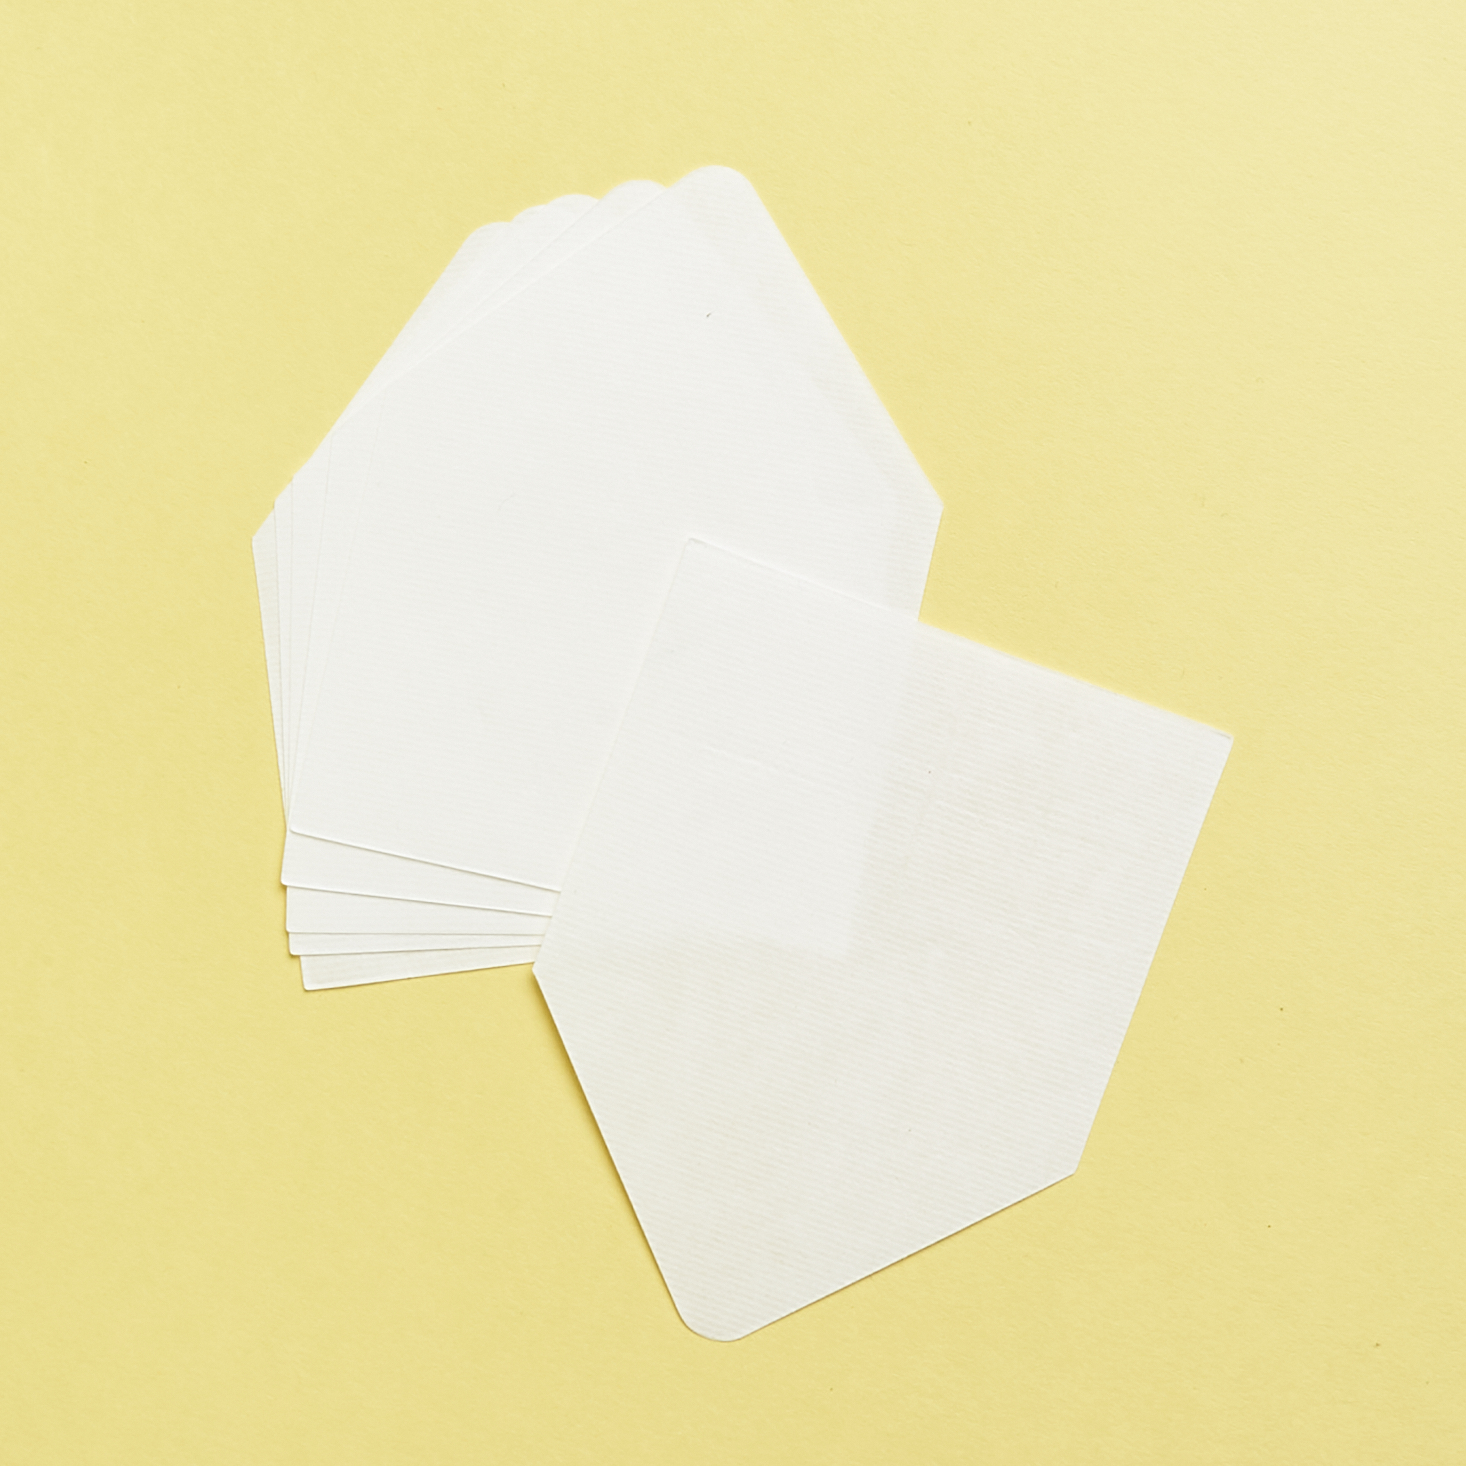
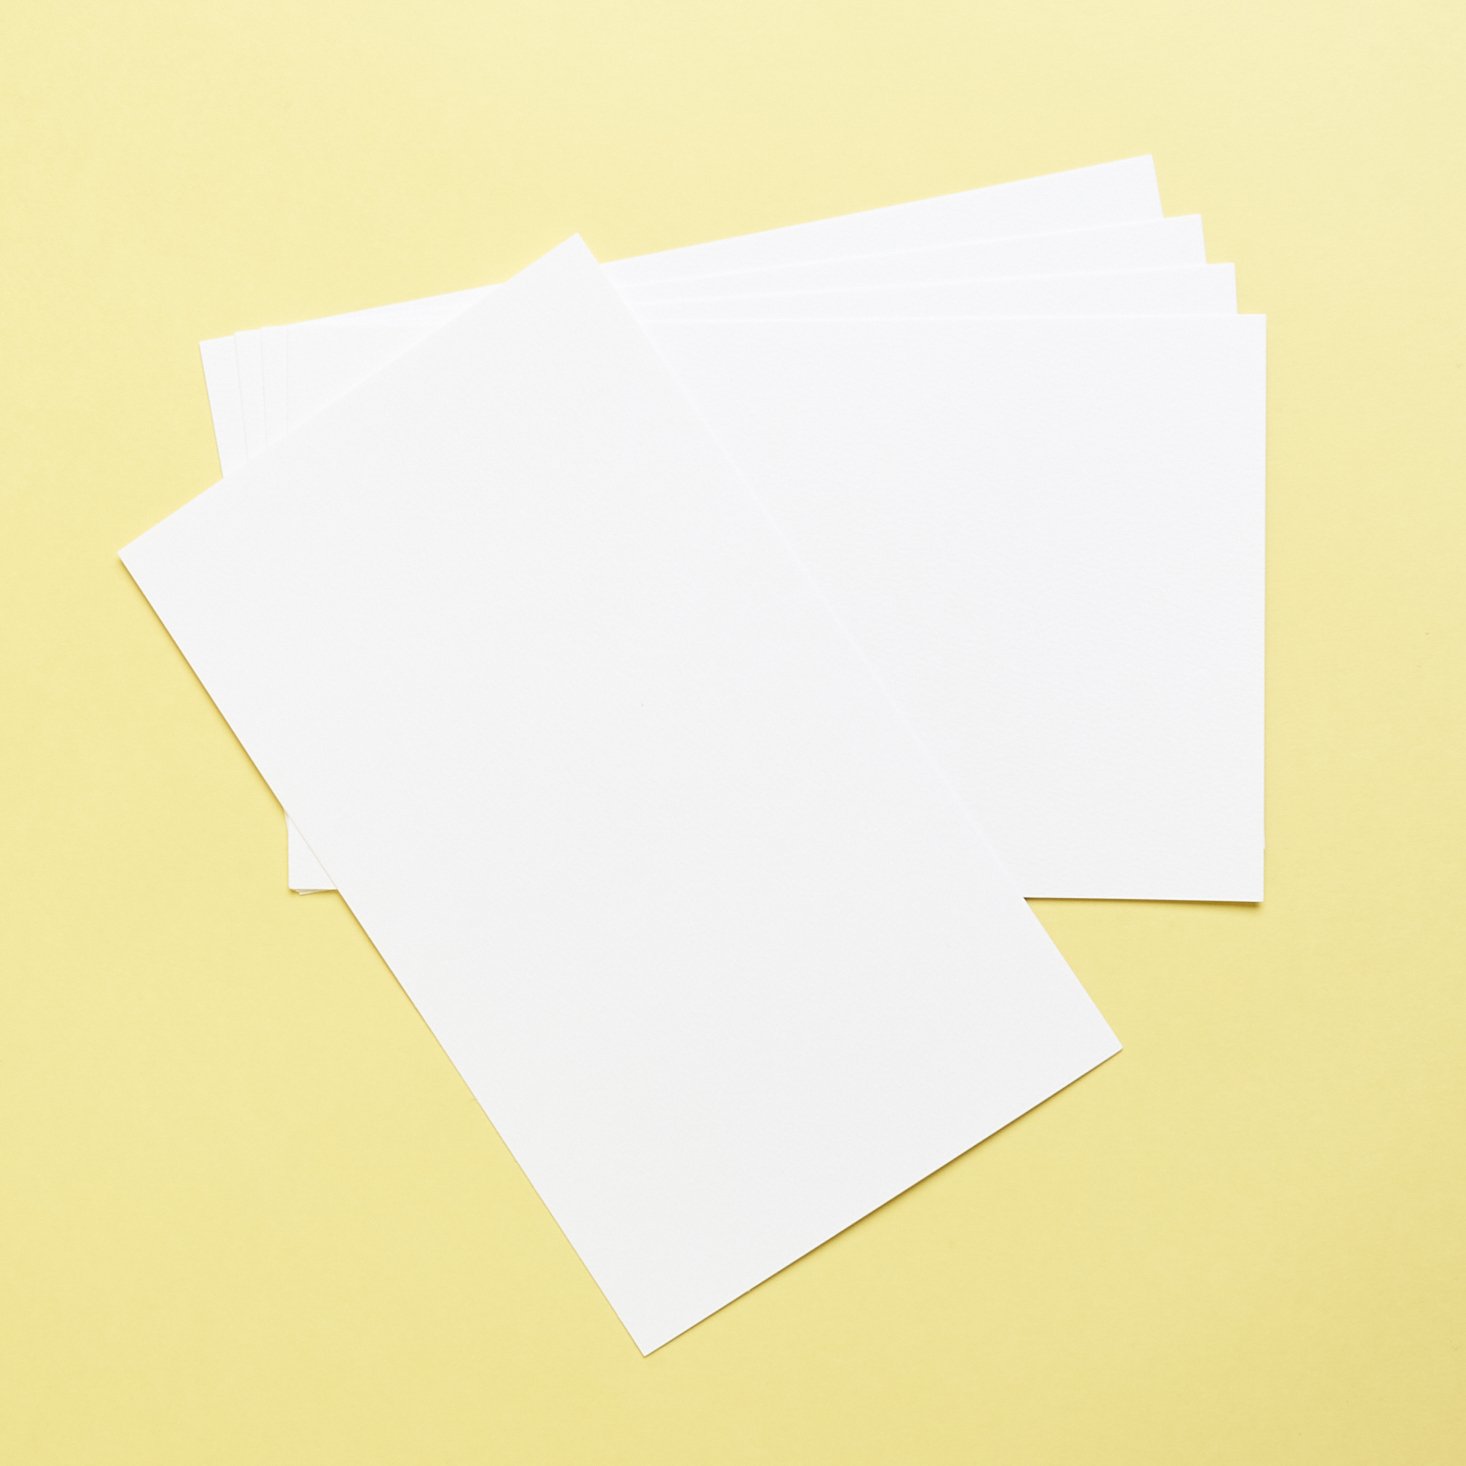
Rice Paper and Glue
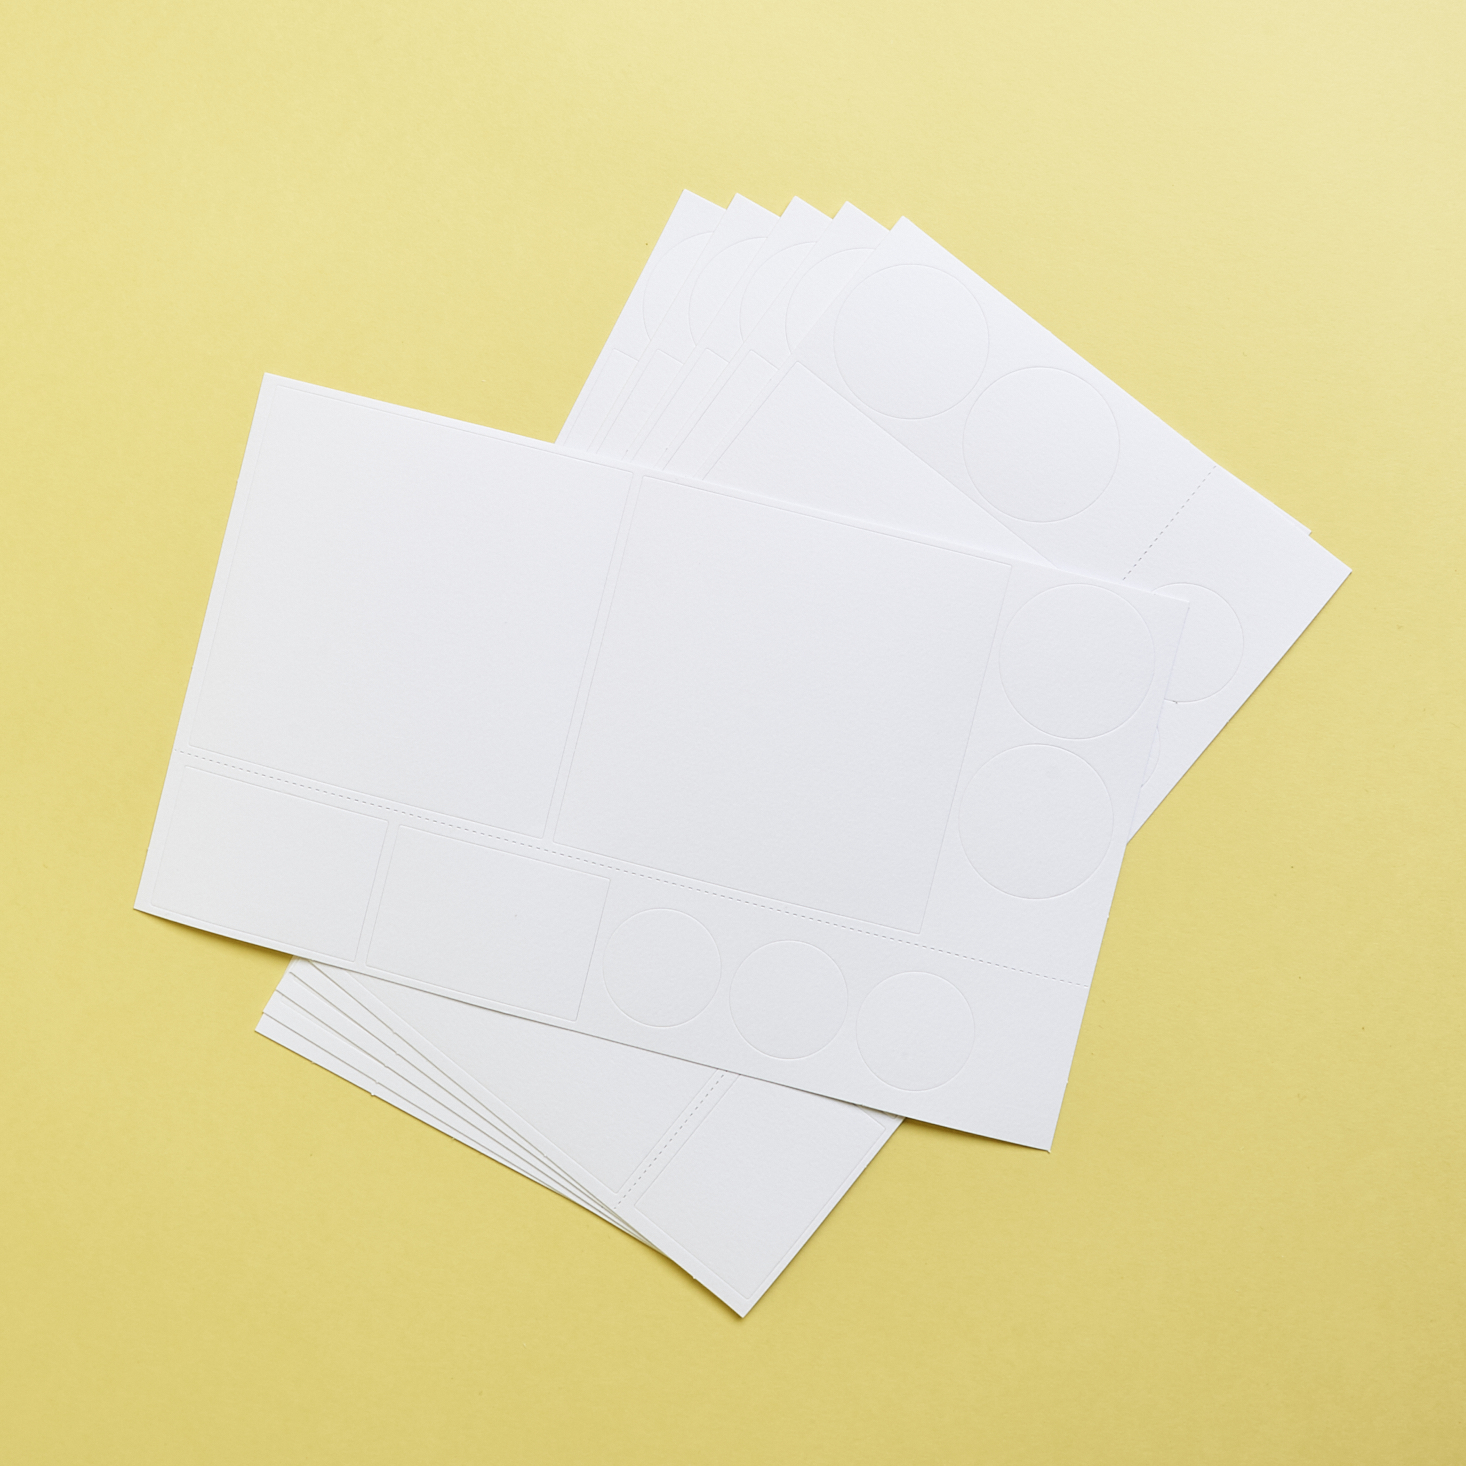
They also provided rice paper, white paper, and some sticker sheets along with a glue stick for finishing up our stationary.
My Marbling Experience
The first step in marbling was to make the solution. They had us make a double batch so I needed to provide 5 cups of hot water to mix with two teaspoons of the carrageenan powder. I used my whisk to mix it up and then I had to put the mixture aside in a storage container with a lid for at least 3 hours.
First Attempt
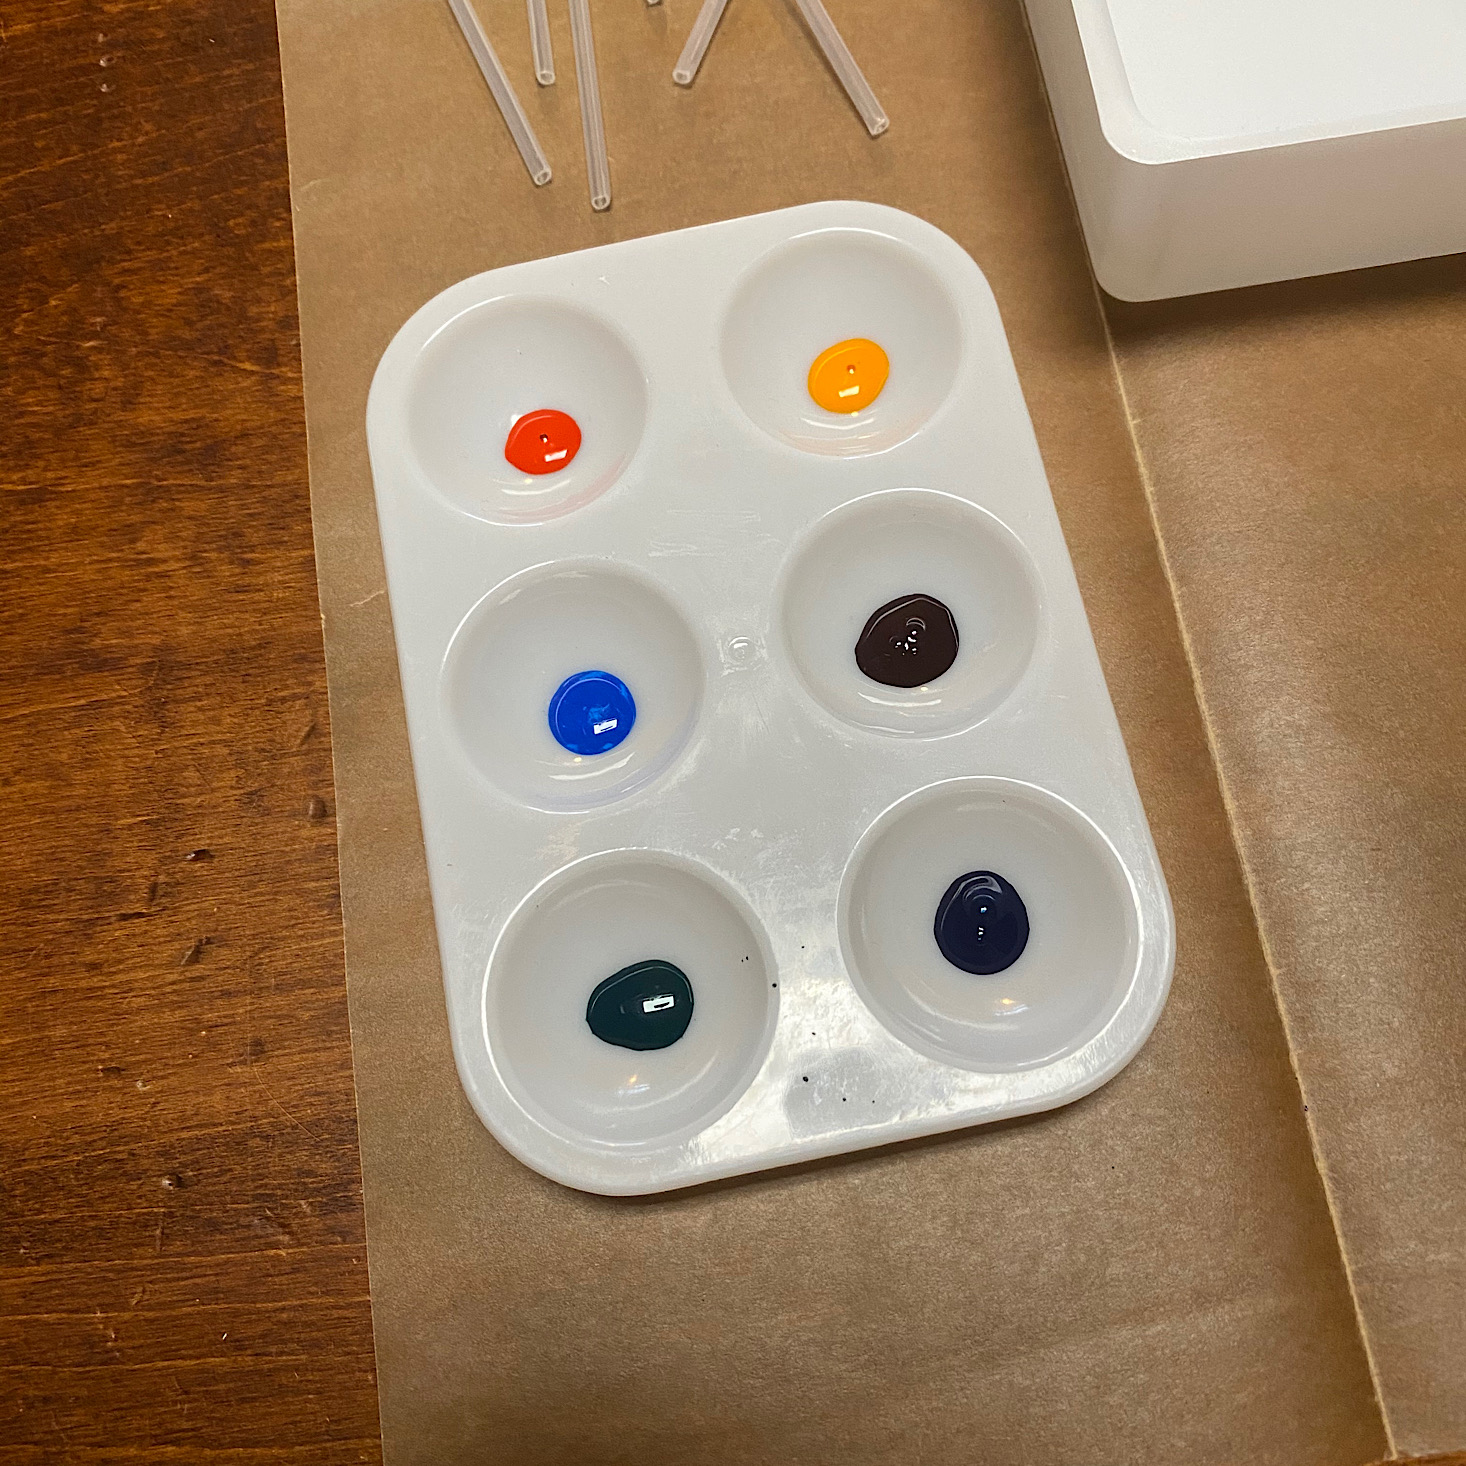
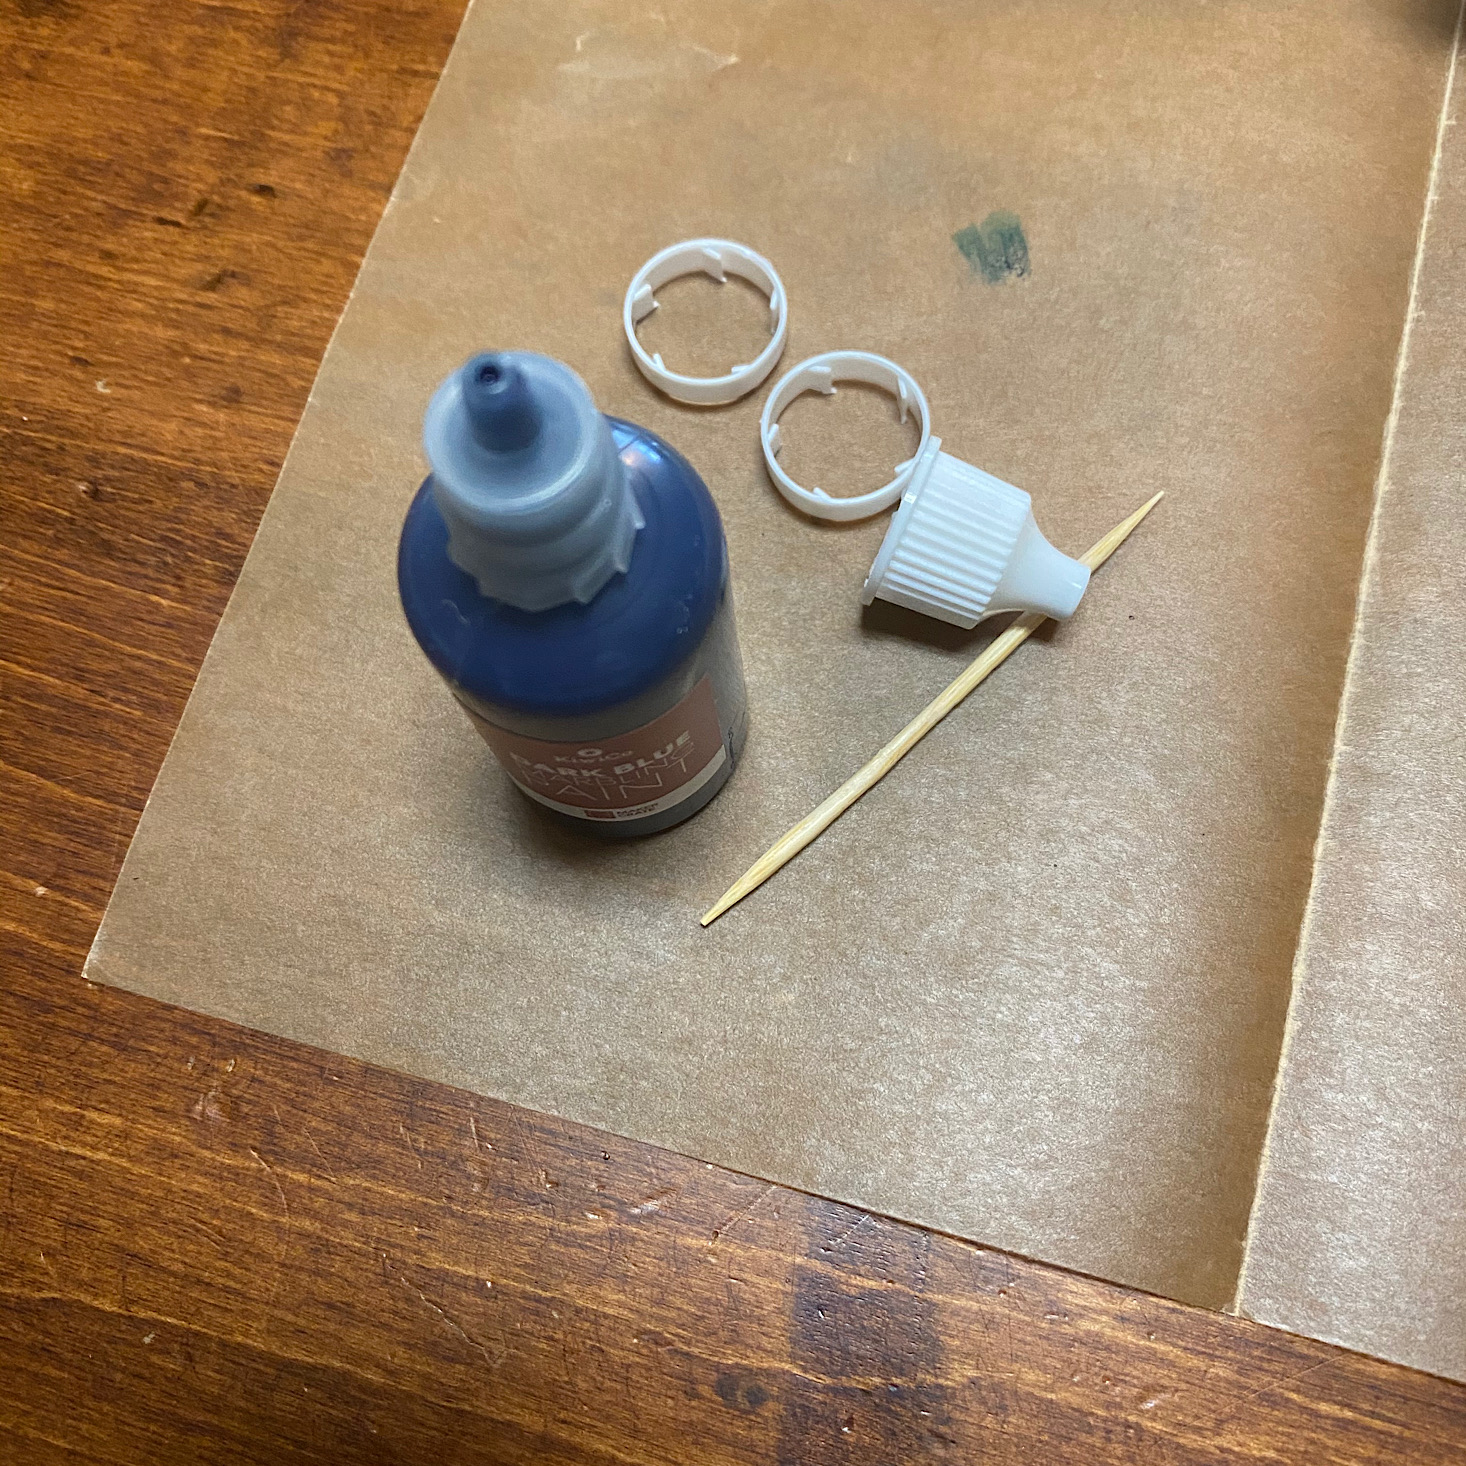
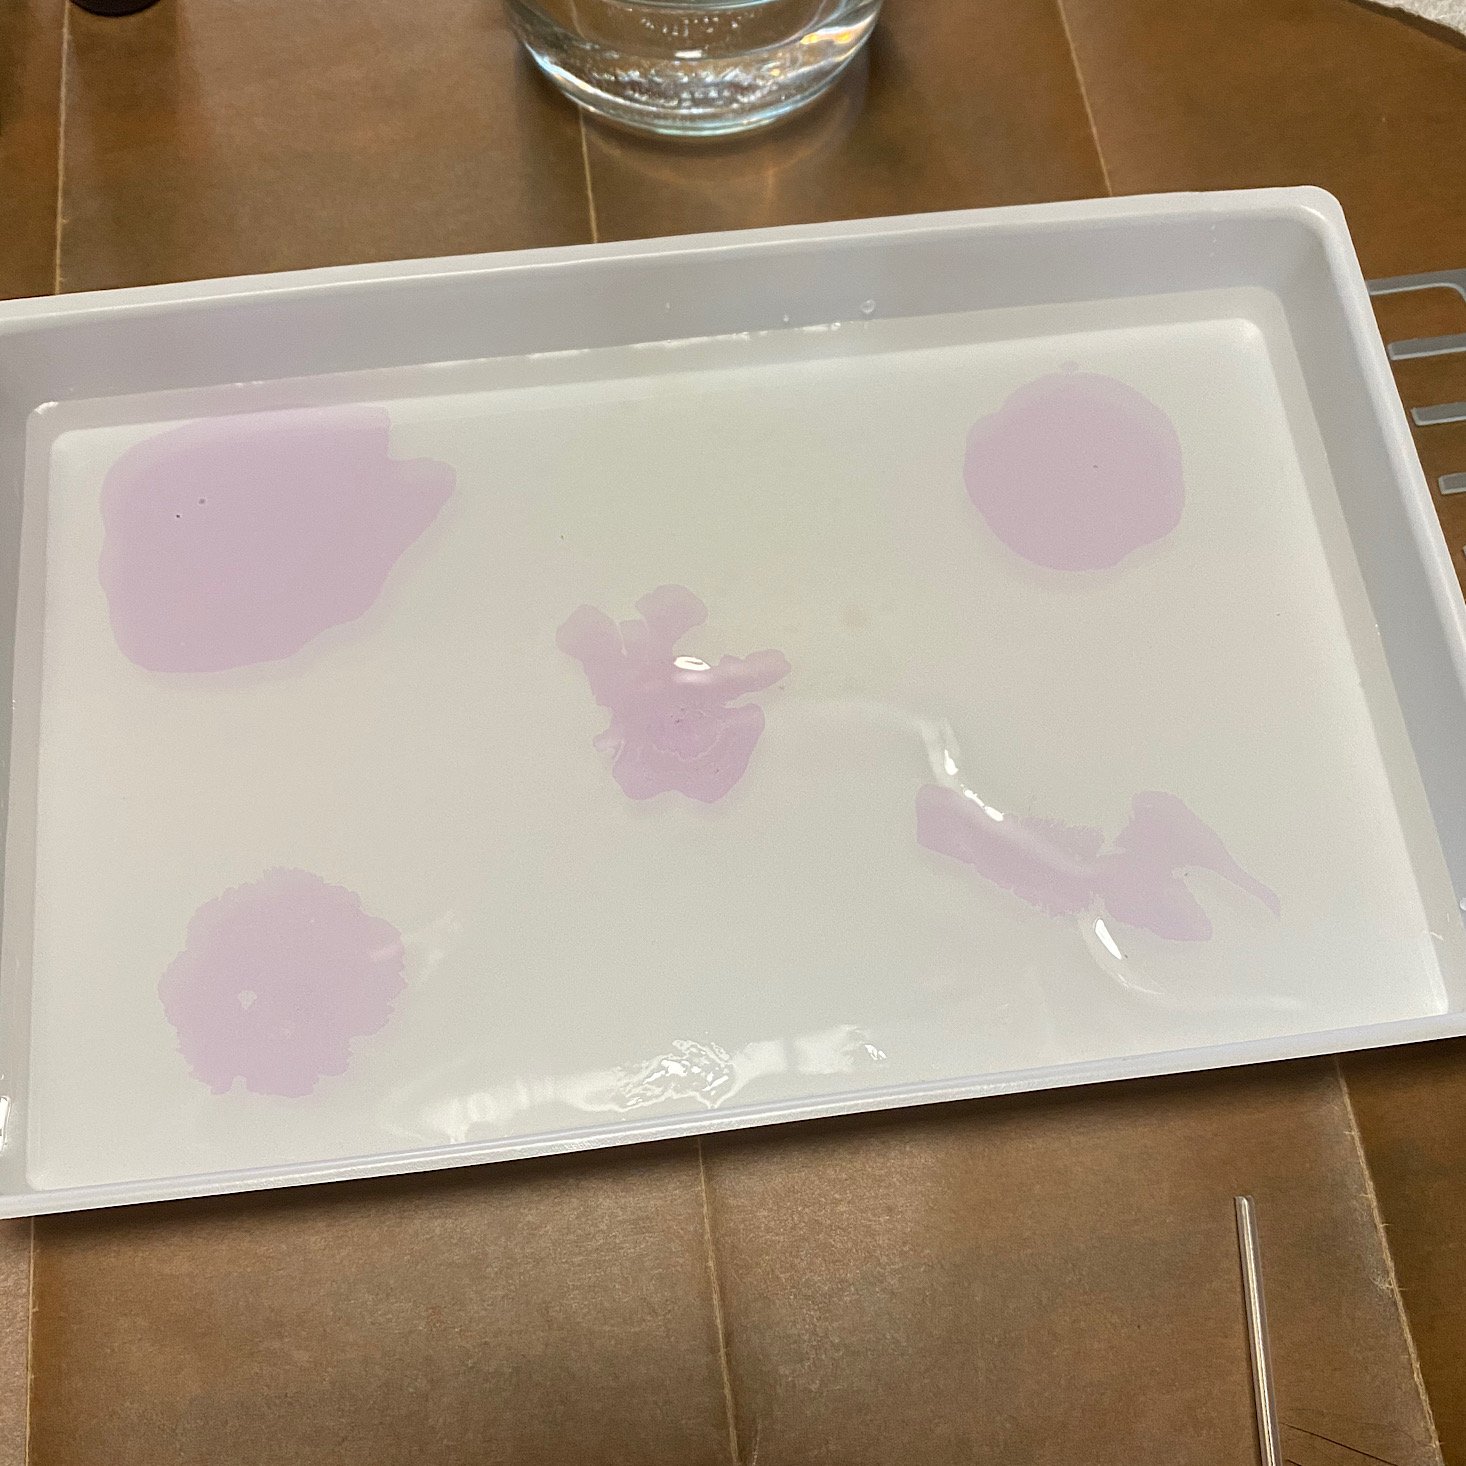
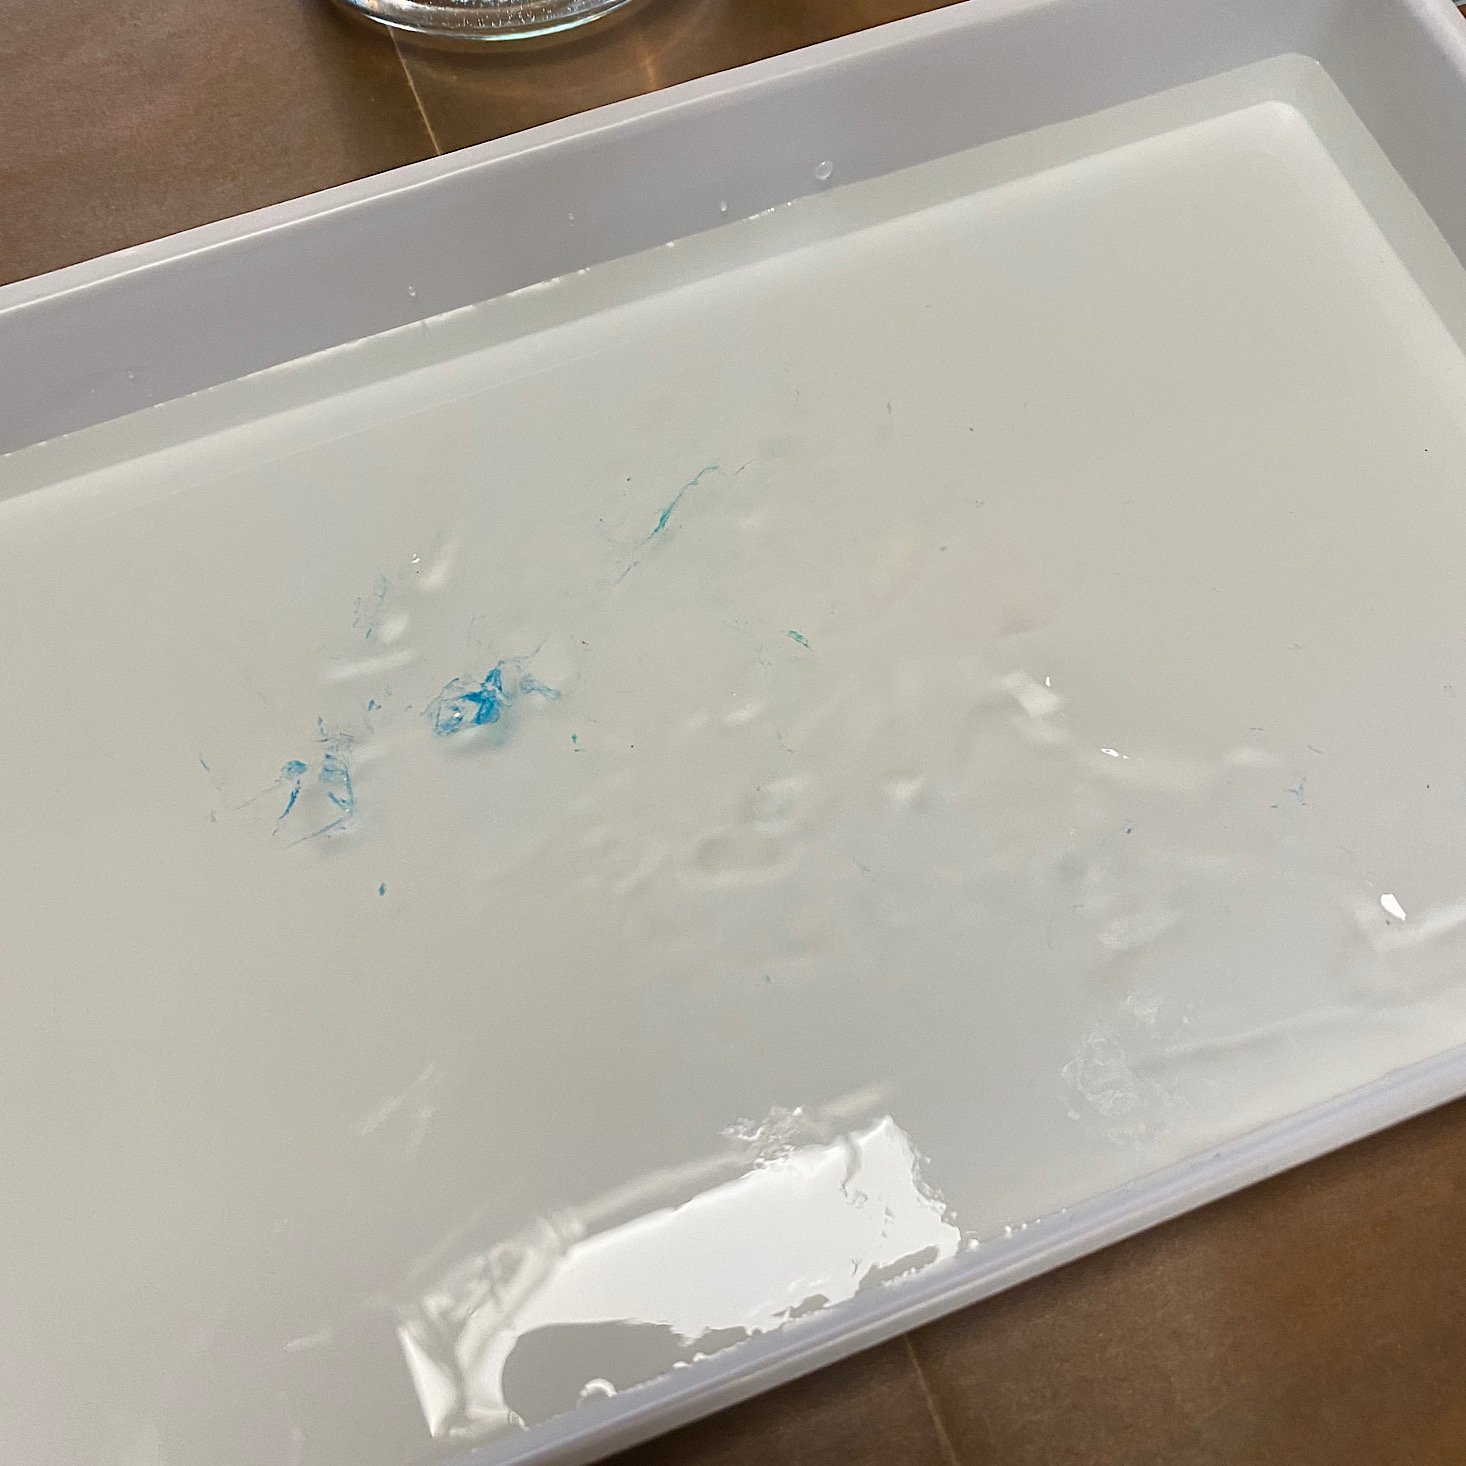
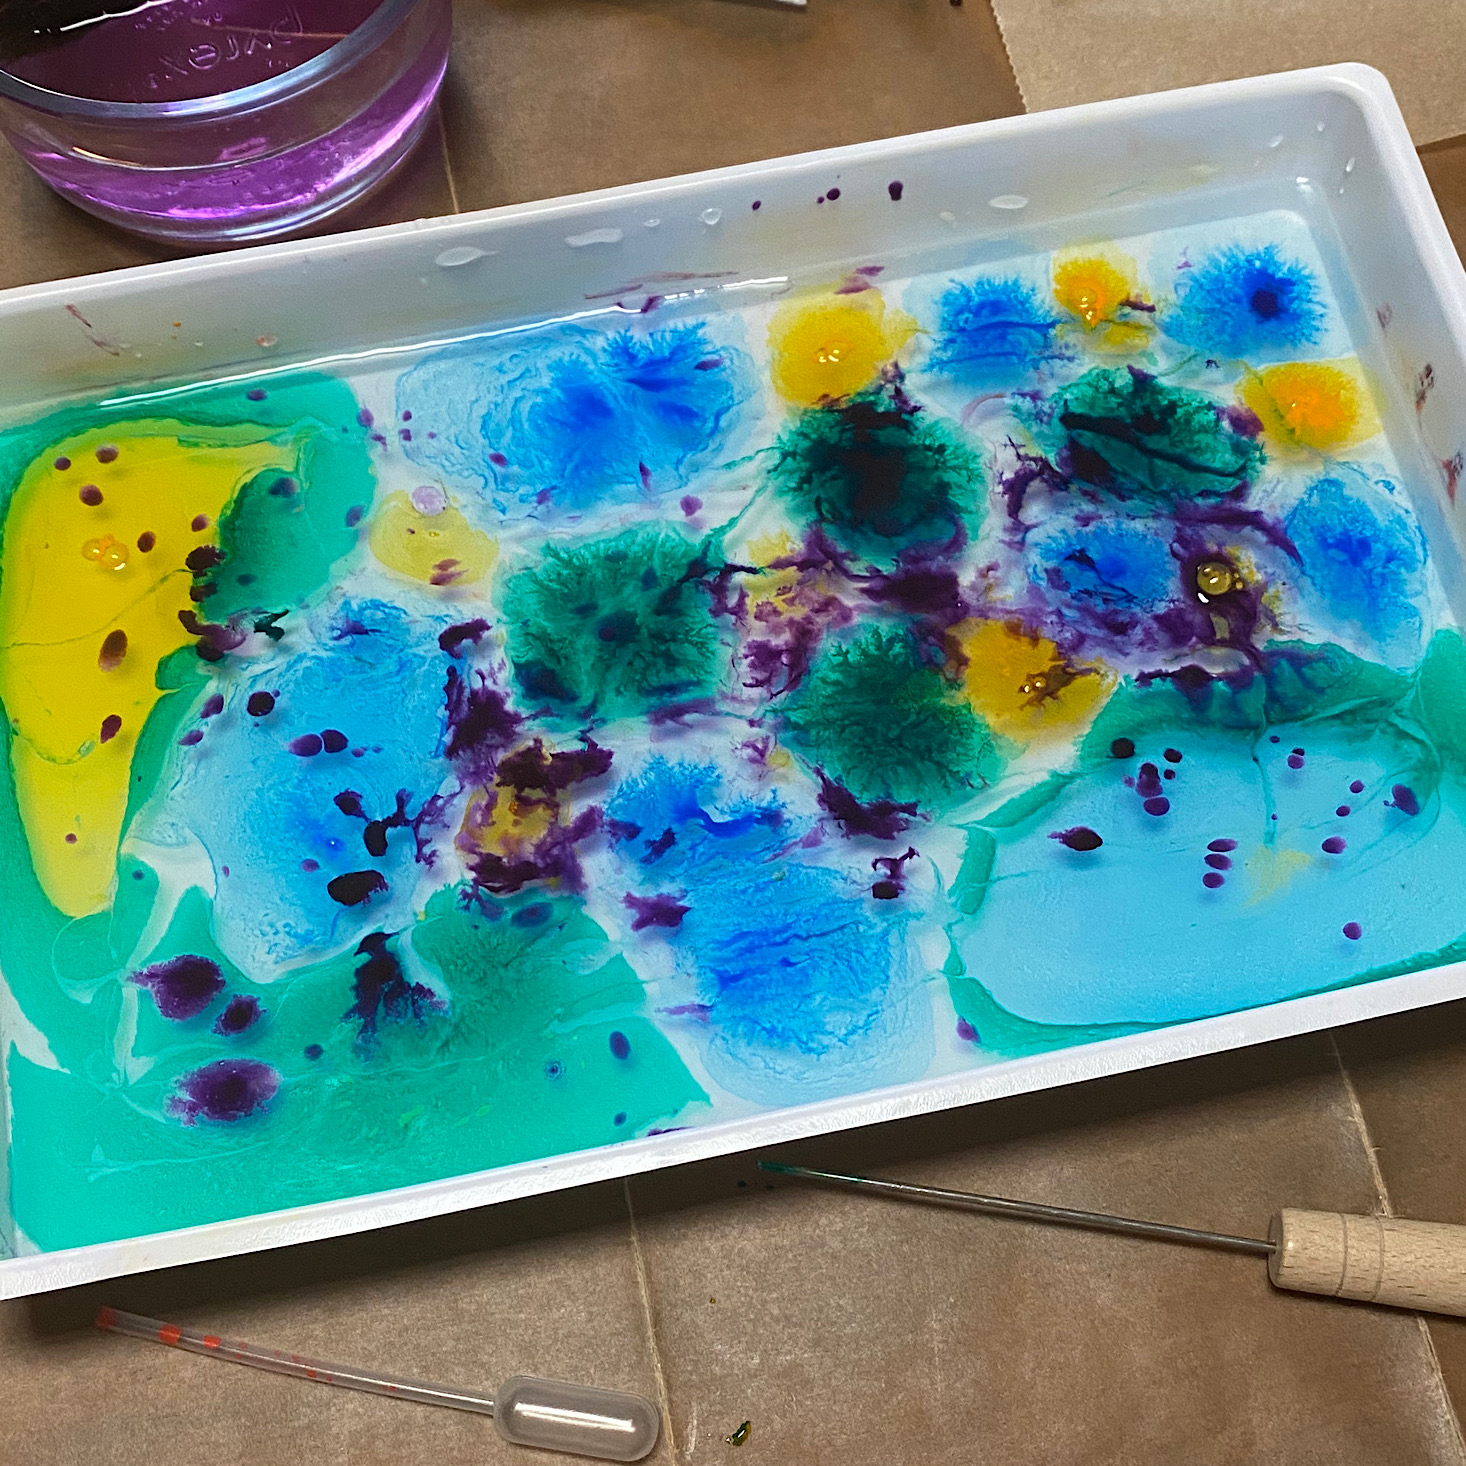
When the solution was ready, I set up my workstation with some scrap paper, paper towels, and a cup of water, then I poured half of the mixture into my tray. My mixture was actually quite gelatinous and slightly clumpy. I think because I separated my mixture into two different containers and one may have ended up with a higher ratio of carrageenan in it. I decided to test it out anyway since I knew I had more of the solution ready for a second attempt. I opened the paints and removed the rings before placing a few drops in my palette.
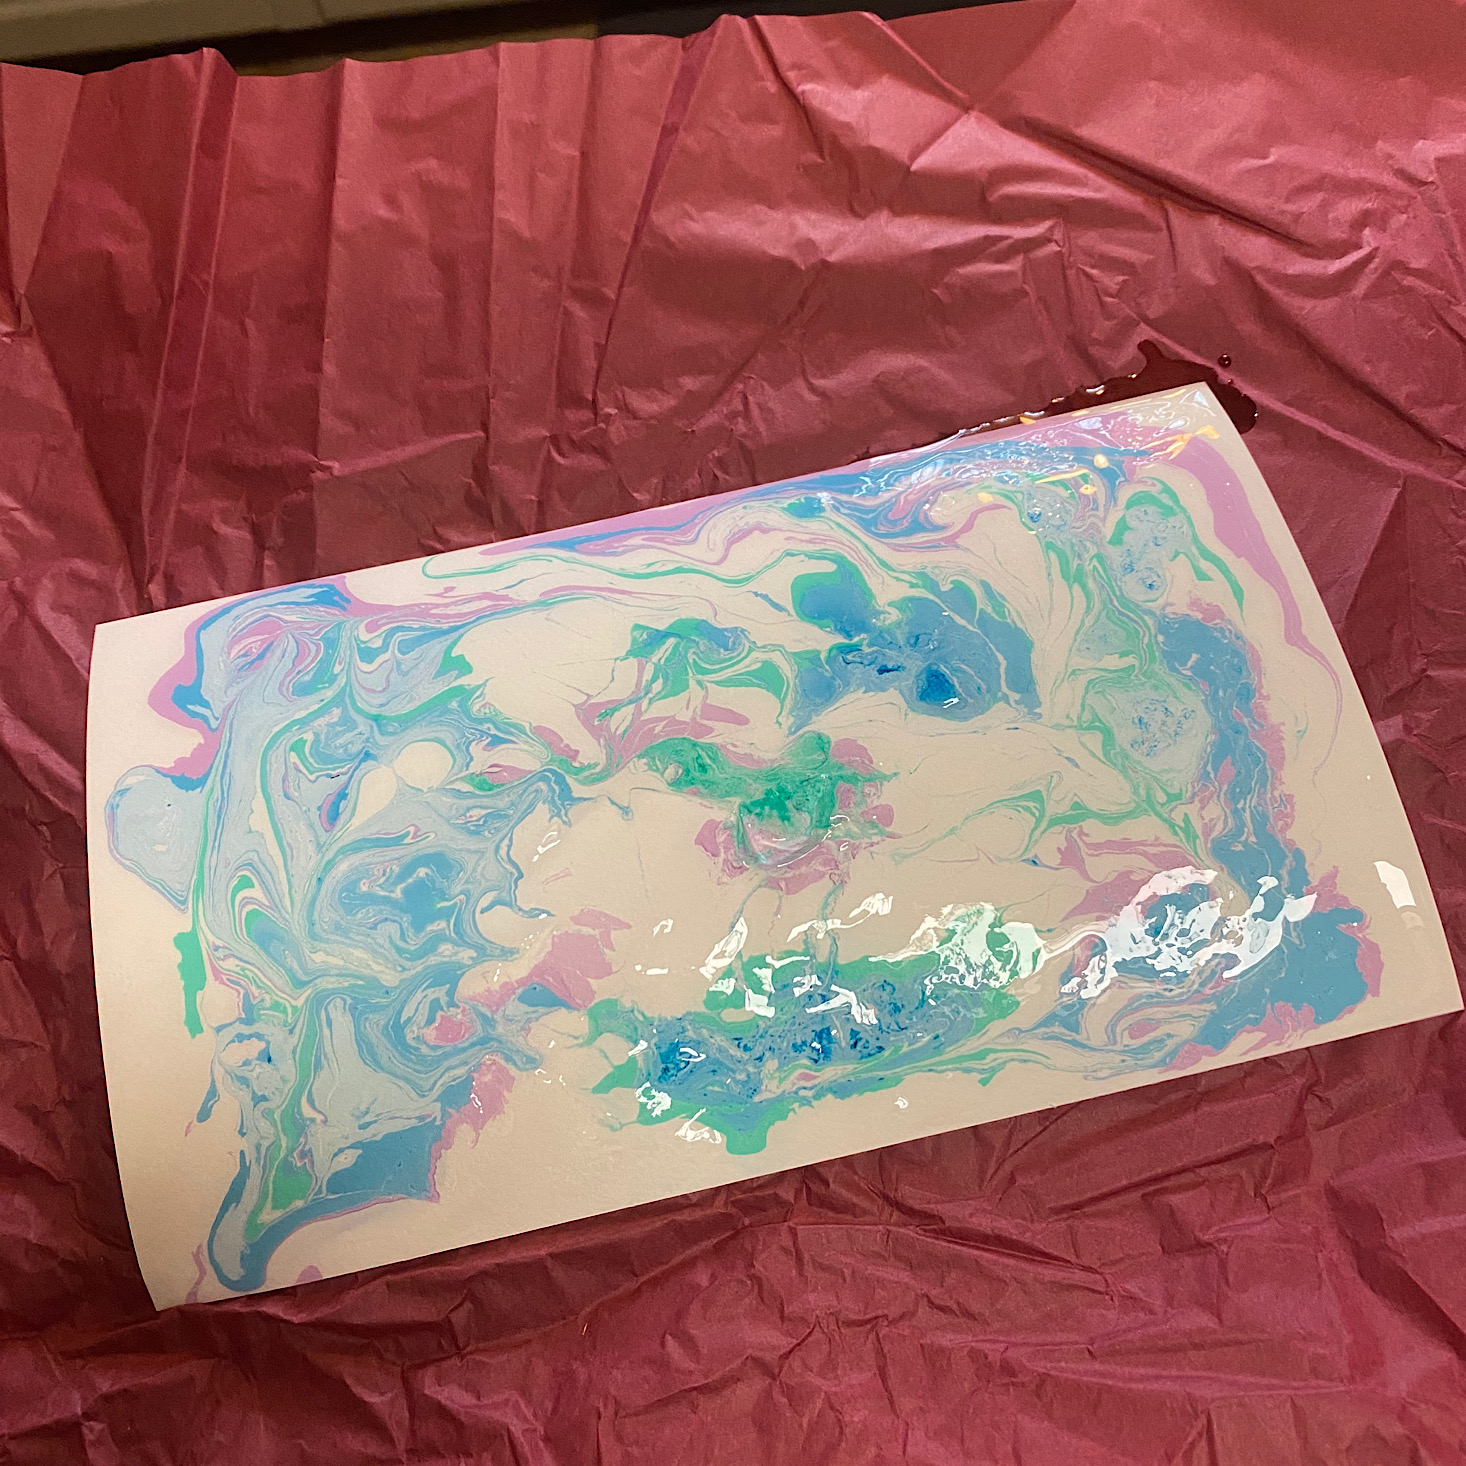
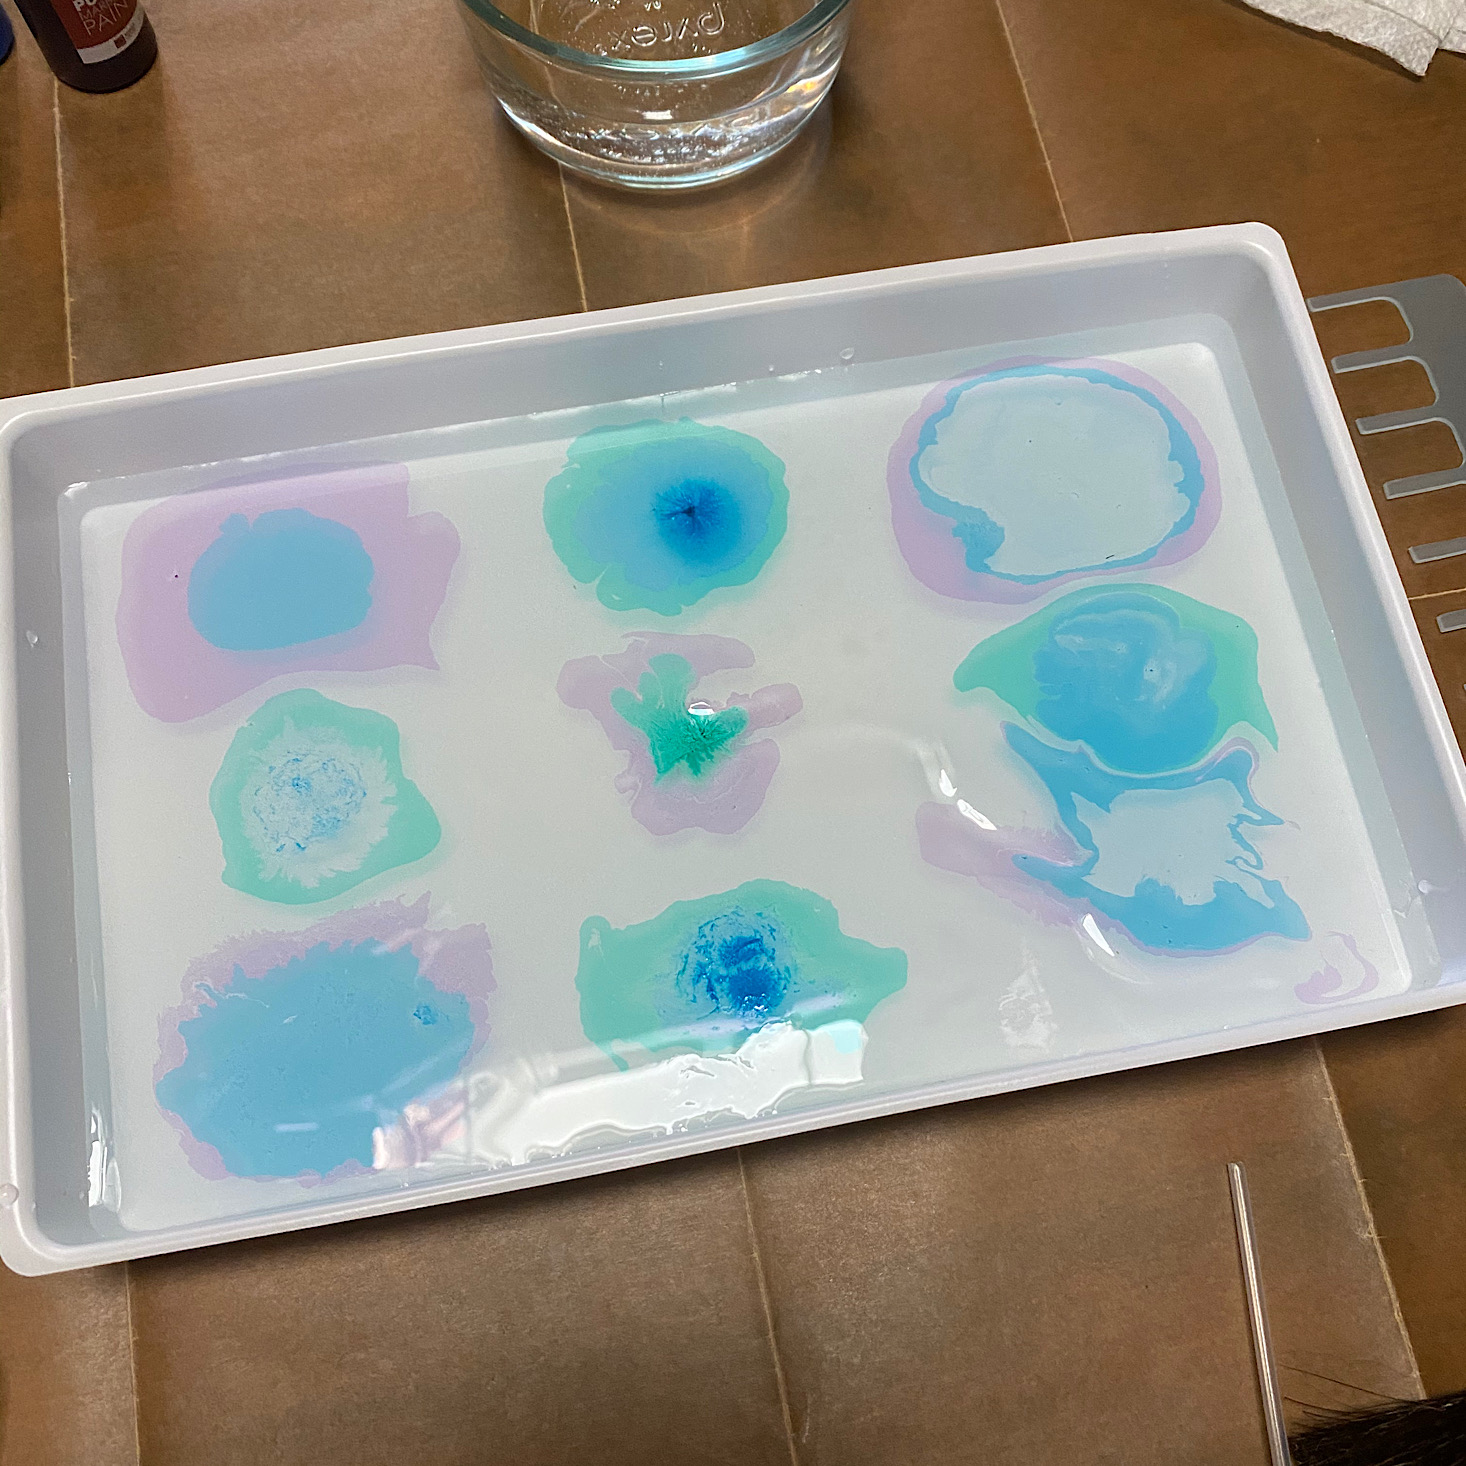
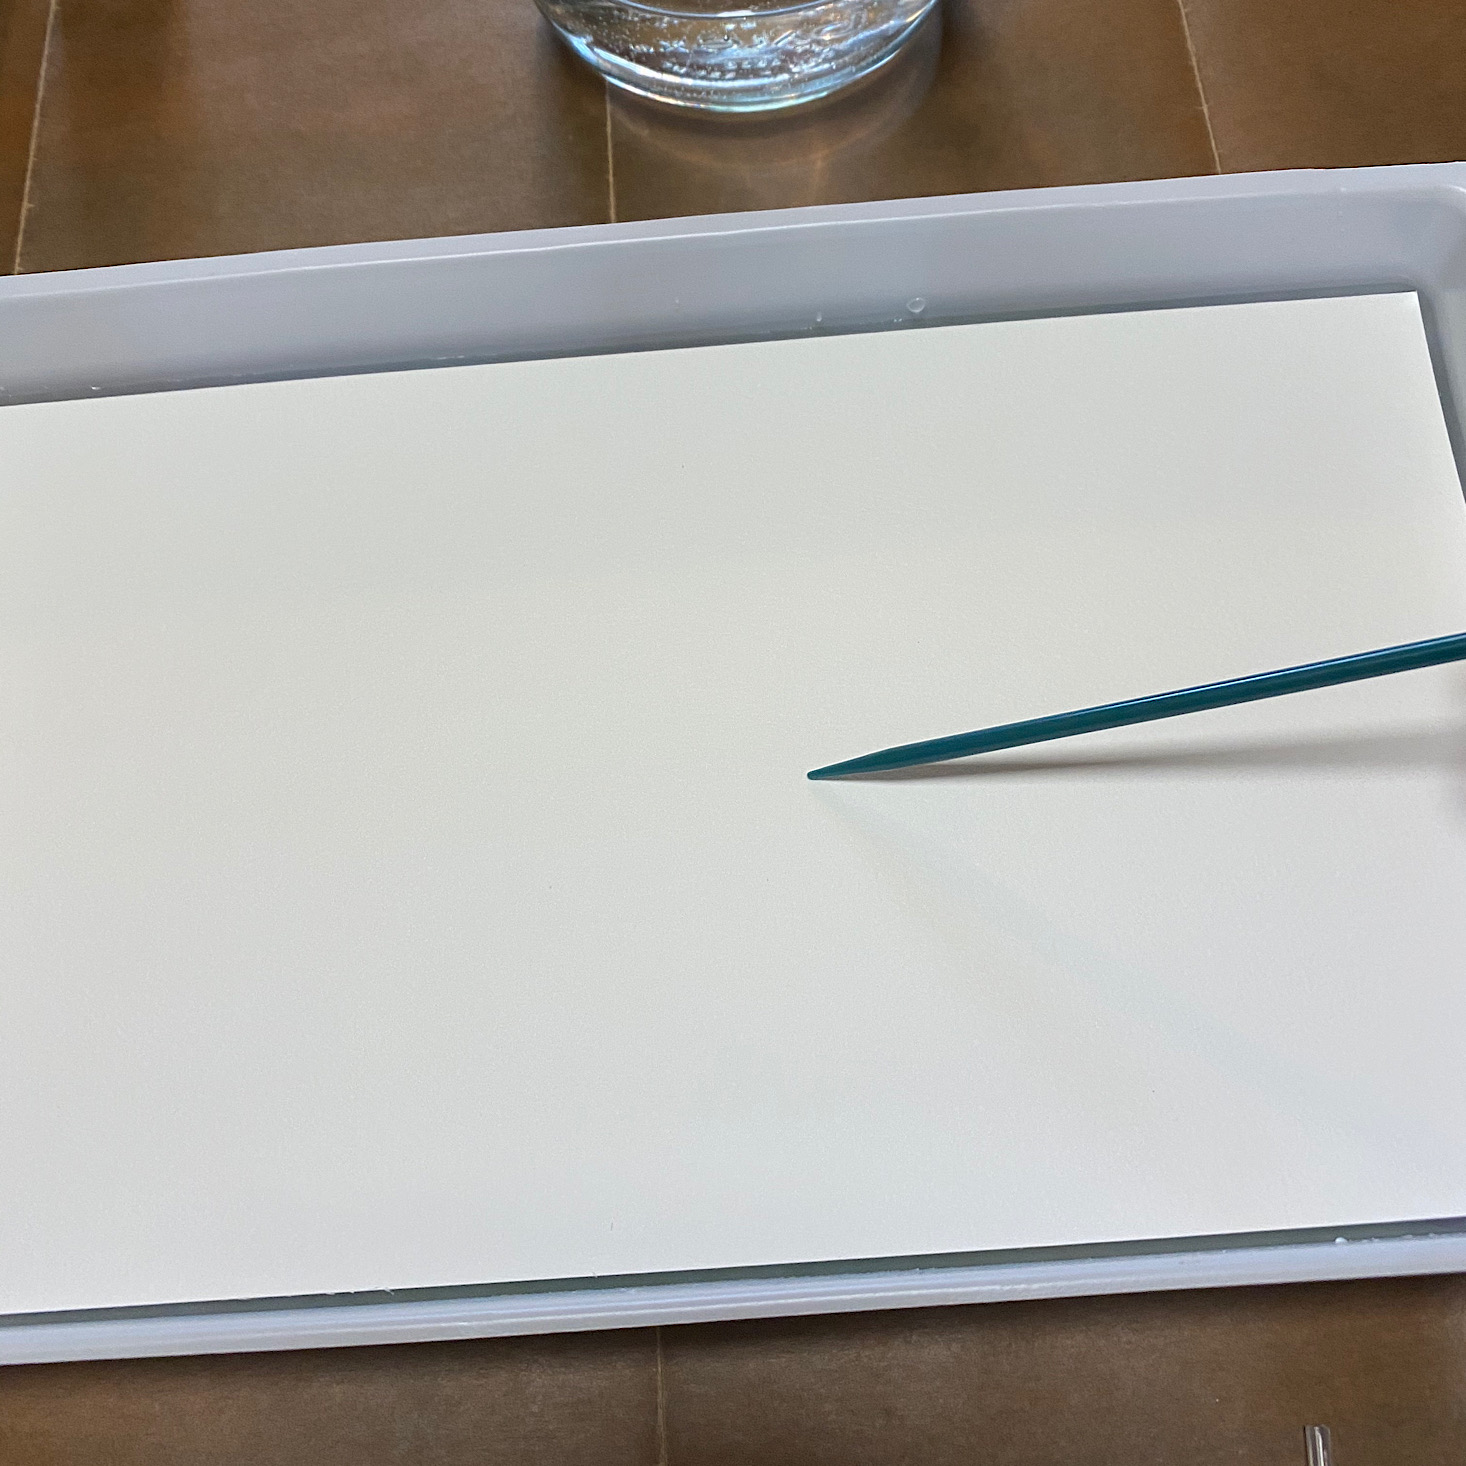
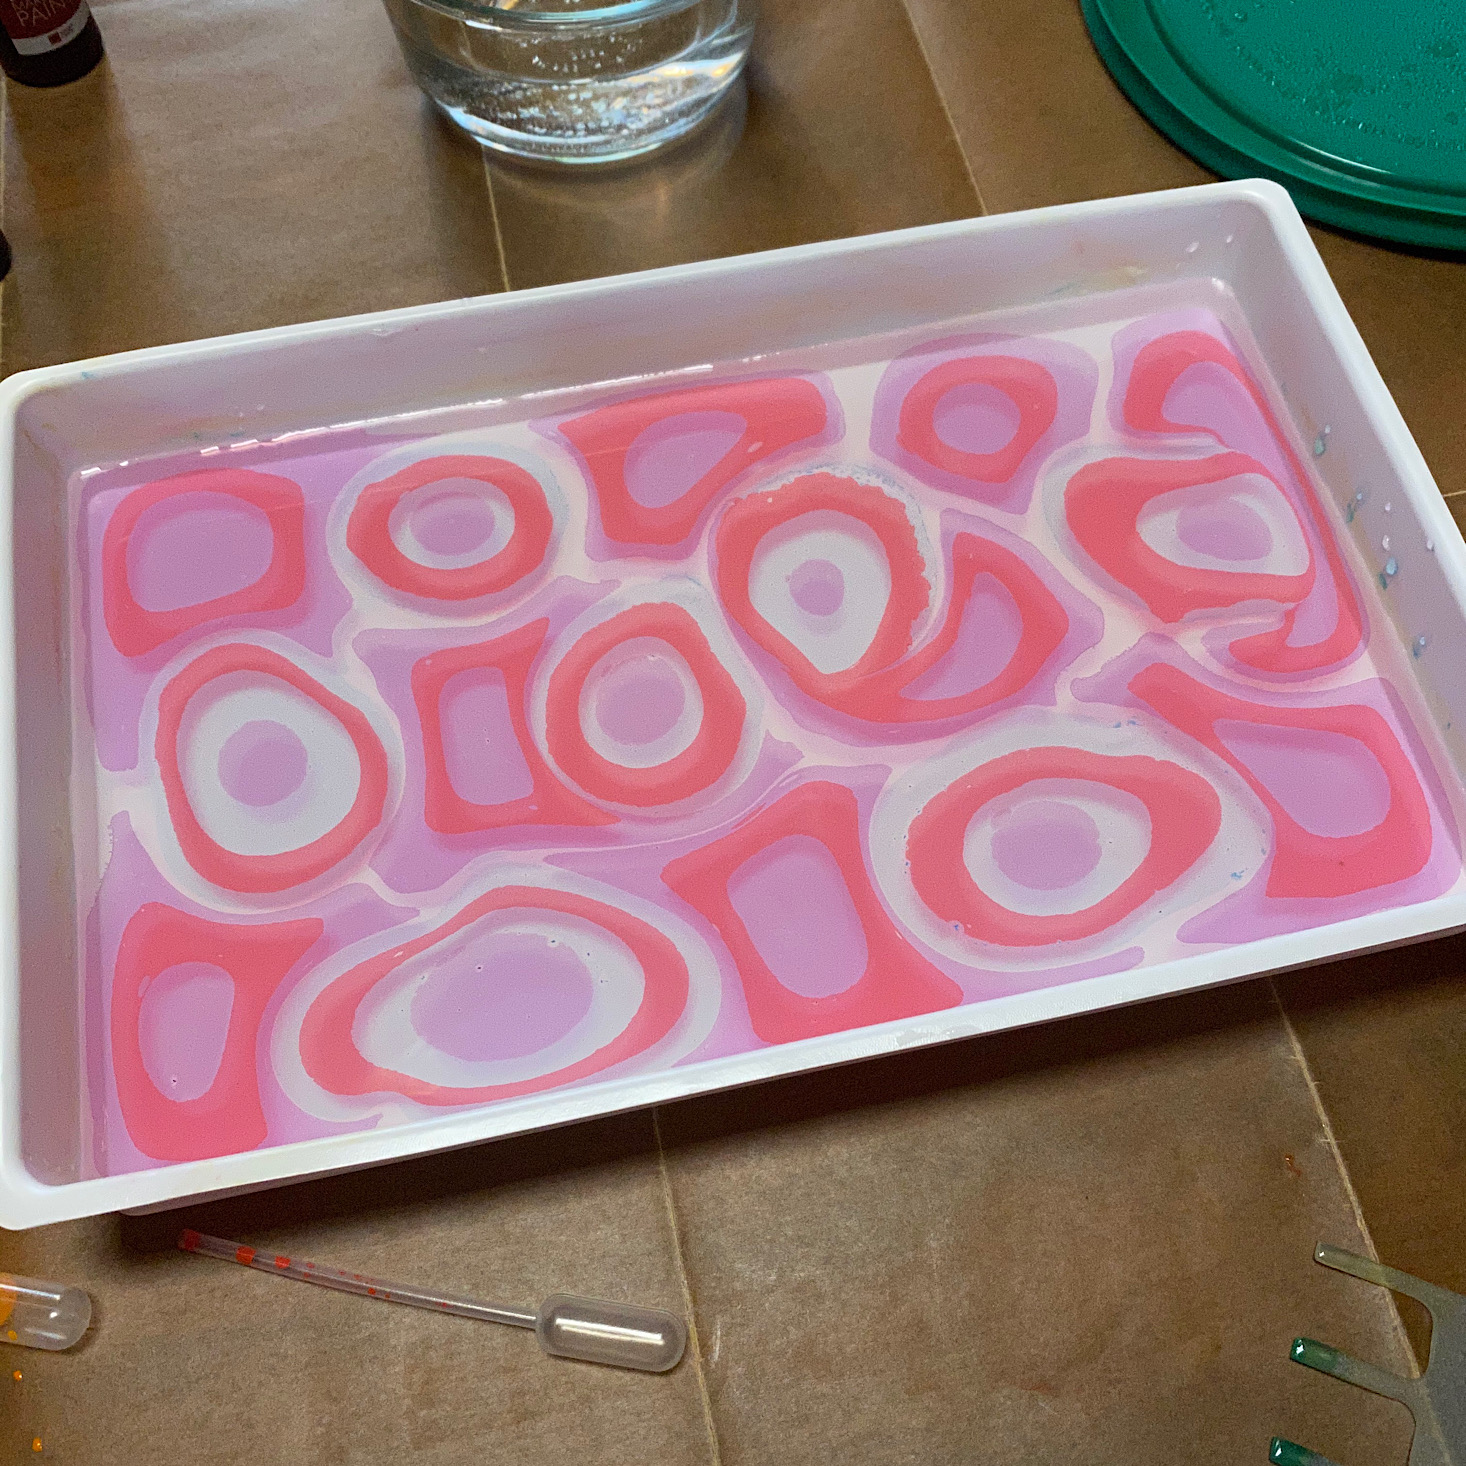
After skimming the top layer off my solution with a piece of scrap paper to ensure there was no dust, I began adding little drops of color by simply dipping the metal stylus into the paint and then placing it in the water where it would spread. You can see they didn't spread too much and while the final product looked pretty cool, it was certainly much too thick and goopy! Once I had the design I wanted (sort of), I placed a piece of paper face down on top of it and used the plastic stylus to gently press it into the paint. When I removed it all of the paint came with it and transferred to my paper which I then put aside to dry.
Since I was still getting the hang of things I decided to make another attempt and test out some more of the tools. This time I used the pipettes to add the color which resulted in some air bubbles. I also attempted using the marbling rake, but later realized I went much too fast with it. I decided to use the sticker sheet this time to capture my design.
Second Round
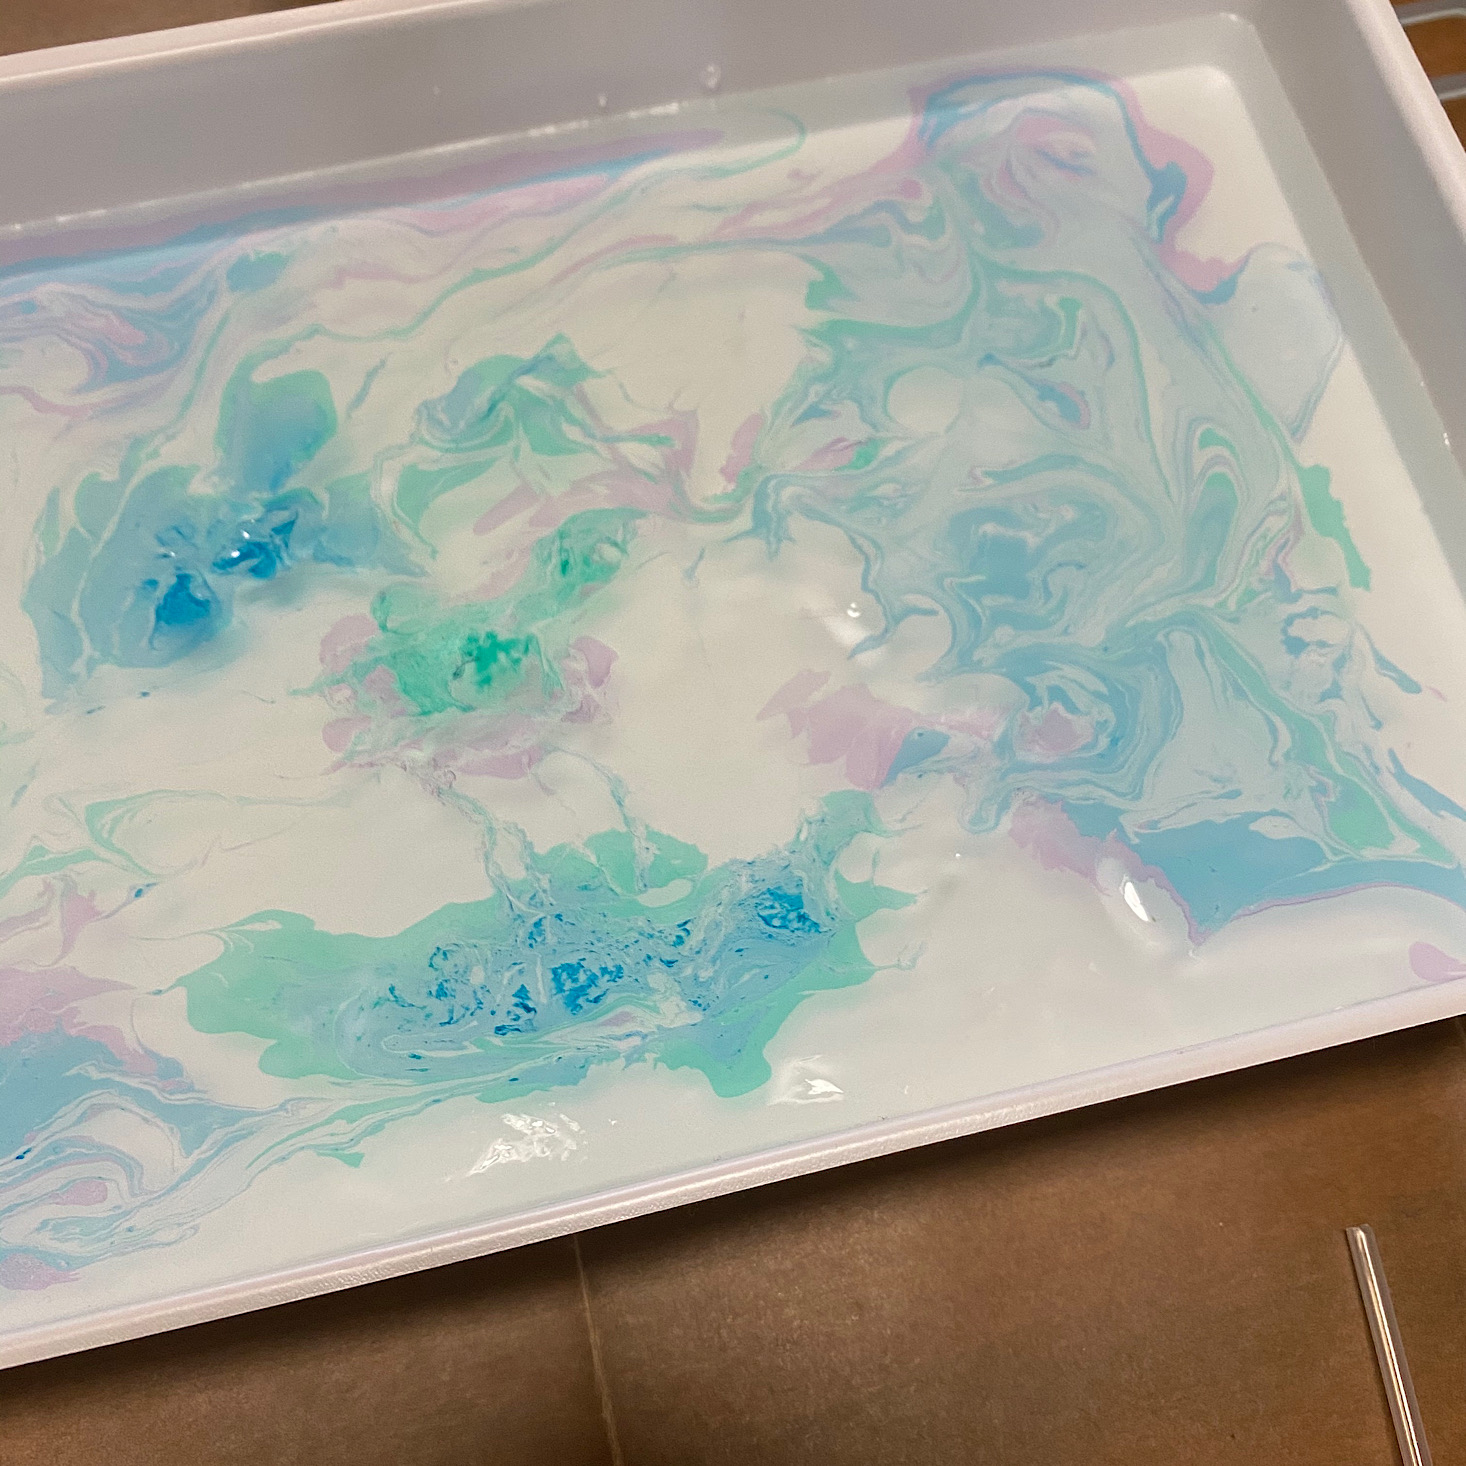
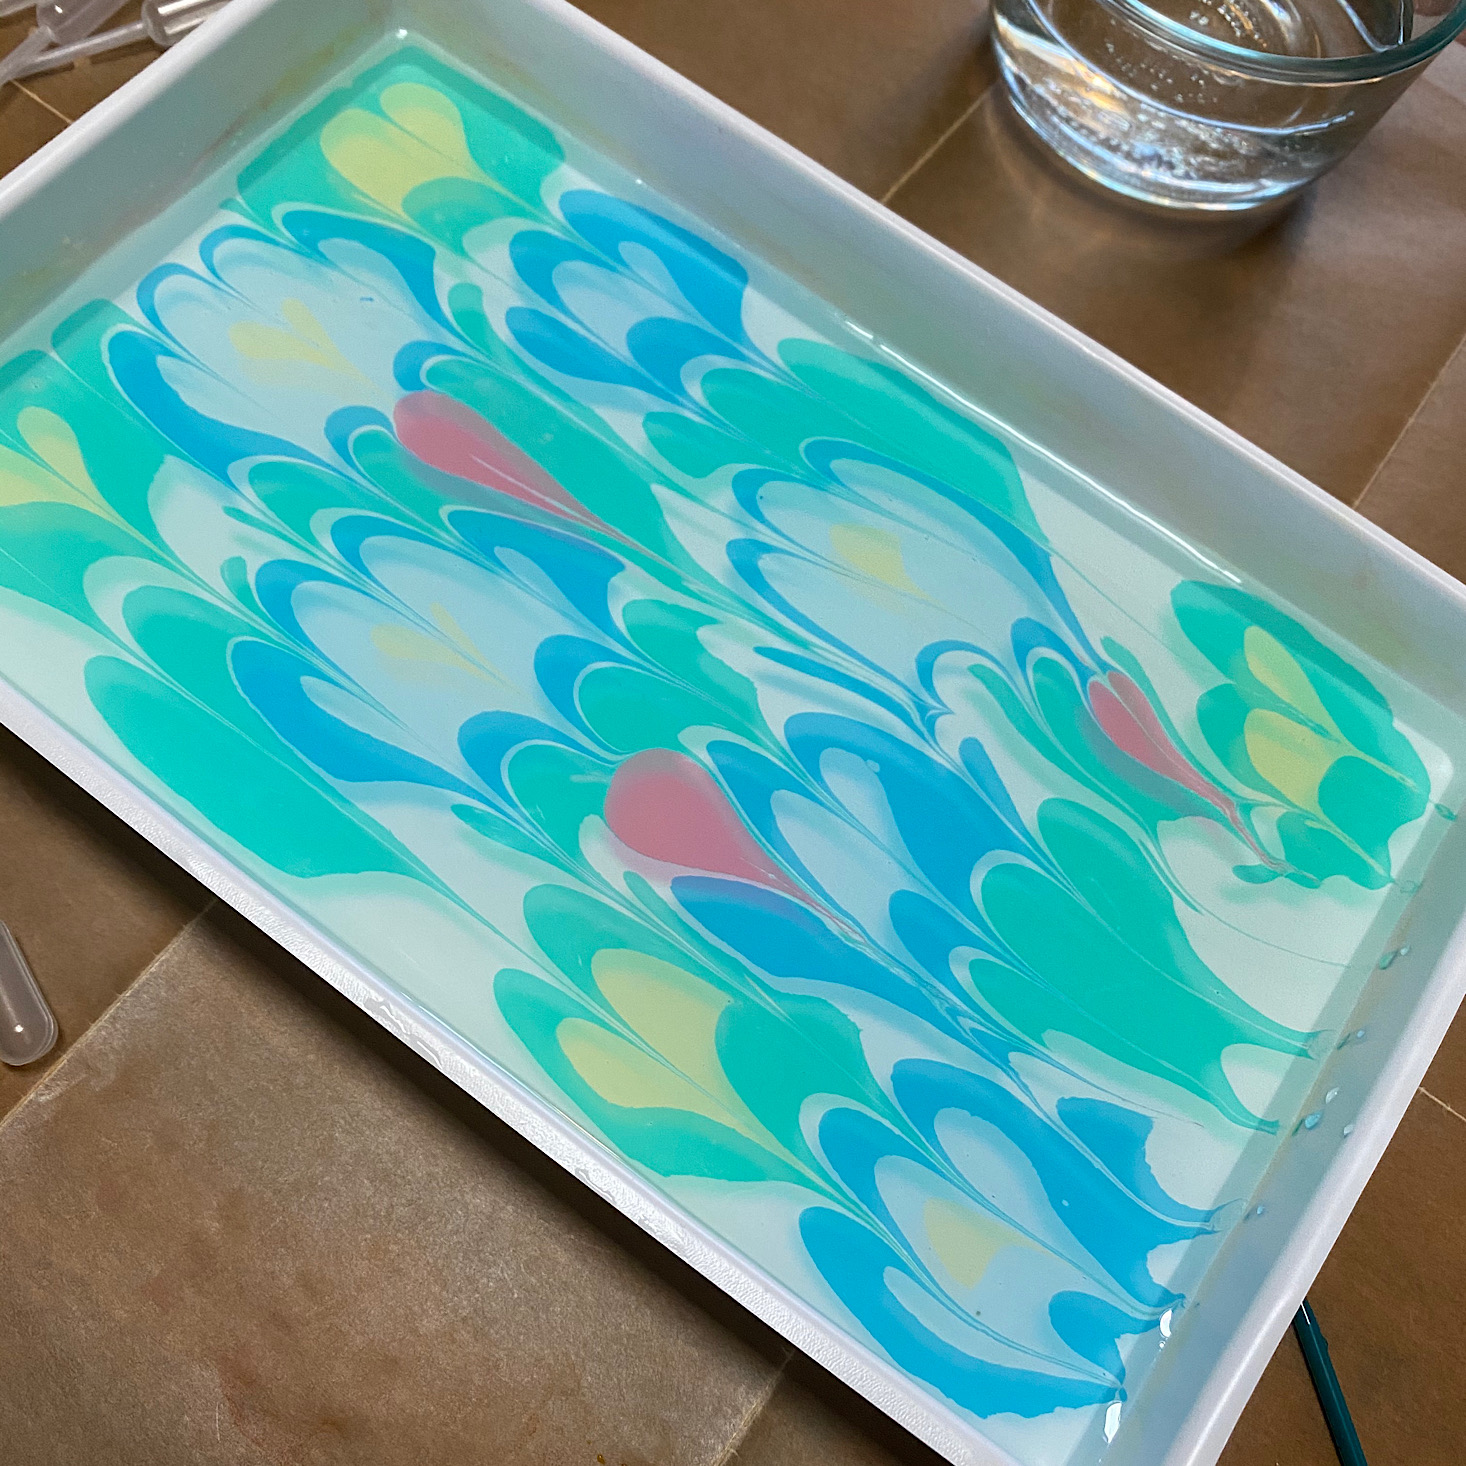
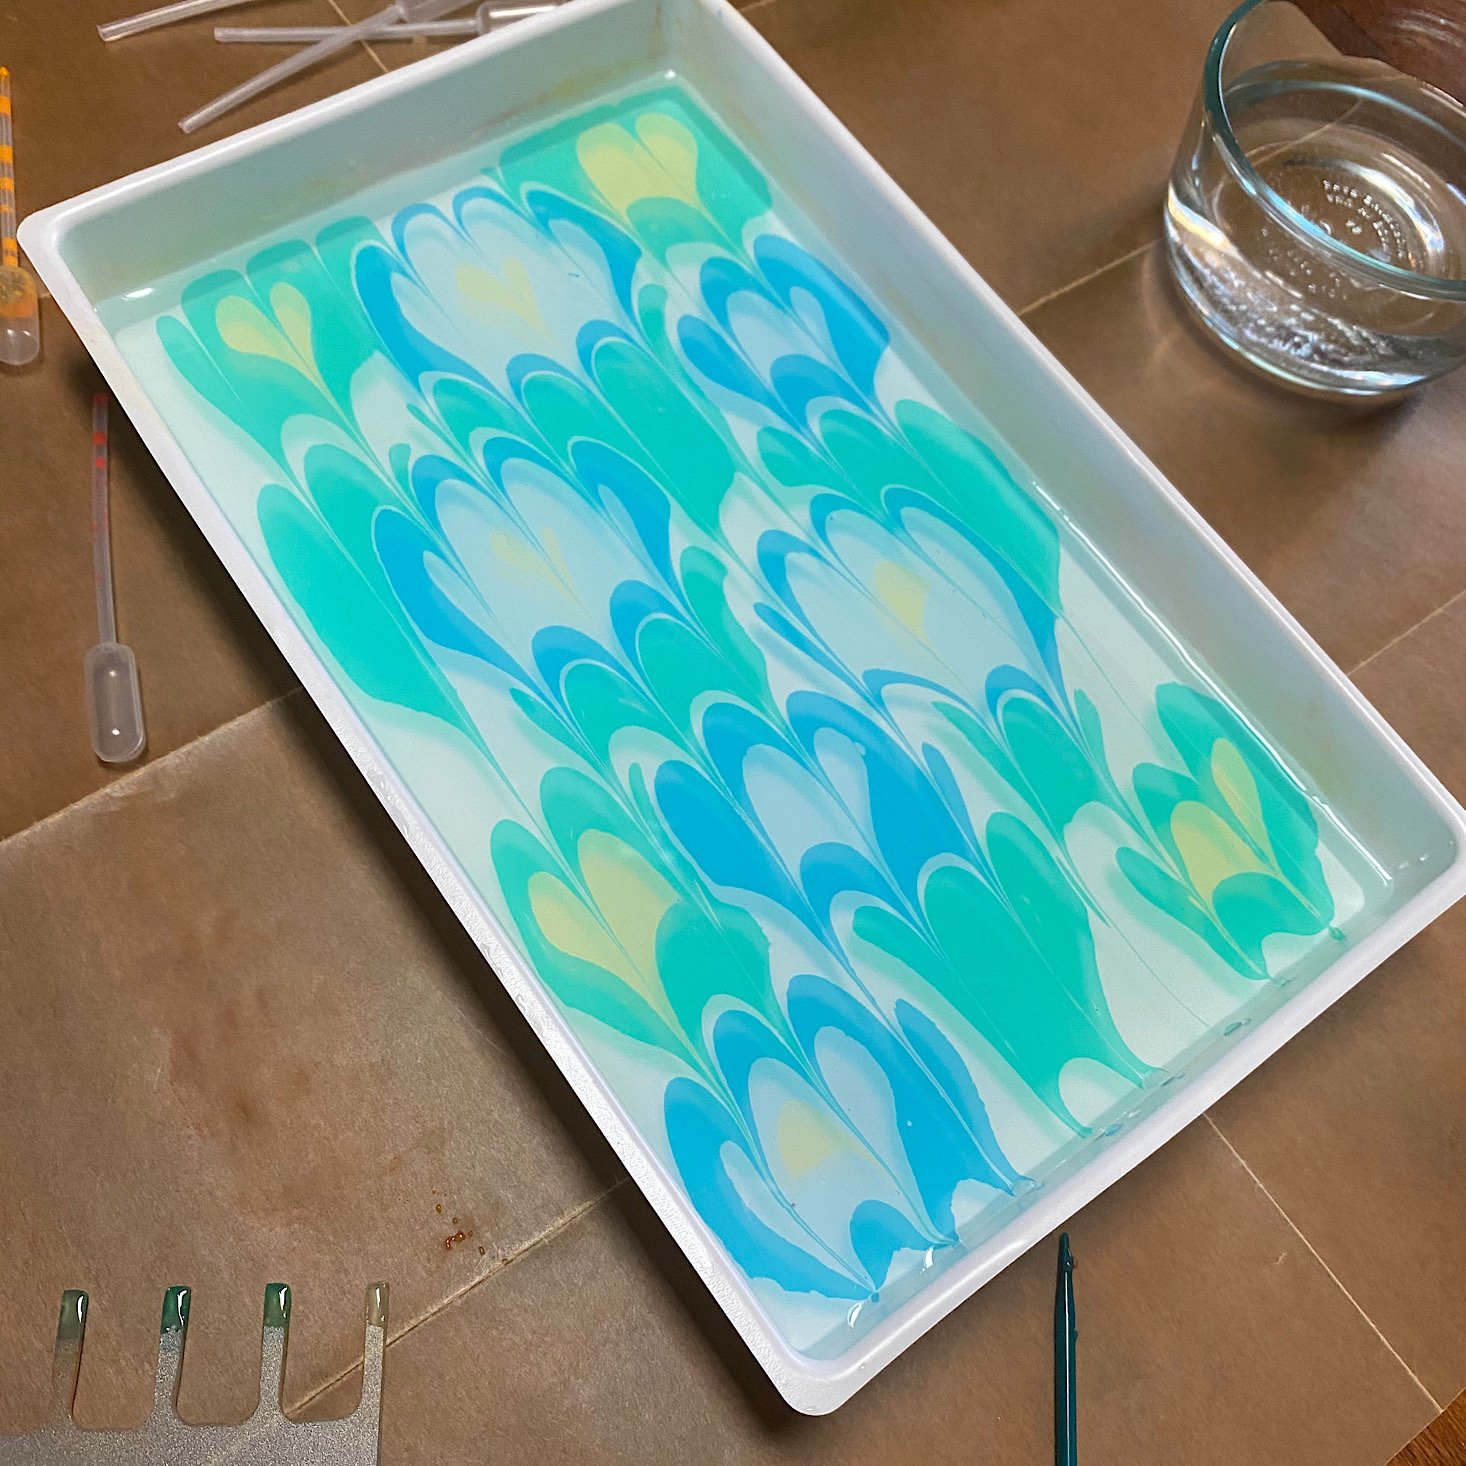
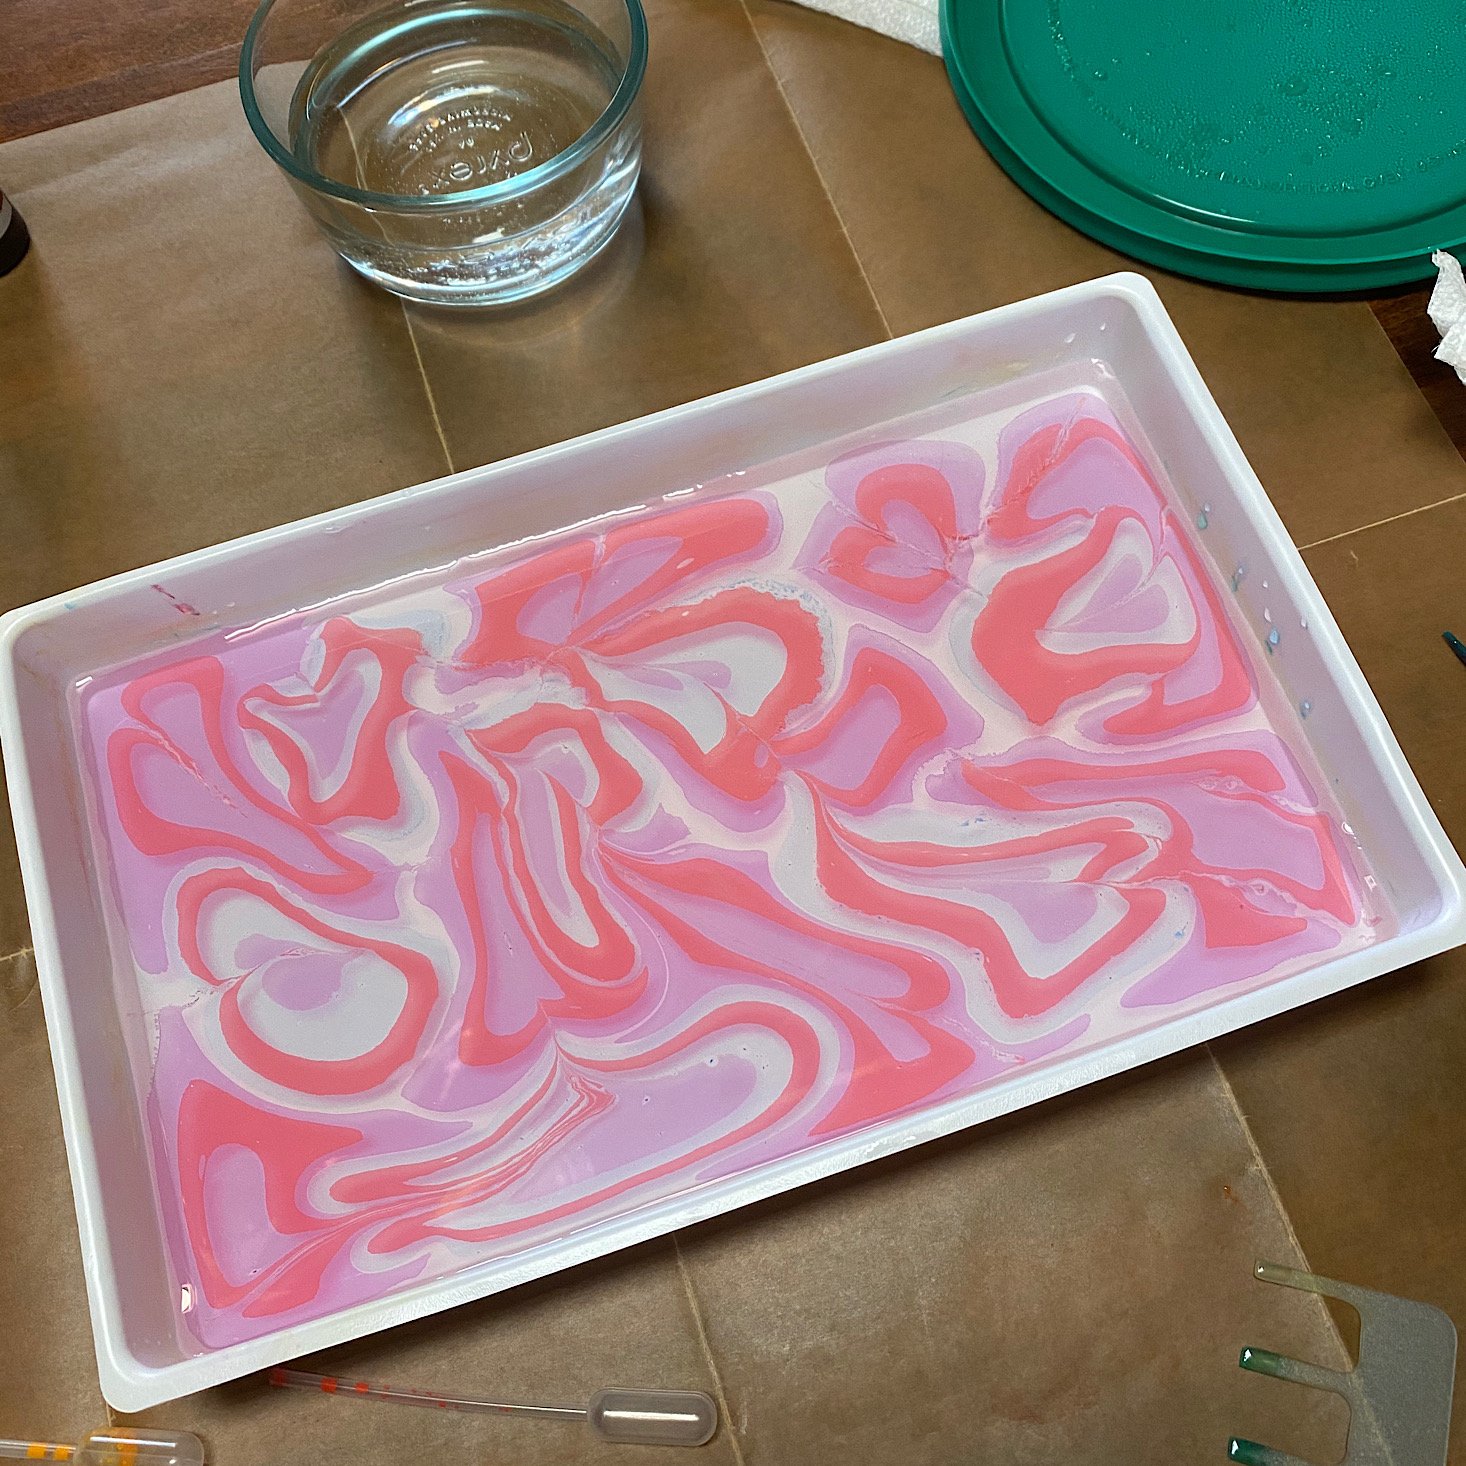
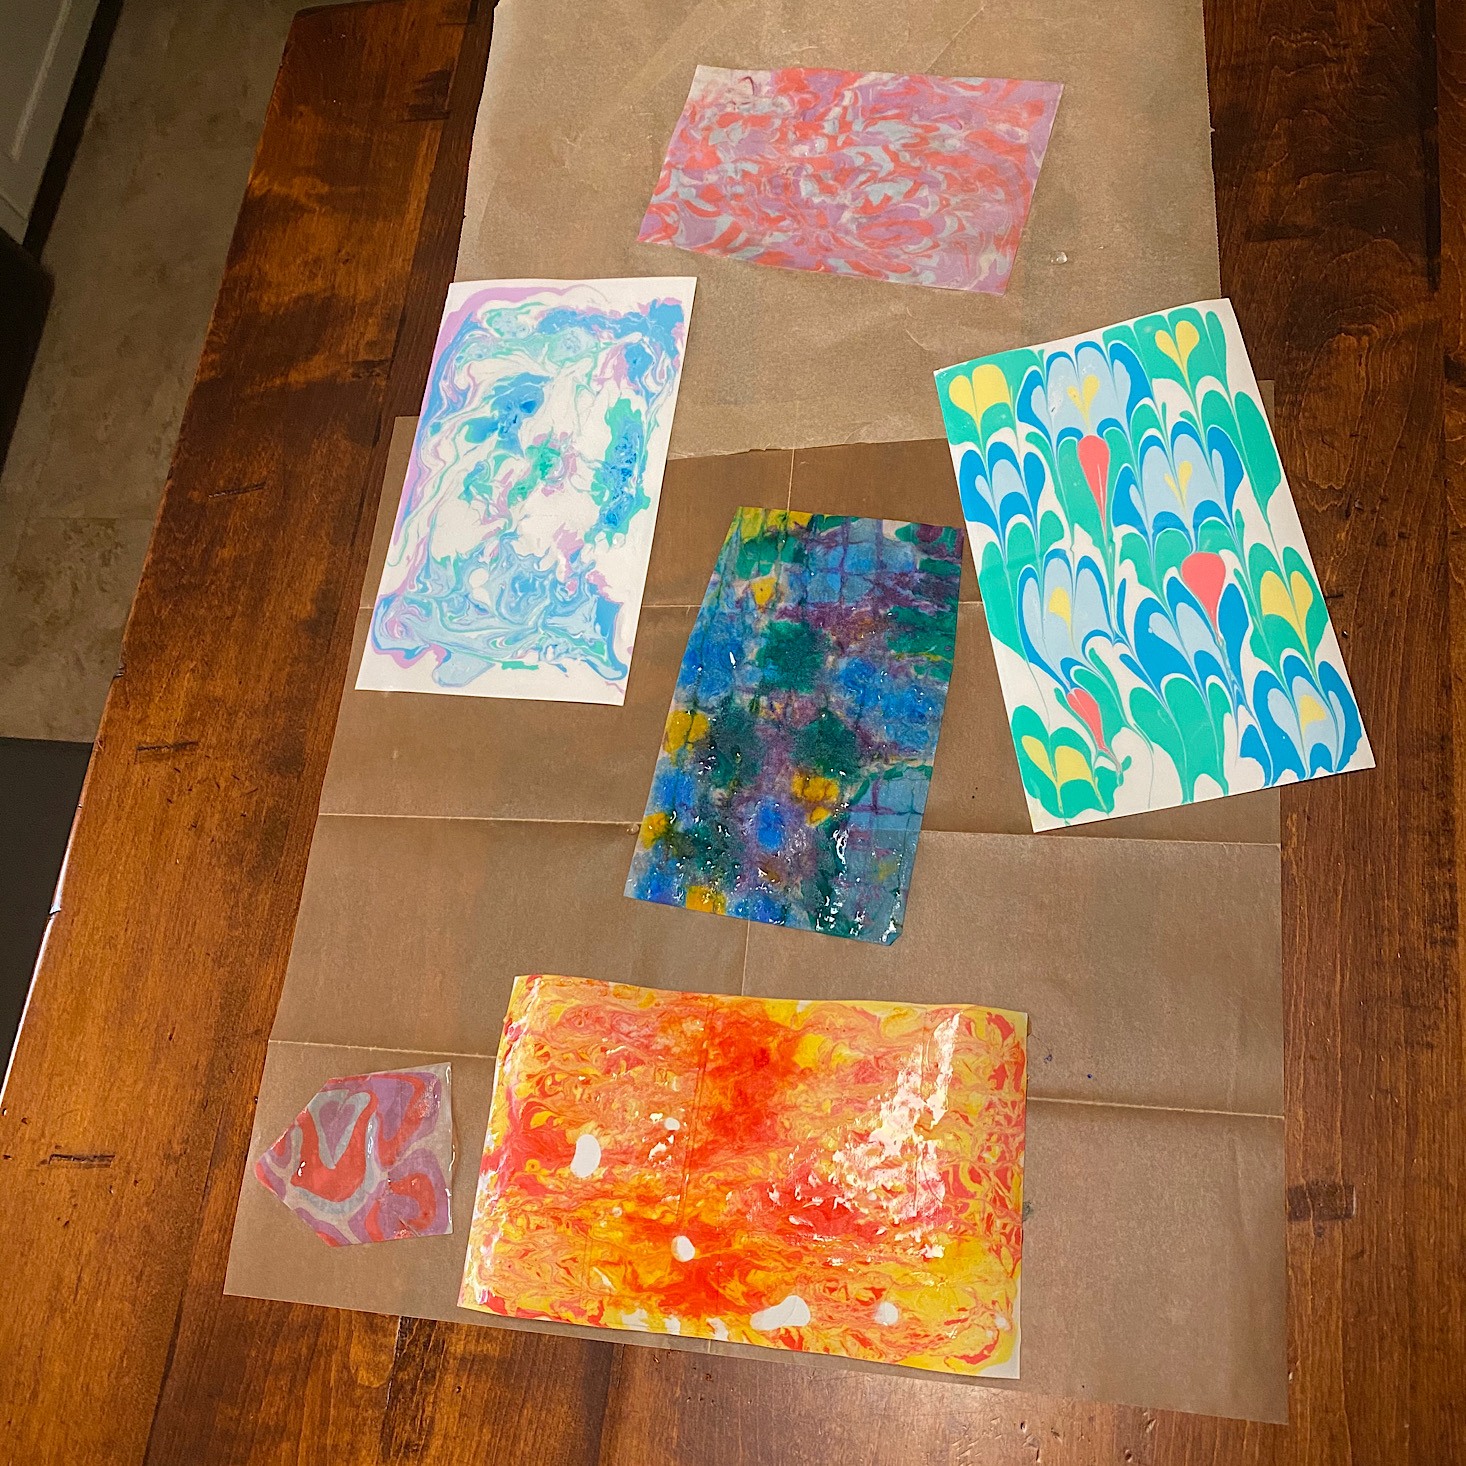
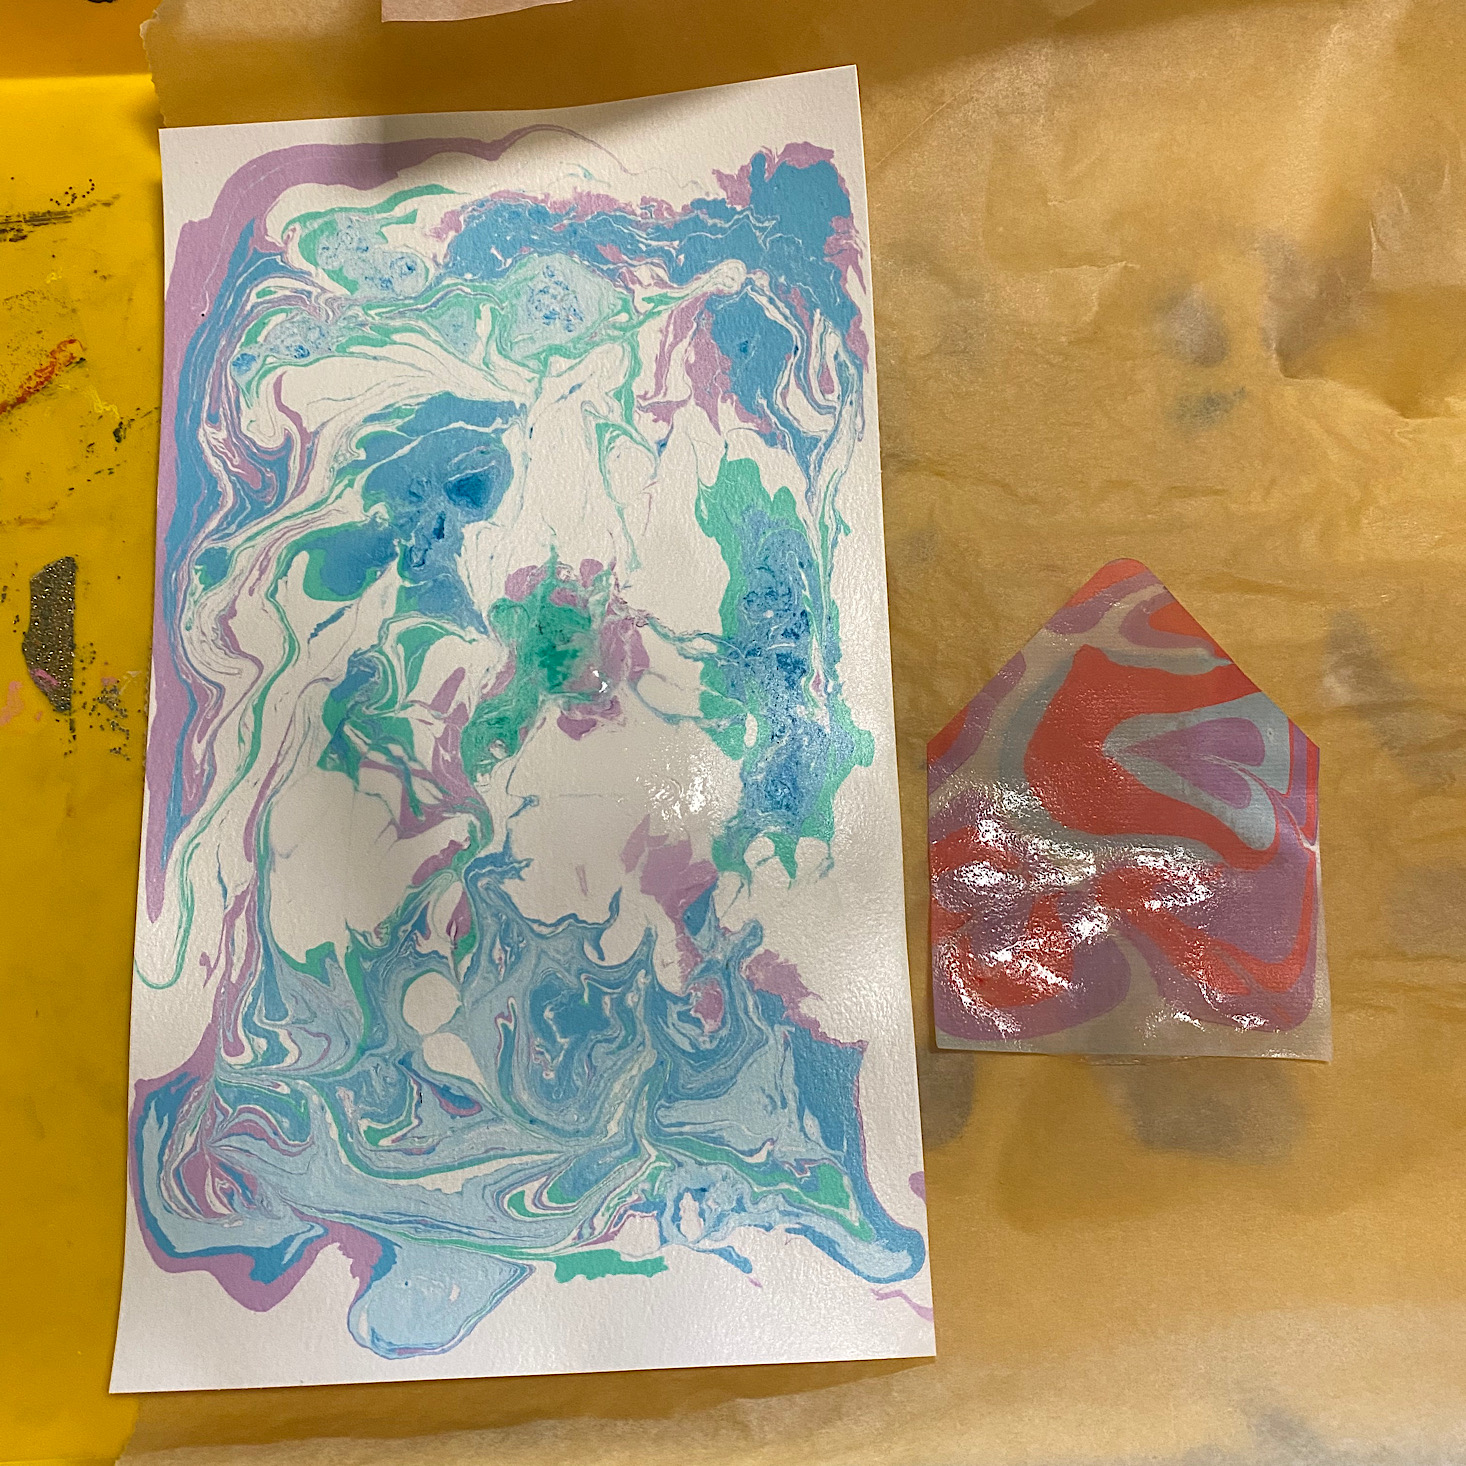
Since my solution was super goopy, I decided to start fresh. This round I really took my time and I was so thrilled with the results! You'll see it all dried at the end!
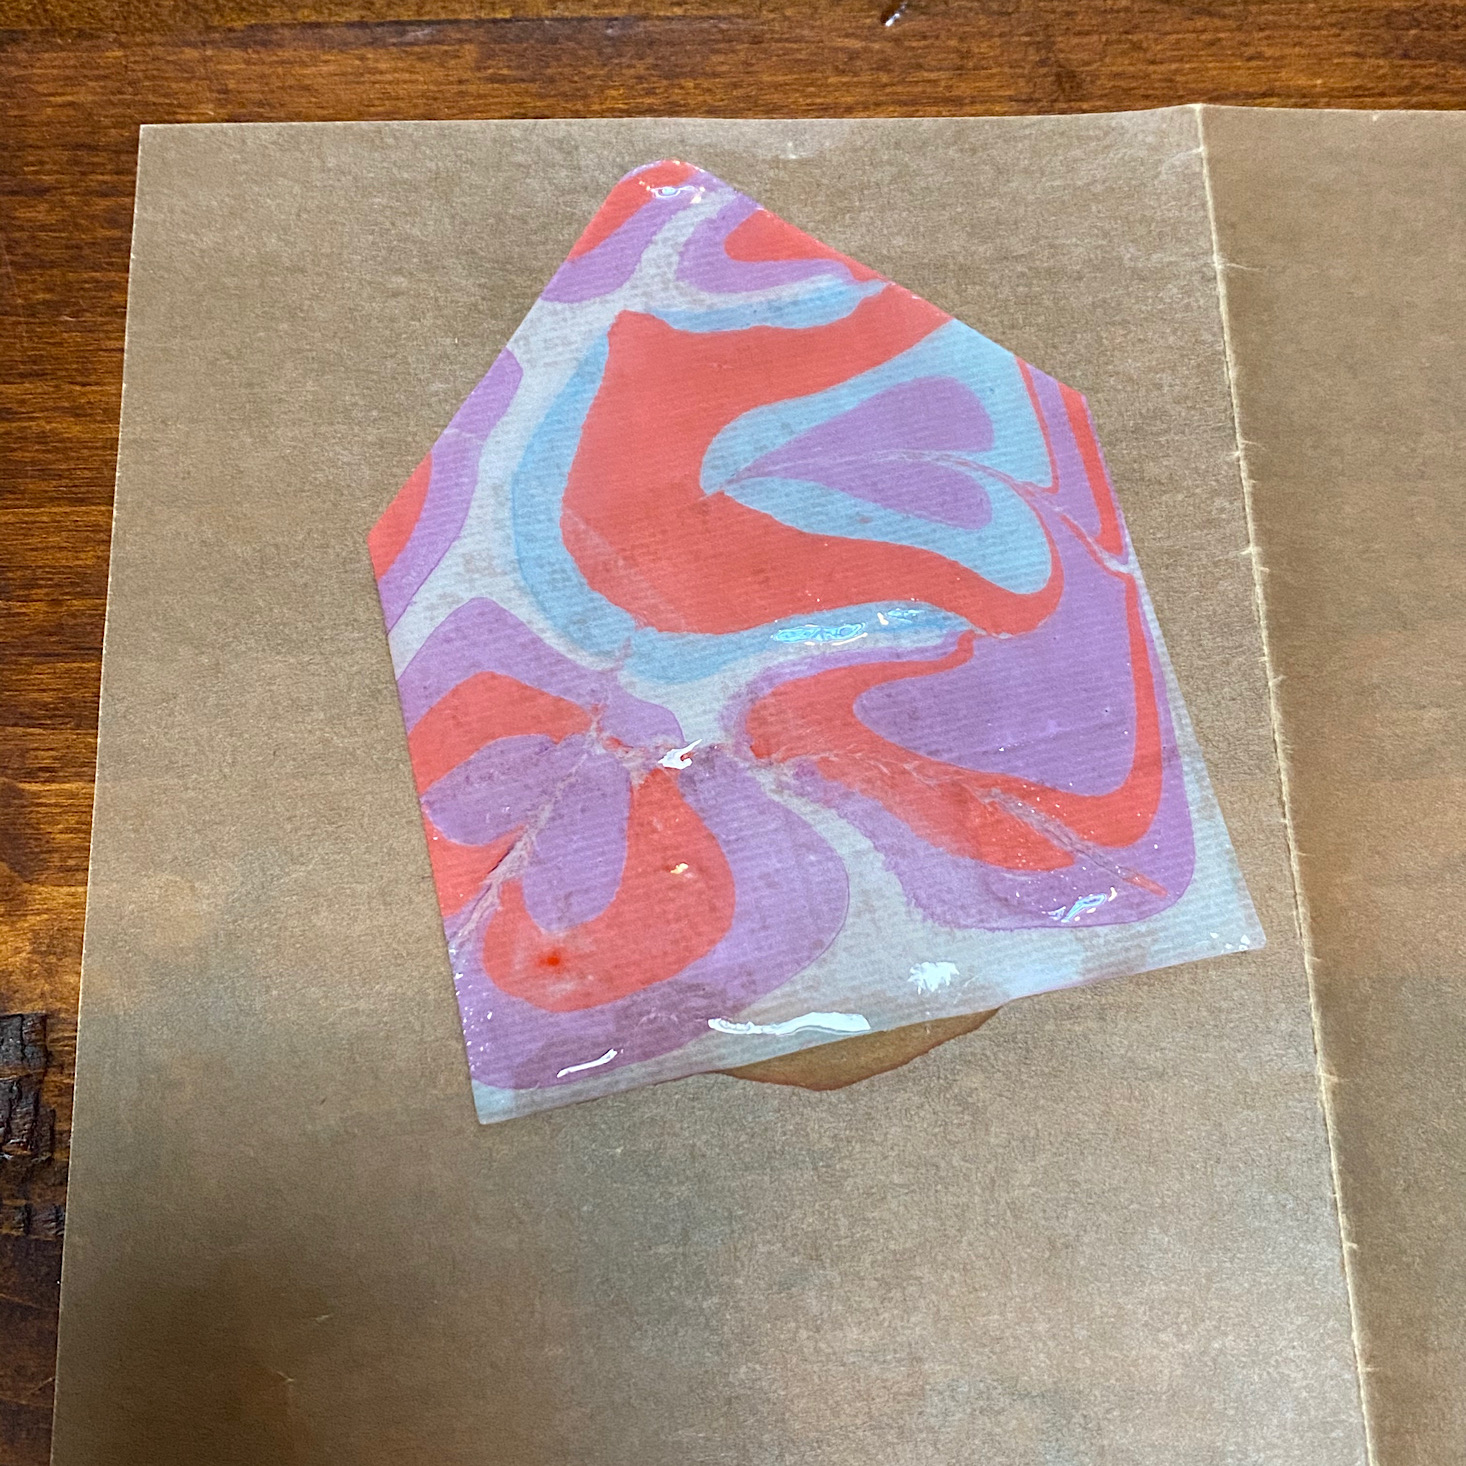
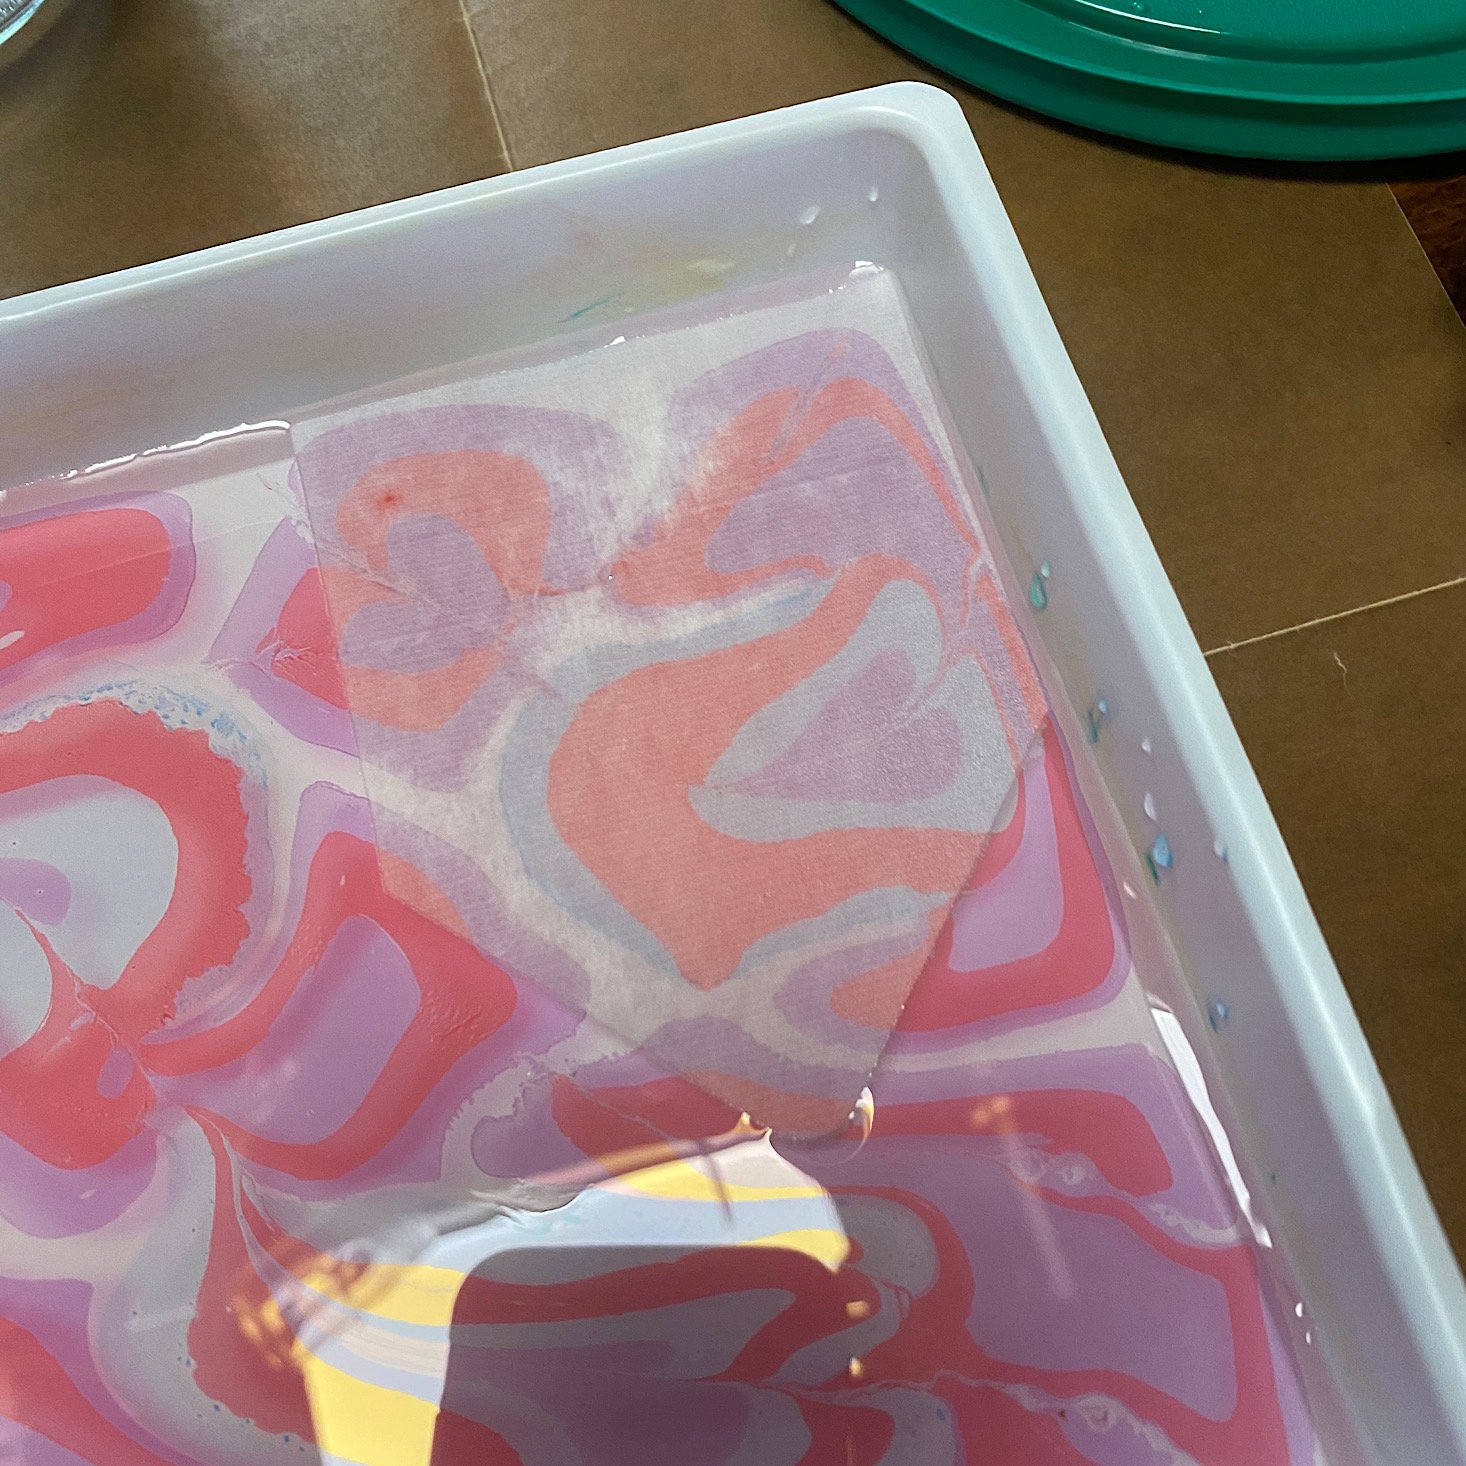
Since this next design looked like little hearts throughout I decide to capture one of the hearts with the tiny rice paper envelope liner.
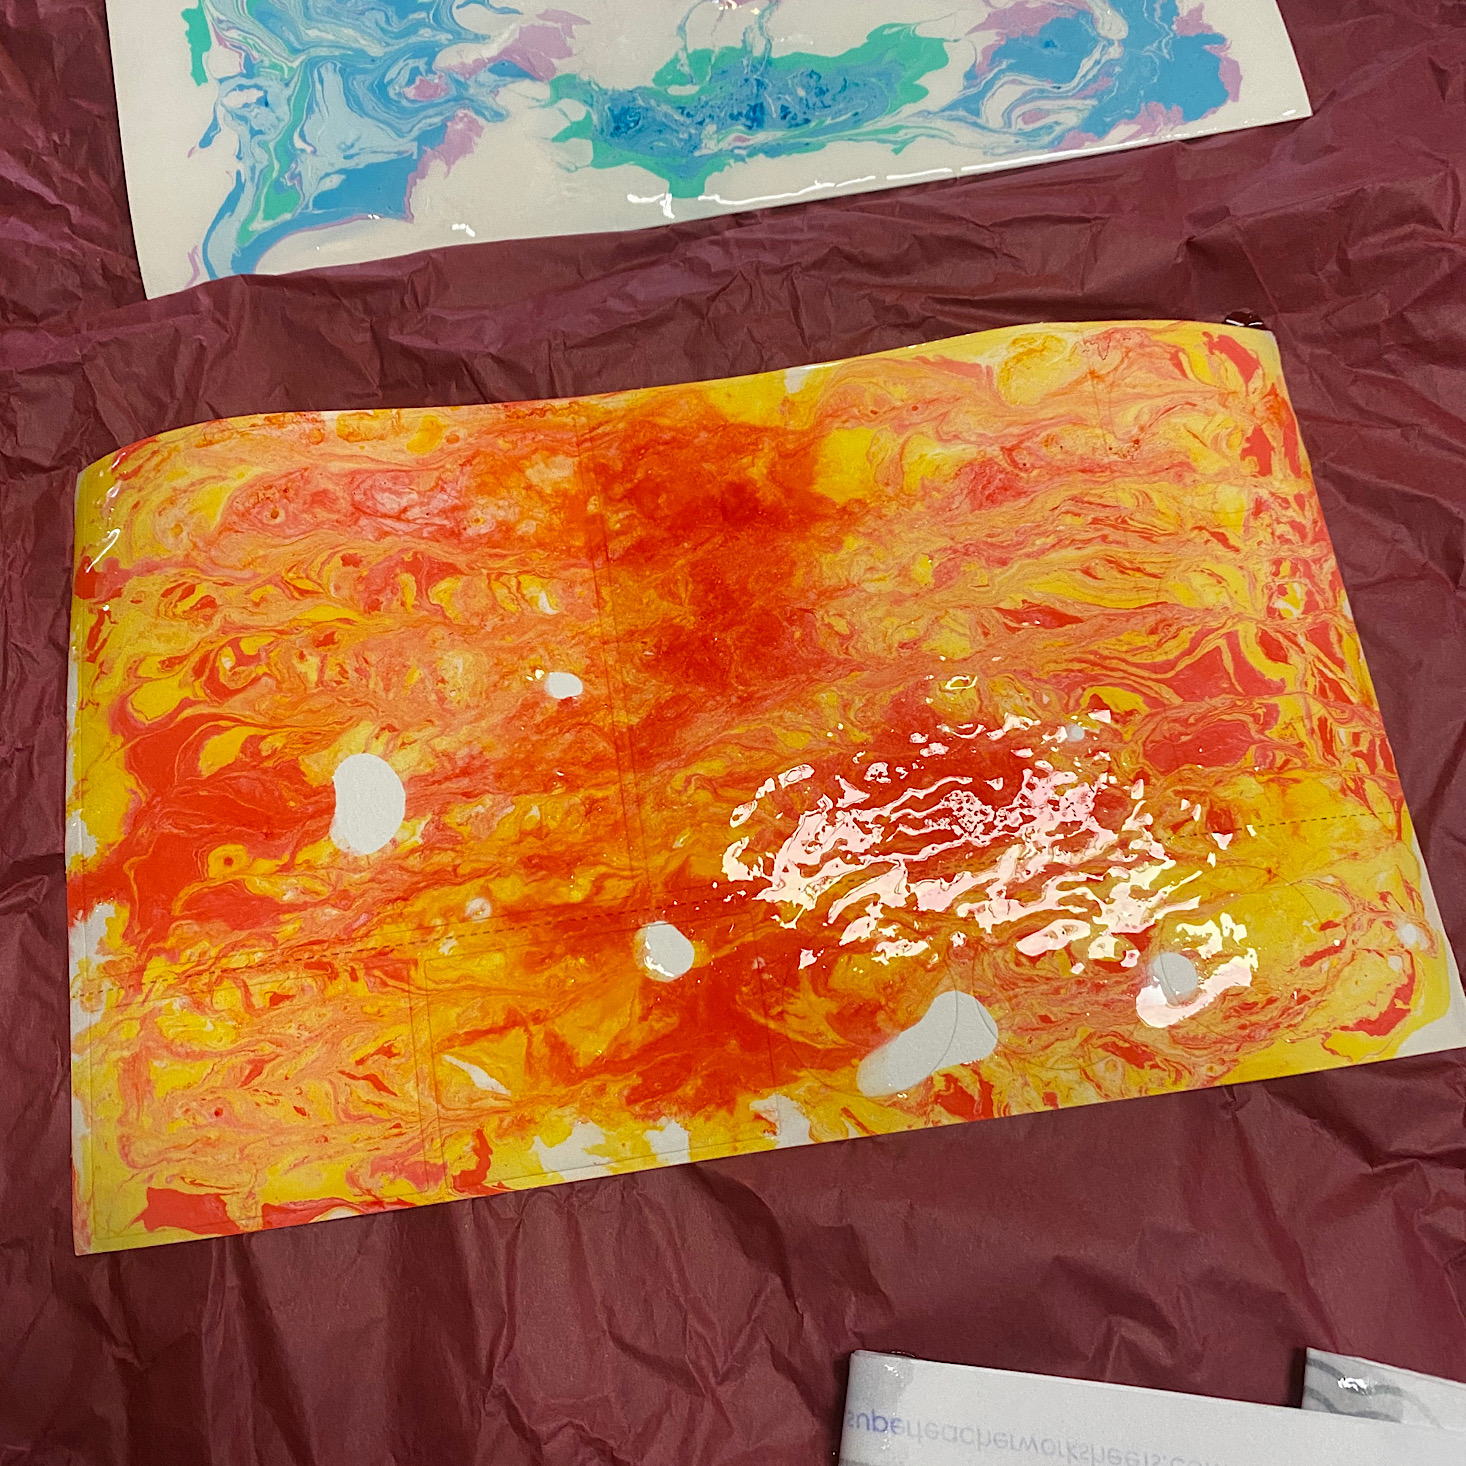
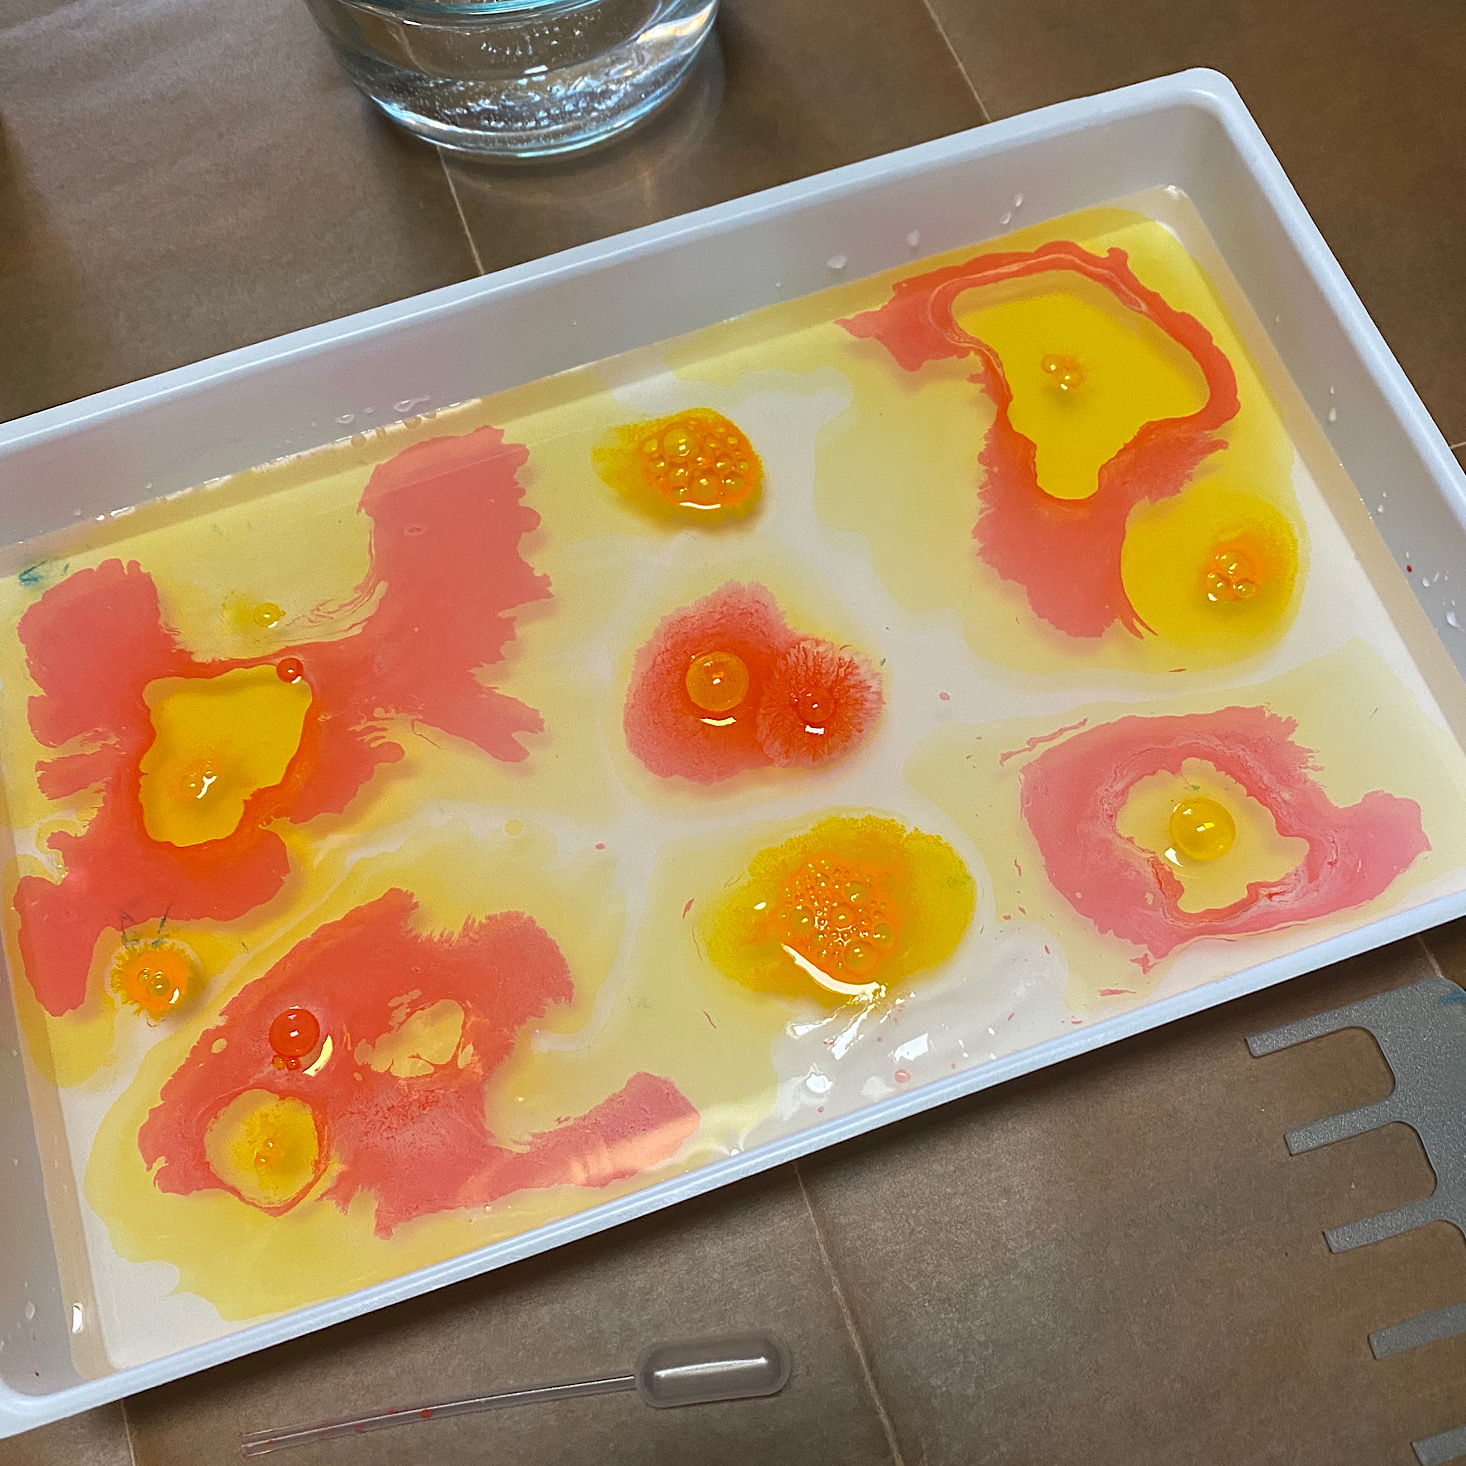
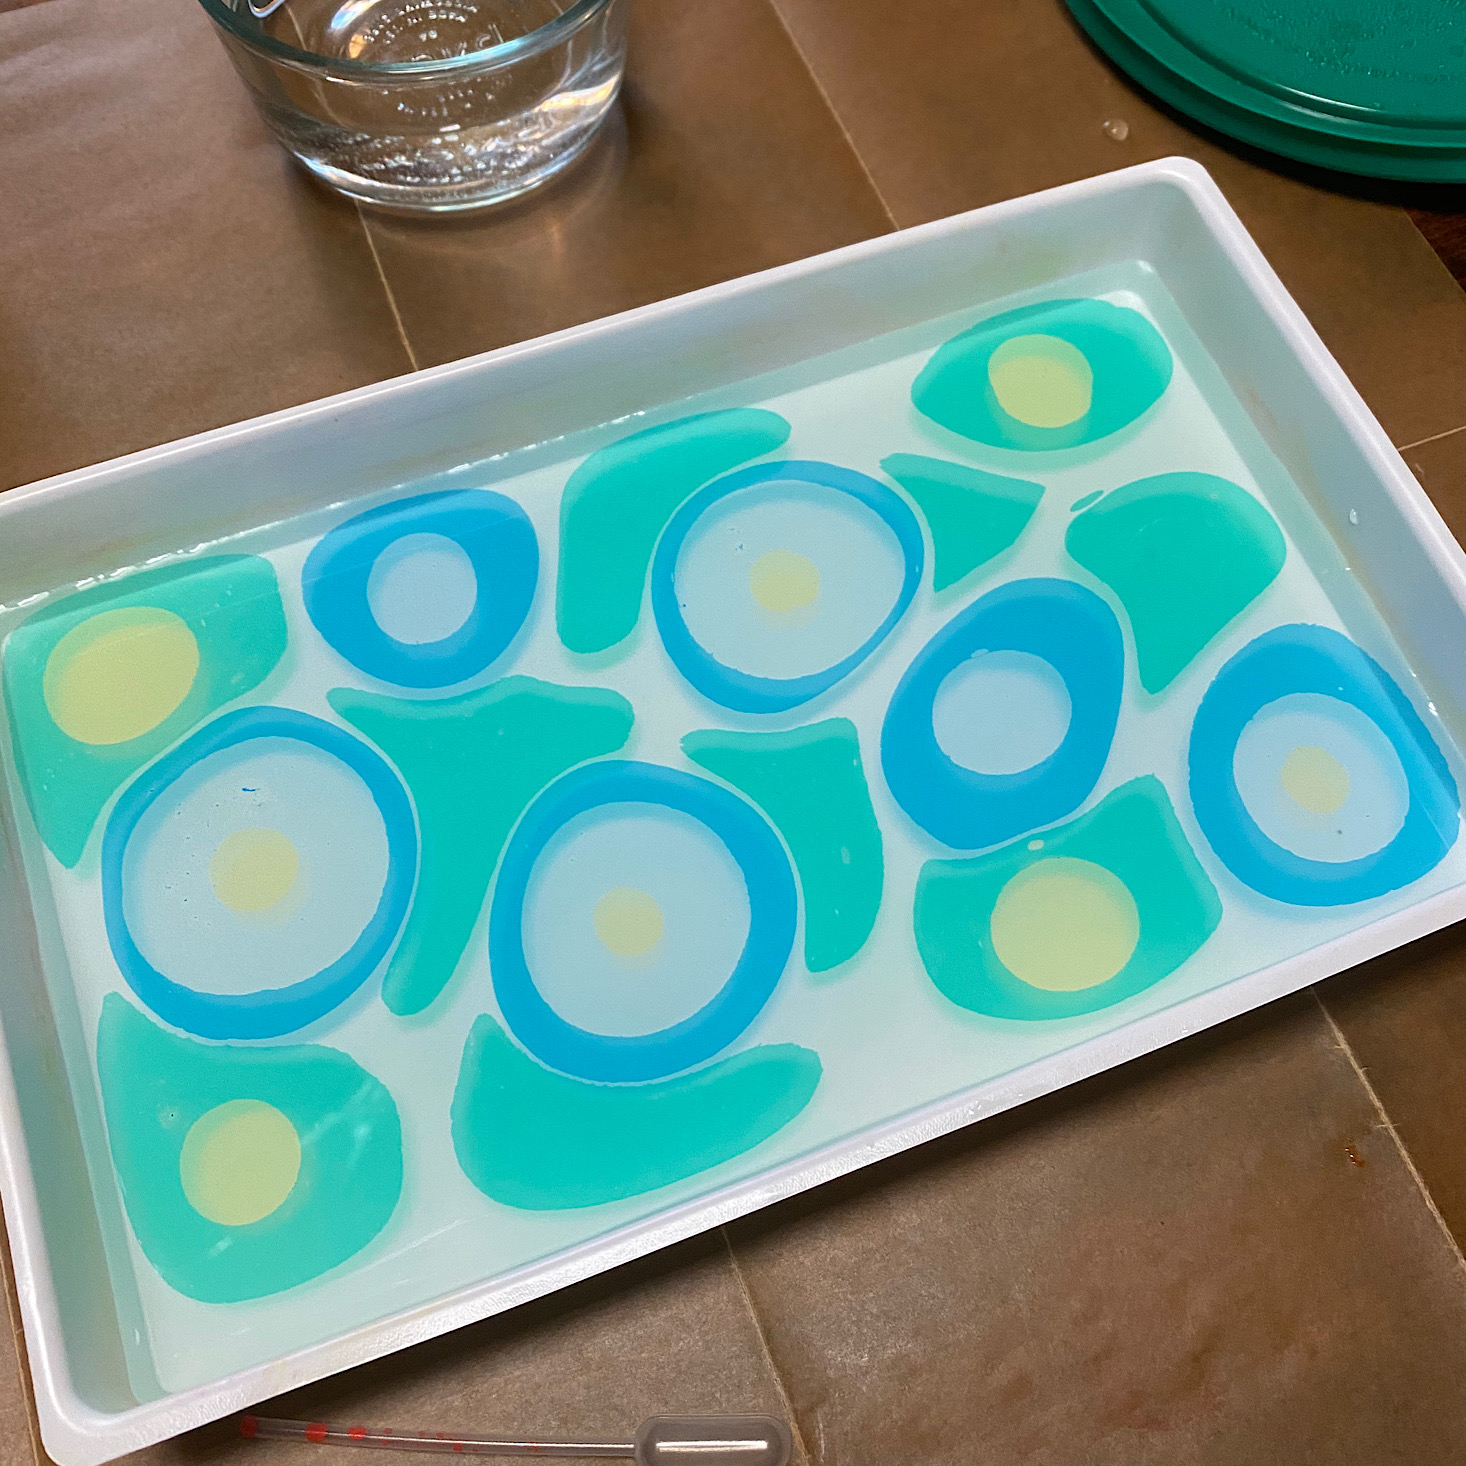
Next, I decided to try dropping paint directly from the bottle. Instead of spreading, it actually made the color a lot deeper. I wasn't too happy with what it looked like and my mixture was getting clumpy again so I decided to use the paintbrush and try the paint flicking method for this design. Then it was time to let my pieces all dry.
Stationery
The next day most of my papers were dry except for two. For those that were completely dry, I got out my iron and placed a towel over the papers, and ironed them flat. Then I began assembling my stationery.
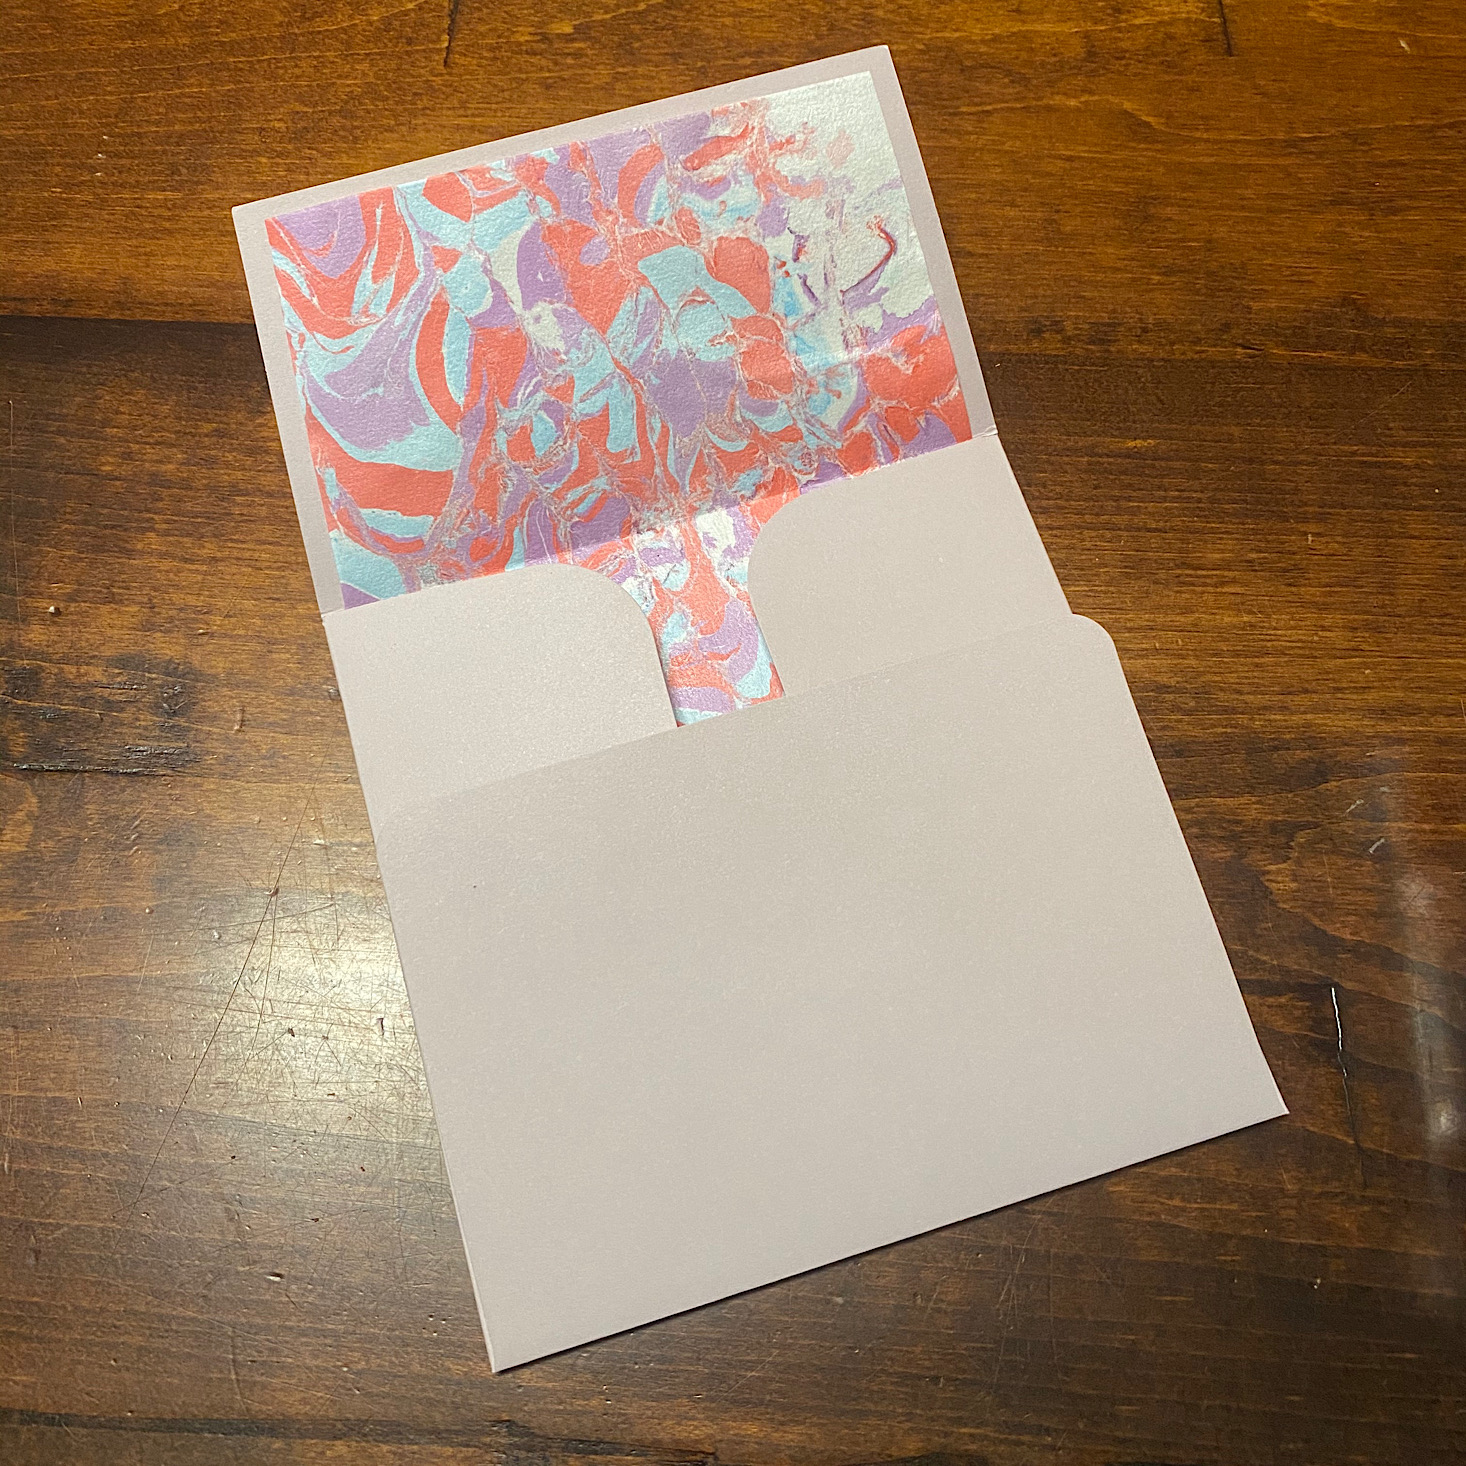
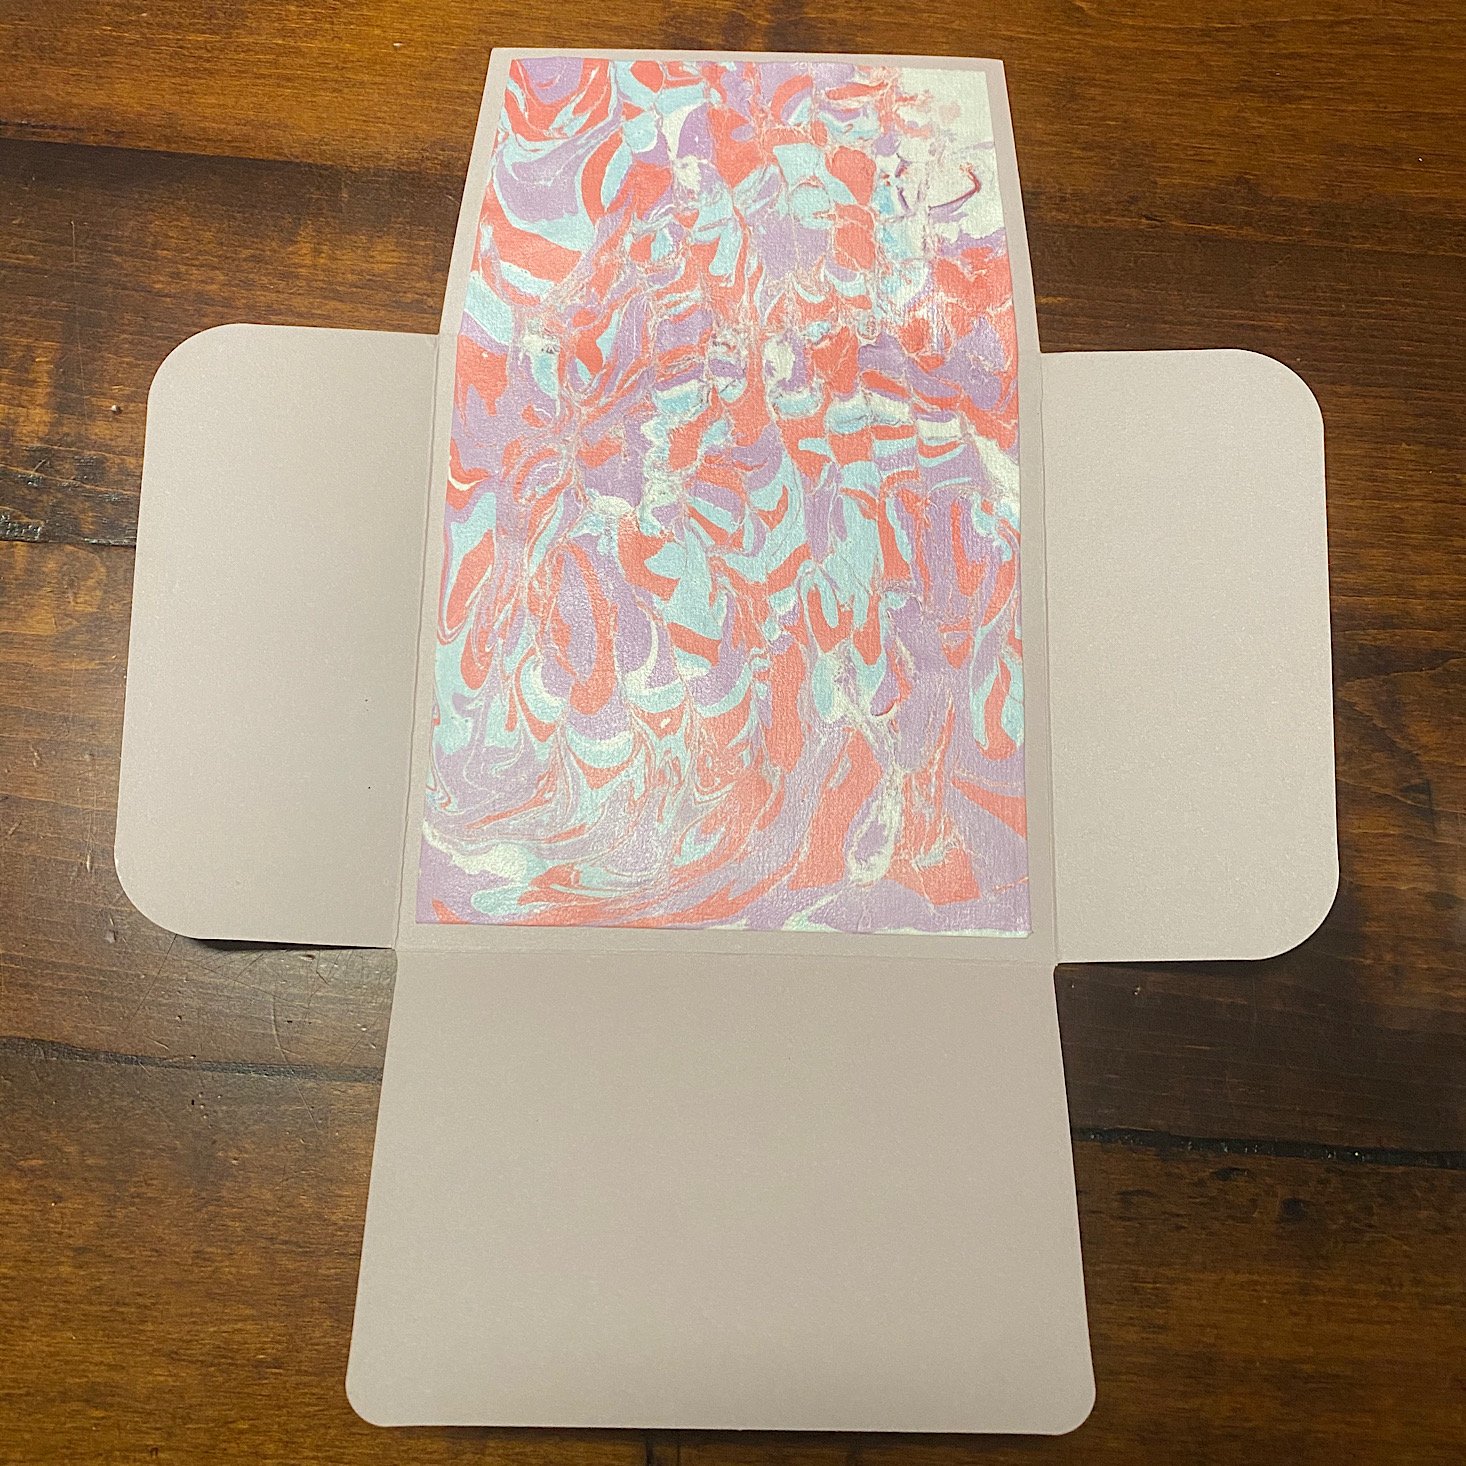
The page that I wasn't super impressed with actually turned out pretty nicely as an envelope liner! I simply had to glue the papers inside and fold up the tabs and then the envelope was complete. I could choose to glue the sides together or just secure it all with a sticker. I opted for the latter.
Then I prepared my card by centering one of the square stickers on the card. This went in the envelope and a round sticker sealed the whole thing!
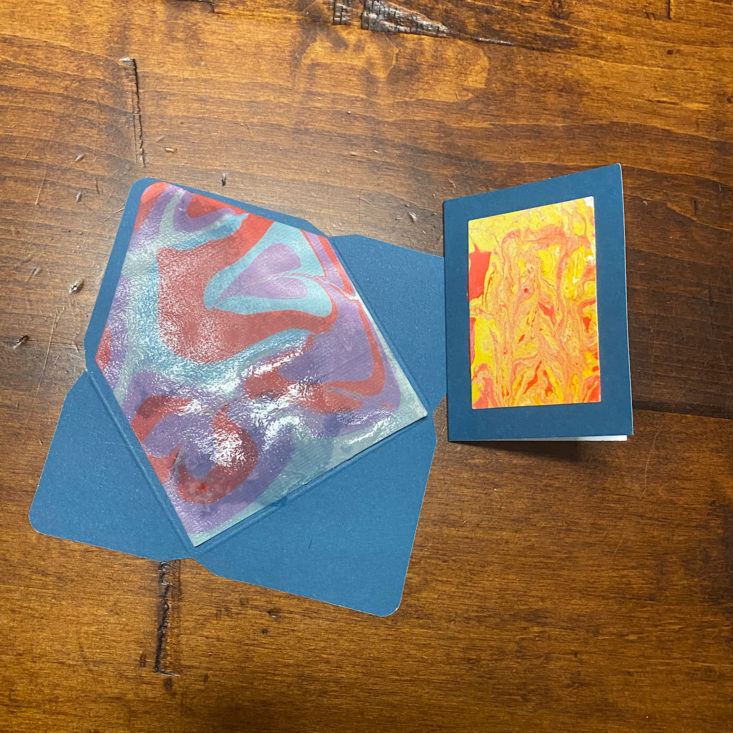
I also made a tiny version even though my envelope liner is still wet. At least you can see how it would look! I used a smaller sticker for the small card.

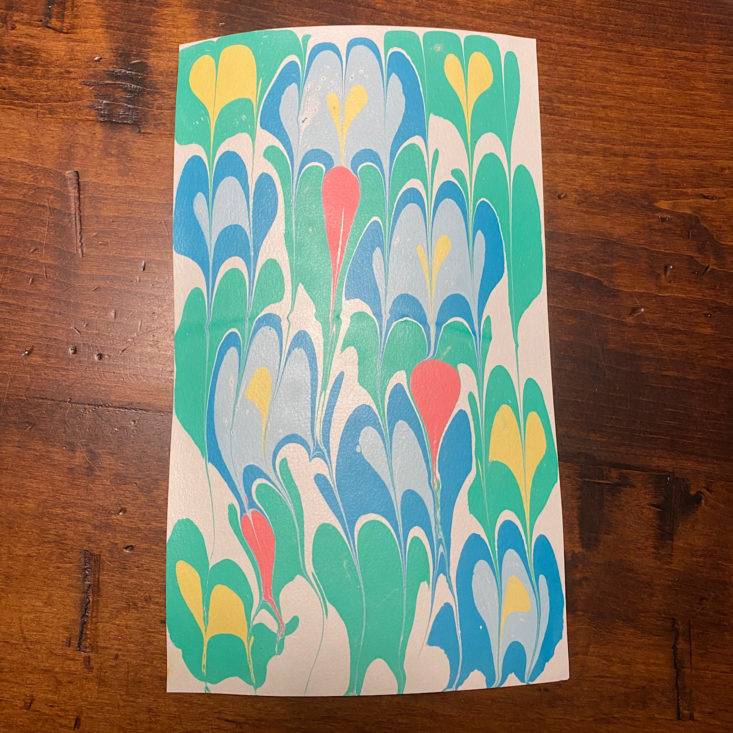
Now, this is the piece that I am most proud of! It turned out so cool! This was the first design I made in the fresh solution so it just had a perfect consistency and I took my time with the marbling rake which really made a difference. These remind me of a retro spring bouquet!
The Verdict
My first experience with Maker Crate was a pretty positive one! I was so impressed with all of the design tools and materials that they included for me to work with and I loved learning a new technique! While I do wish that it came with paper instructions, I was pleased with how well-done the video tutorials were with an easy pace to follow and lots of helpful tidbits interspersed throughout the videos. I think it is definitely age-appropriate for 14+ and would also be great as a homeschool art lesson. The box was well-organized and I appreciated the bit of educational information and history they included in the book. I also love the idea of using this diy technique to make a calendar using the templates they provided on the website. Overall, I think my projects turned out pretty cool and I am excited to have another go at this technique now that I understand it a bit more! I think any crafter or person interested in art and design will appreciate this box!
If this isn't the monthly subscription box for you, check out some of the other KiwiCo boxes for different age groups:
- Panda Crate for 0-24-month-olds,
- Koala Crate for 2-4-year-olds,
- Kiwi Crate for 5-8-year-olds,
- Atlas Crate for 6-11-year-olds,
- Tinker Crate and Doodle Crate for 9-16+-year-olds,
- Eureka Crate for ages 12 and up.
What do you think of Maker Crate?





















Please do not enter your email address in the Name field or in the comment content. Your email address will not be published. Required fields are marked *. Remember to post with kindness and respect. Comments with offensive language, cruelness to others, etc will not be approved. See our full comment policy here.