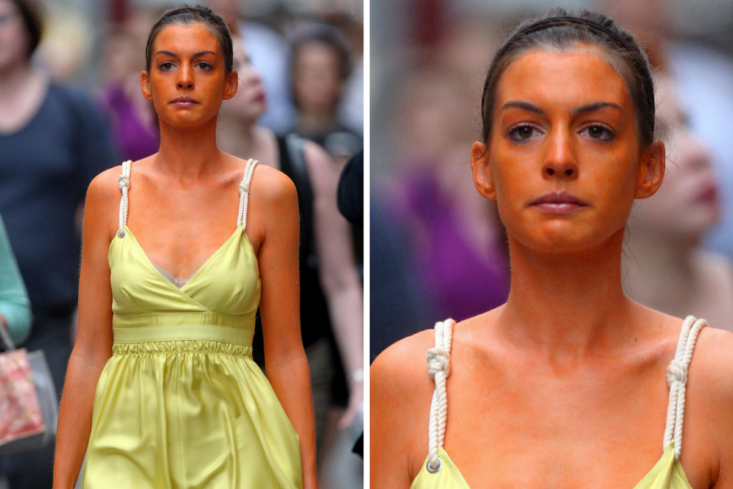
Anne Hathaway in "Bride Wars"
It's okay. Safe space. Raise your hand if you've been personally victimized by a self-tanner. We've all been there- you grab a bottle of tanner from the store, browse the instructions quickly, and an hour later you are the completely wrong shade or a streaky mess. Maybe you are like me, and used to go to the self-tanning booth that was inside of your local video rental store. Sure I listened to the instructions, but the little foam that you put on your hands and feet before going in didn't really do much to combat the two weeks of spotty orange wrists and hands you would try to hide from everyone at school. Tanning mishaps were so common in the early 2000s, that movies like Bride Wars gave us this hilarious moment from a color-matching switch in a self-tanning booth. Can anyone relate? Not about the crazy best friend trying to sabotage your wedding, but the oops on the color matching...

Even Friends showed how counting your Mississippis wrong can lead to making you an 8 instead of a 2... just on your front! I had recently tested two self-tanning products to bring my honest opinion and experiences to you all, and I can honestly say that I learned so much. I hadn't used a self-tanner since those awkward high school years, and I truly thought when I first started prepping my review, that not much had probably changed in the self-tanner world. I was so wrong because there are so many quality products out there now! I spent hours on Sephora looking through different products, reading reviews, instructions, and best practices on application. You can now get your skin glowing without hitting the pool and risking unwanted sun exposure, while also not becoming a walking self-tanner 'don't' meme, as long as you prep your skin, follow instructions, and take your time! But how do you do all of that exactly?! Let's dive into the top 5 biggest mistakes that we've all made using a self-tanner and how to avoid them.
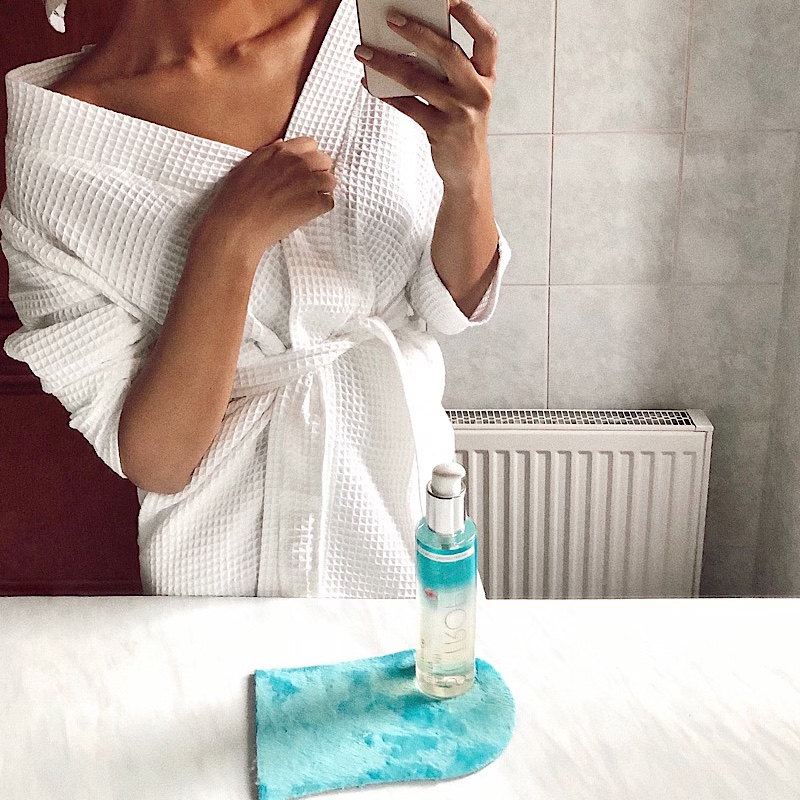
Image via St. Tropez.
#1: You didn't use a mitt or wash your hands right away, so now your hands are a darker shade of orange than your body
I almost didn't buy the St. Tropez mitt when I was purchasing the products for my recent self-tanner review. I quickly learned that using a mitt really is the only way to go when applying your self-tanner at home. It allowed the application to go on smooth and flawless, and without any streaks. I was able to control how much product I used without making a big mess or worrying about my hands. You can use these mitts over and over again, since they are super easy to clean. You can even buy self-tanner kits that features an Ashley Graham ultimate glow mousse! If you don't have a mitt on hand, always be sure to wash your hands immediately after you are finished with the application, otherwise, you'll be in for an unsettling surprise on your palms!
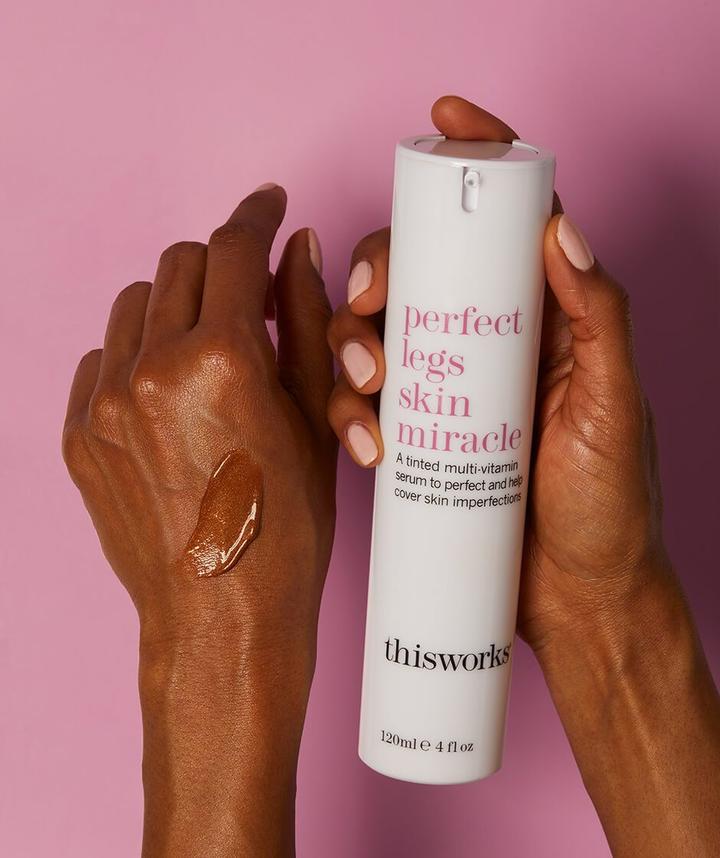
Image via ThisWorks.
#2: You didn't exfoliate first
When I was younger, I always wondered why my self-tanner looked uneven or patchy, especially on my hands, knees, and elbows. Maybe it wasn't always that the product was bad, but that I wasn't prepping my skin properly. We all know that the best way to get our face glowing is to exfoliate; we use masks weekly or more to get, and keep, that fresh glow. So of course it makes sense that we need to exfoliate our entire body to get the proper glow from a self-tanner! Before you do a full-body tan, be sure to use a body scrub to remove dead skin cells that will cause patchy and dry areas that will almost always look darker or more streaky than the rest of your body. Be sure to give a little extra care to any dry areas like your arms, elbows, knees, and hands. I swear by ThisWorks Perfect Legs Skin Miracle for an incredible full-body exfoliation that feels like you just left the spa. A more budget-friendly exfoliator that also works wonders is the Neutrogena Body Clear Body Scrub.
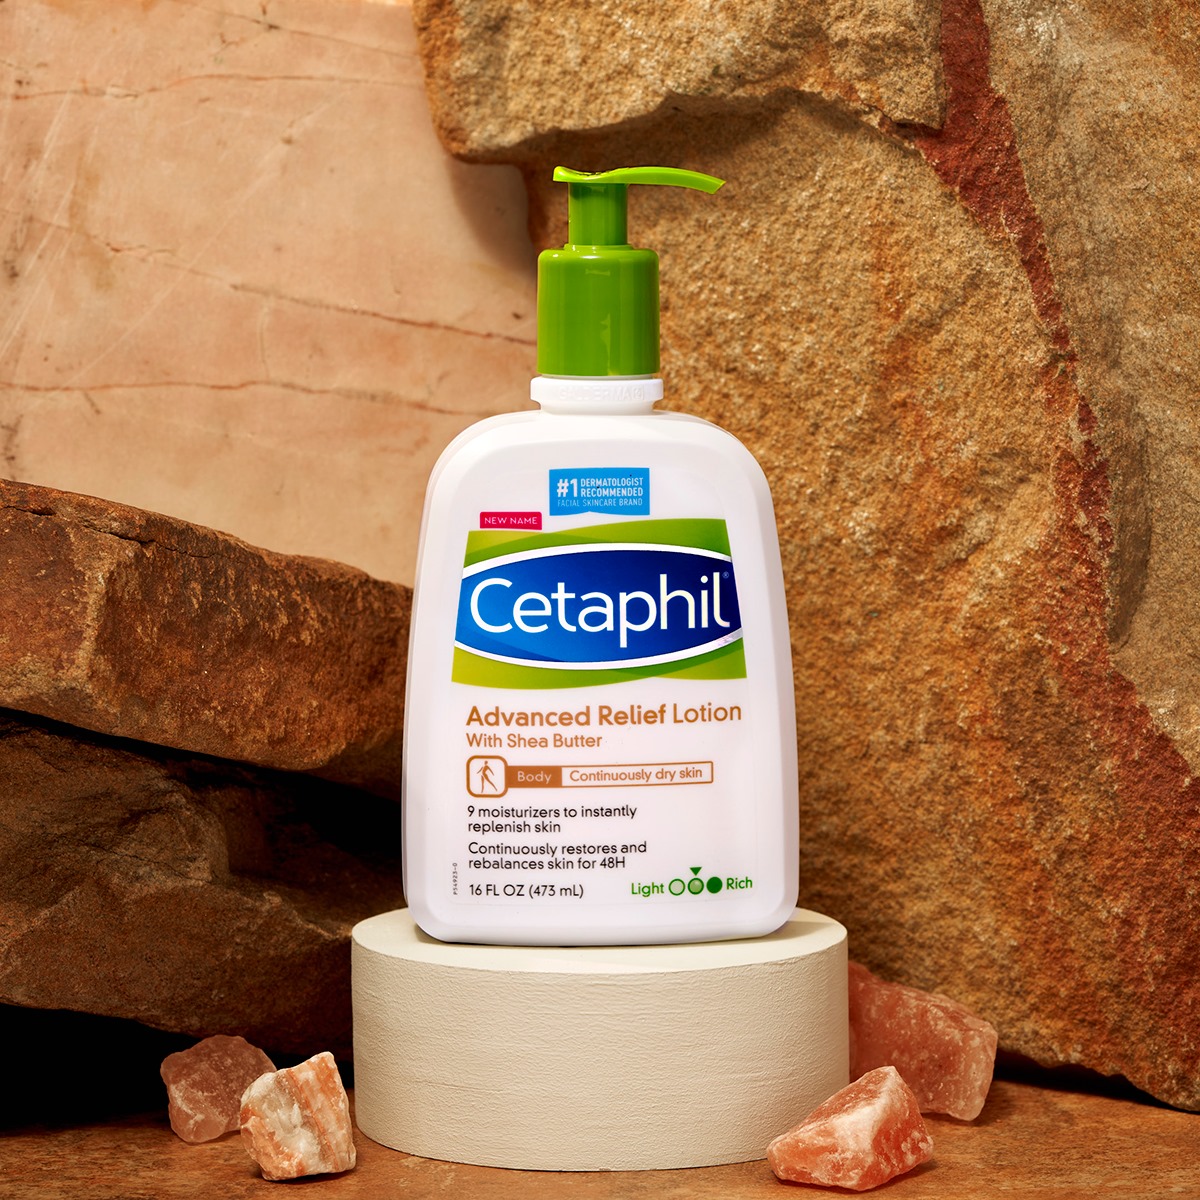
Image via Cetaphil.
#3: Then you didn't moisturize
Just like your face, you need to moisturize after you exfoliate off all of those dead skin cells. Before you apply your self-tanner, you want to nourish it so that the product can really lock into your skin and go on smoothly. Once you have exfoliated in the shower, lather up your skin right away without even drying off to get the best hydration. I love Cetaphil Advanced Relief Lotion or Aveeno Daily Lotion to relieve dry skin - both do a great job at keeping my skin smooth and hydrated. Scrub, polish, then apply!

Image via Isle of Paradise.
#4: You used too much or the wrong shade
Like Bride Wars and Ross from Friends, you don't want to go all-in right away without testing the product first. You also don't want to just pump a ton onto your mitt and keep applying because it doesn't look like anything is happening. Before you even start with your scrubbing and polishing, you should test the product in a small patch in a less noticeable area to make sure that the shade works for you. This will also help you gauge how much you should use. Most self-tanners don't start to show their true color for at least an hour, so you can always go back the next day and add more if you didn't get your desired shade. But please, don't just apply and apply on your first go, or else you might be walking around like an 8 when you really should have been a 2 (like Ross). If you are nervous about using a mousse, these Isle of Paradise drops really allow you to control your glow without going overboard, and can be a great starter product!
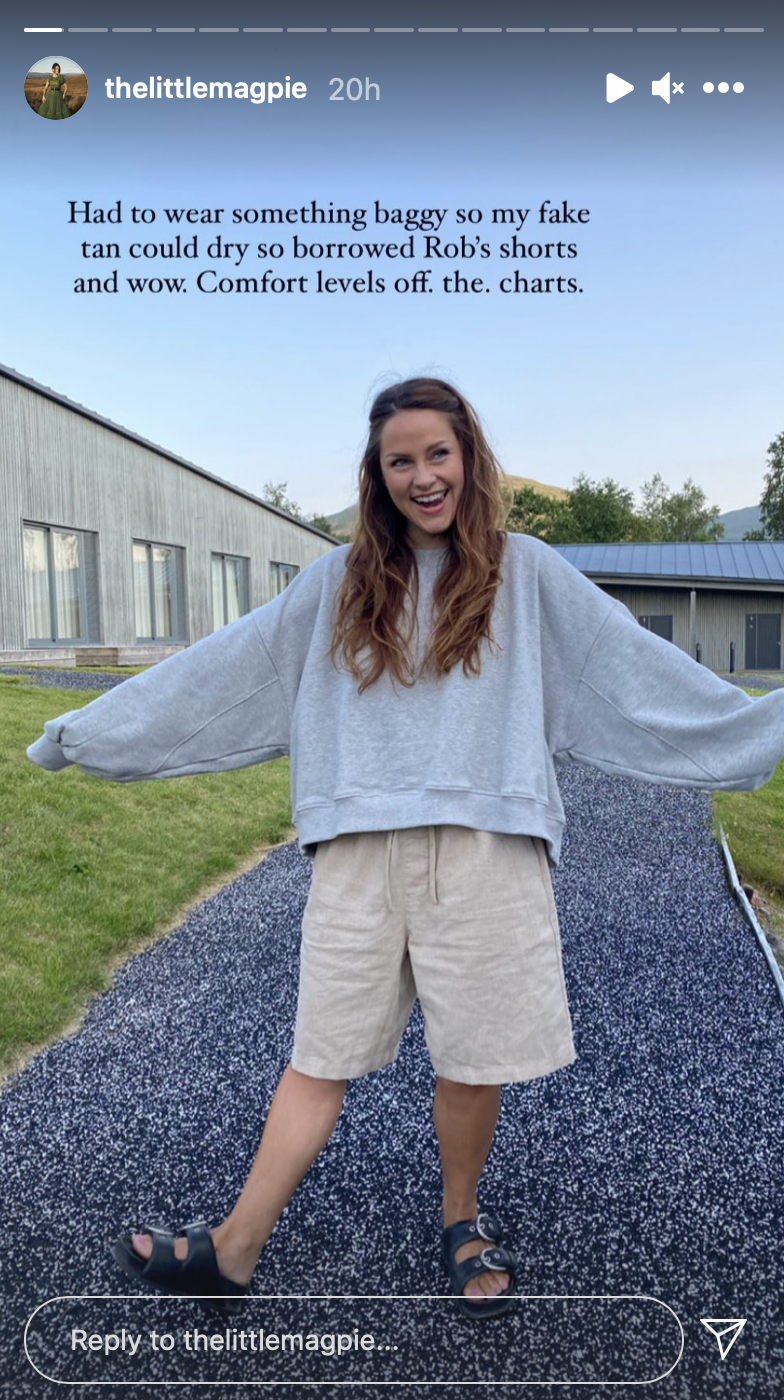
Image via @thelittlemagpie.
#5: You got dressed too quickly
One of my favorite bloggers, @thelittlemagpie, recently posted a hilarious video to her stories where she was wearing her boyfriend's clothes because she needed something baggy to wear while her fake tan dried. That reminded me how many of us might try to quickly apply self-tanner before an event or a night out not thinking that this really is a process. Probably one of the biggest mistakes is applying a tanner too quickly and then- bam- getting dressed for a date or wedding. If you aren't completely dry, then you are going to see a lot of transfer onto your clothes, which in turn will create streaks or even drip lines from the product. The best practice is to allow yourself plenty of time to shower, exfoliate, moisturize, apply, and let it dry to get your tan looking naturally sun-kissed (or at least like you spent a ton of money to have a pro apply it for you). I am the most impatient person, so I get it, but don't toss some tanner on hoping your legs are going to look amazing in that mini dress for date night. Plan out your tanning application as a night of self-care- you won't regret the results!
There you have it, the top mistakes that we all have made and might continue to make, but hopefully not! Getting a natural glowing tan without sitting in the sun all day is no easy feat. You have to scrub, polish, apply, and wait it out to dry. The results are so worth not becoming a streaky mess or a bad meme. So remember, test the product, read the instructions, take your time, and enjoy taking a little time out for yourself and your skin will thank you later!
Have you read my latest self-tanner product review? Do you have a self-tanner that you swear by? Or maybe a self-tanner horror story that you can finally laugh about now? Let me know in the comments! Also, be sure to check out some of our best beauty subscriptions of 2021 for more ideas on how to achieve your ideal glow!


Please do not enter your email address in the Name field or in the comment content. Your email address will not be published. Required fields are marked *. Remember to post with kindness and respect. Comments with offensive language, cruelness to others, etc will not be approved. See our full comment policy here.